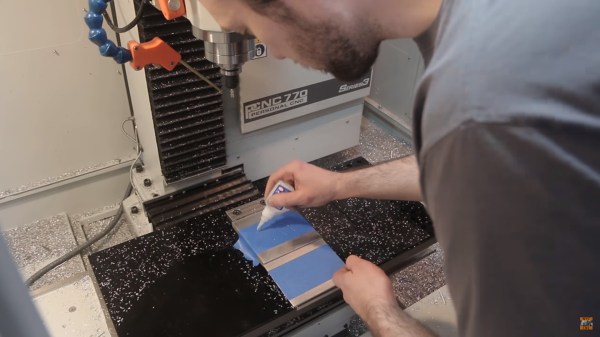
Designing a file to cut on a CNC is only part of the process. You also have to keep it in place while the machine does its work. [Garrett Fromme] walks us through five different work holding techniques.
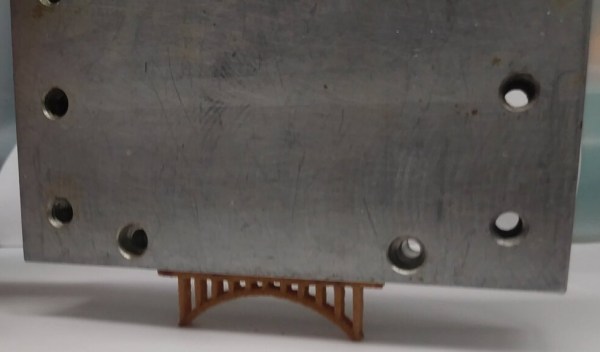
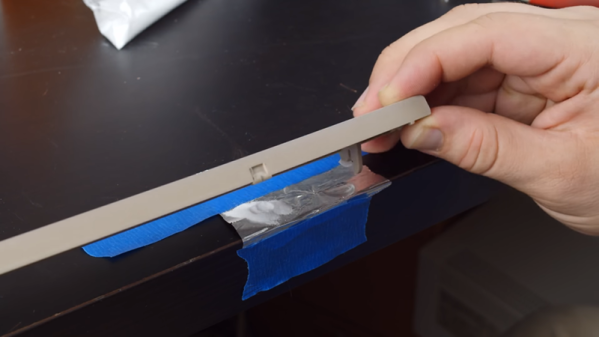
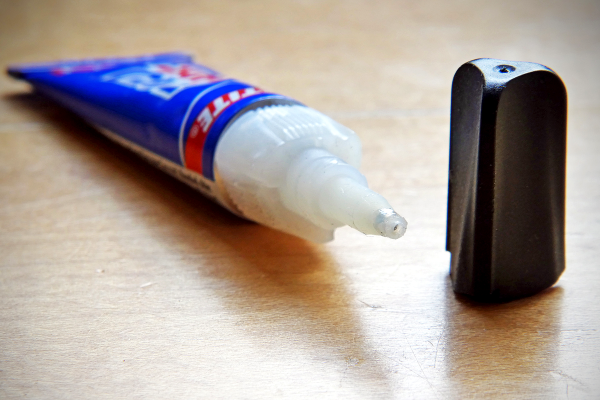
Since every project is different and stock material can vary from thin veneer to much larger pieces, there’s no one right work holding method for every project, and not all methods are applicable to all materials. A vise is great for small projects that need to be held very securely and won’t be damaged, vacuum tables can make switching pieces quick in a production environment, fasteners will hold a piece securely at the expense of your spoil board, clamps are fairly versatile but fiddly to setup, and tape and CA glue are quick but require more consumables.
[Fromme] does a quick demonstration of setups with these different methods and their limitations, which is a great place to start for the beginner CNC operator. Just like 3D printers, CNCs are a far cry from the replicators in Star Trek that can automagically create what you ask it to, but proper workholding lets you waste less material and operate the machine more safely.
Our own [Elliot Williams] had a look at how CNCs aren’t as automated as you think. If you do need some CNC clamps, you might try these printable parametric clamps, or if you want something more beautiful, give these metal toe clamps a go.
Continue reading “Workholding Options For The Beginner CNC Operator”
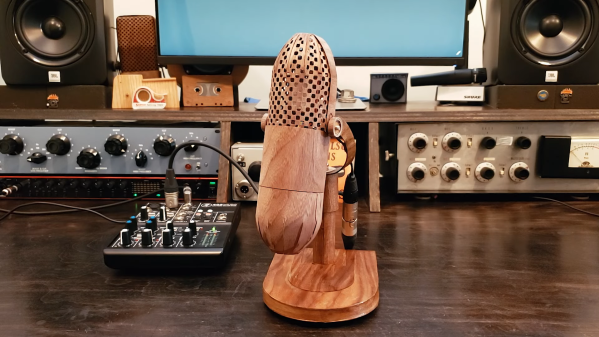
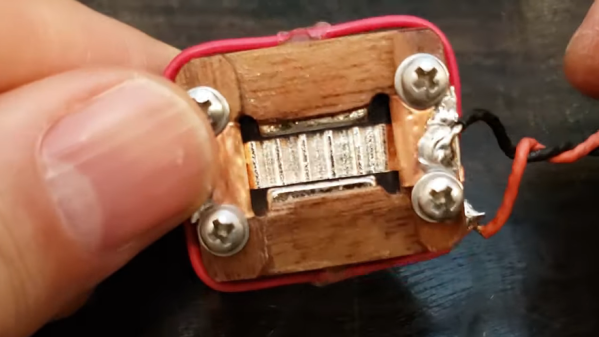
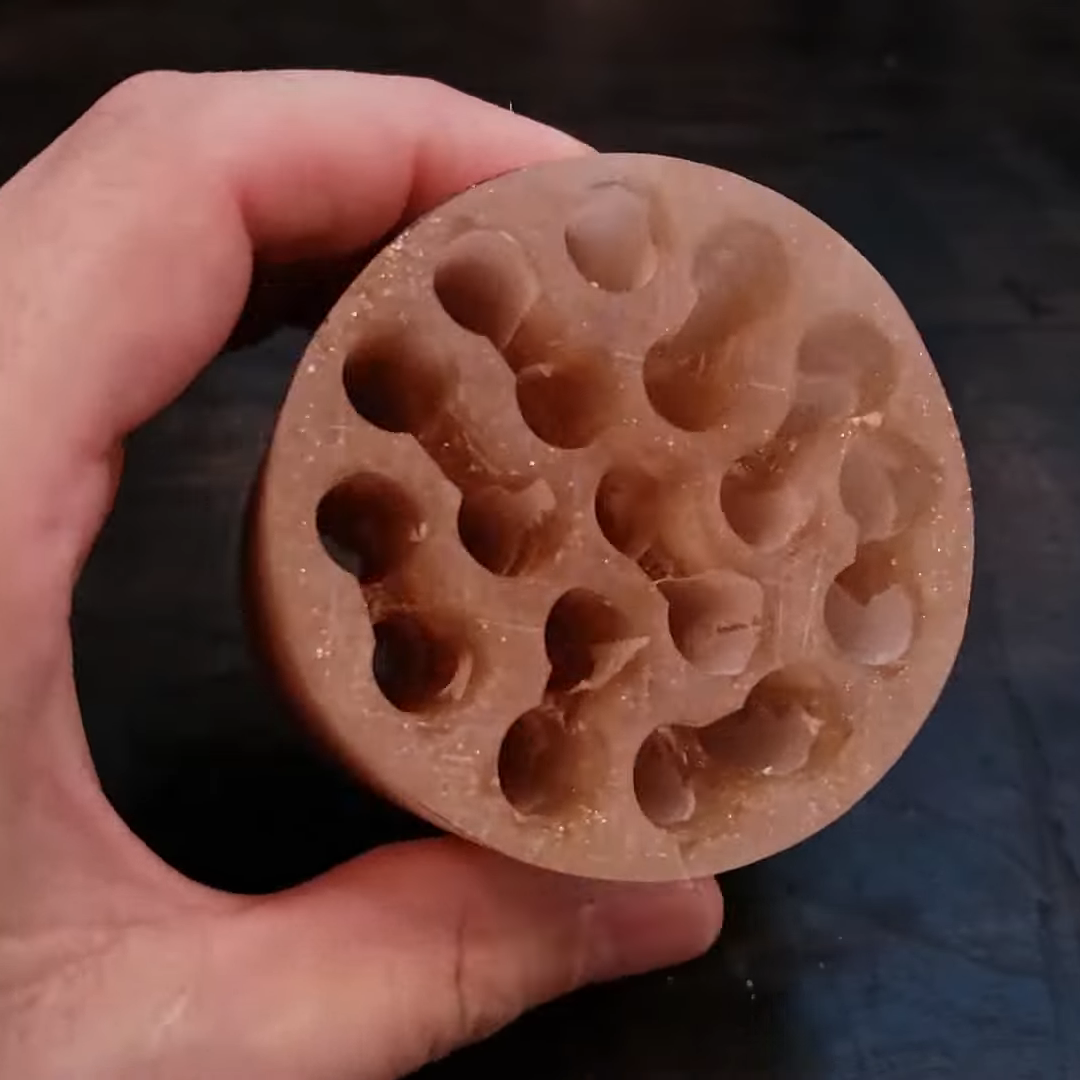 But ironically, this homage features a critical piece that’s actually not made of wood. The 77’s pickup pattern was cardioid, making for a directional mic that picked up sound best from the front, thanks to an acoustic labyrinth that increased the path length for incoming sound waves. [Frank]’s labyrinth was made from epoxy resin poured into a mold made from heavy paper, creating a cylinder with multiple parallel tunnels. The tops and bottoms of adjacent tunnels were connected together, creating an acoustic path over a meter long. The ribbon motor, as close to a duplicate of the original as possible using wood, sits atop the labyrinth block’s output underneath a wood veneer shell that does its best to imitate the classic pill-shaped windscreen of the original. The video below, which of course was narrated using the mic, shows its construction in detail.