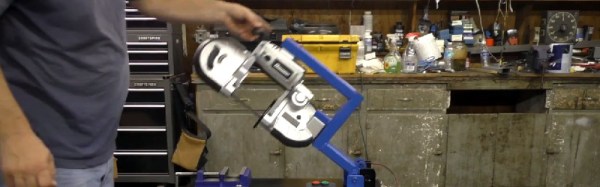
How often have you wished you could reduce the size of a drillbit? [Ben Katz] has a bunch of projects in mind that use a tight-tolerance 22mm bore–but he didn’t have a 22mm reamer handy. Rather than buy one, he thought, why not regrind a larger one to the right size?
He first ground down the shank to fit in the lathe’s drill chuck. Once it was loaded into the chuck, he reground the edge of a 7/8″ (22.225mm) reamer, reducing its diameter down to 22mm by spinning it on his lathe in conjunction with a toolpost spindle with a grinding wheel attached. The final diameter was 21.995mm—off by 5 microns!
[Ben]’s homebuilt spindle is a cool project in itself, and we publish a lot of posts about those handy tools. Check out our pieces on a brushless DC motor used as a CNC spindle, and this 3D printer outfitted with a spindle. Also check out [Ben]’s electric tricycle build we featured a few years ago.
Continue reading “Reamer Regrinding Using A Toolpost Spindle”
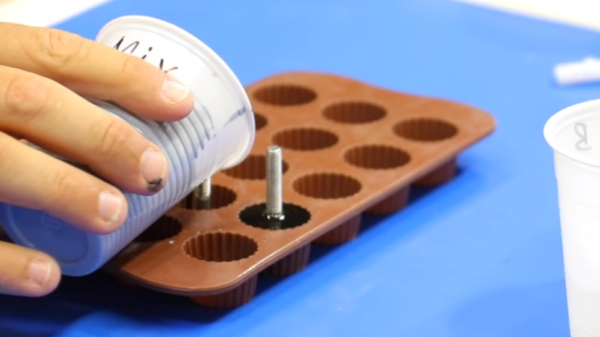
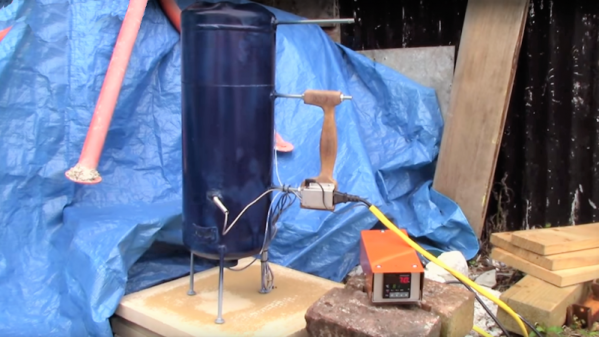
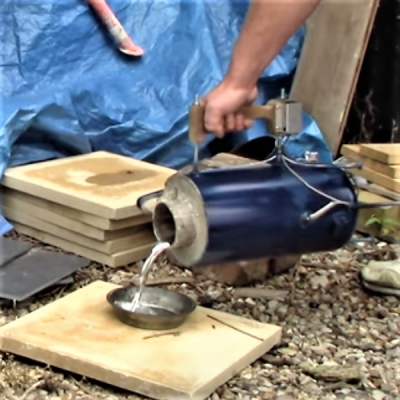 Sure, electric foundries lack some of the sex-appeal of gas- or even charcoal-fueled foundries, but by eschewing the open flames and shooting sparks, [Turbo Conquering Mega Eagle] was able to integrate the crucible into the foundry body and create what looks for all the world like a Thermos bottle for molten aluminum.