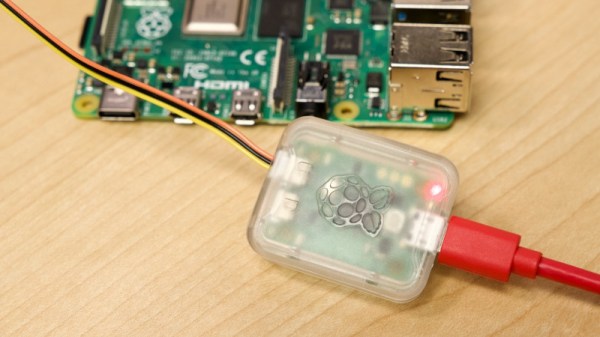
We mentioned the Raspberry Pi Debug Probe when it was launched, a little RP2040-based board that provides both a USB-to-UART and an ARM SWD debug interface. [Jeff Geerling] was lucky enough to snag one, and he’s put it through its paces in a handy blog post.
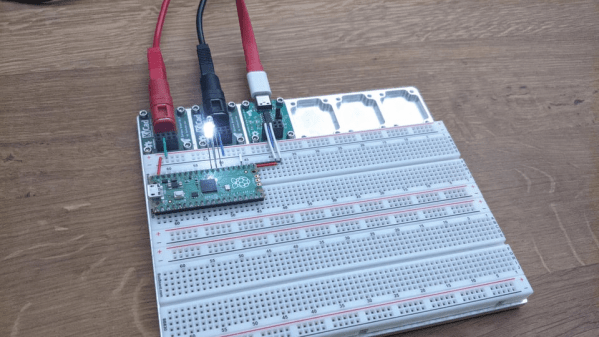
The first question he poses is: why buy the Pi offering when cheaper boards can be found on AliExpress and the like? It’s easily answered by pointing to the ease of setting up, good documentation and support, as well as the device’s reasonable price compared to other commercial probes. It also answered a personal question here as he hooked it up to a Pico, why it has three jumpers and not the more usual multi-way header we’ve seen on other ARM platforms. We should have looked at a Pico more closely of course, because it matched neatly to the Pi product. On the Pico they’re at the edge, while on the Pico W they’re in the center.
No doubt if the latest addition to the Pi stable has any further revelations we’ll bring them to you. But it’s worth a quick look at this piece to see a real experience with their latest. Meanwhile, take a quick look at our launch coverage.