What does post-apocalyptic technology look like? Well, that kind of depends on the apocalypse. Regardless of the cause, we’ll need to be clever and resourceful and re-learn ancient crafts like weaving and pottery-making. After all, the only real apocalyptic constants are the needs of the survivors. Humans need clothing and other textiles. Fortunately, weaving doesn’t require electricity—just simple mechanics, patience, and craftsmanship.
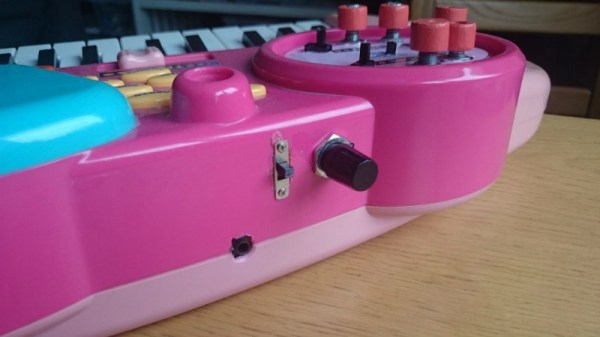
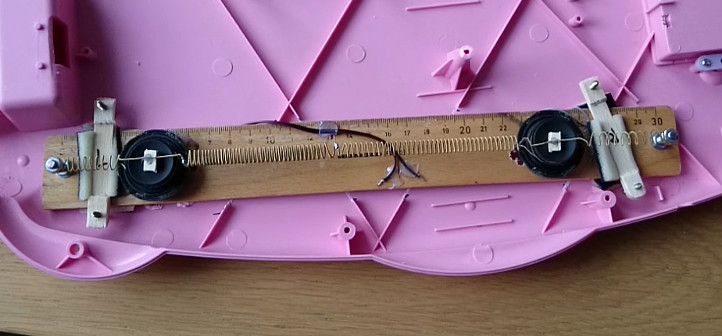
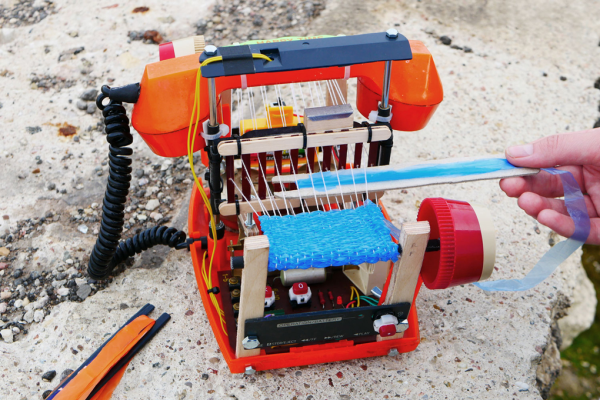
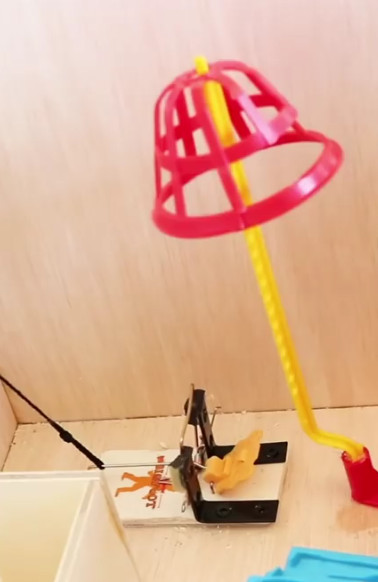
If it turns out the apocalypse is scheduled for tomorrow, we’ll have piles and piles of e-waste as fodder for new-old looms. This adorable loom is a mashup of old and new technologies that [Kati Hyyppä] built at an artist residency in Latvia, a country with a rich historical tapestry of textile-making. It combines a cheerful orange telephone with an old cassette player and some telescoping rods from a radio antenna. [Kati] reused the phone’s hang-up switch to trigger tunes from a deconstructed toddler toy every time the receiver is lifted. Check it out after the beep break.
And yeah, you’re right, it does use batteries. But the looming part doesn’t require power, only the music. In case of apocalypse, just scrounge up a solar panel.
If you’d rather be prepared to have to make your own clothes someday, print this loom beforehand.
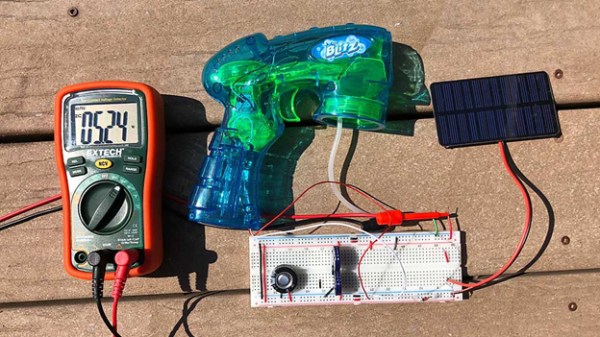
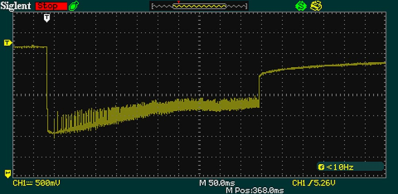 His write-up is a pretty fun read, walking through his process, including an oscilloscope measurement showing how the capacitors’ voltage drops from 5.26 V to 3.5 V when the trigger is pressed, and interestingly, slowly recovers until it’s released a second later, when it then rises back to 4.5 V. He’s even included how he worked out of the panel’s maximum power point (MPP), which is what he was doing when the kids were first lured away to blow soap bubbles. But we’re sure Hackaday readers aren’t as easily distracted.
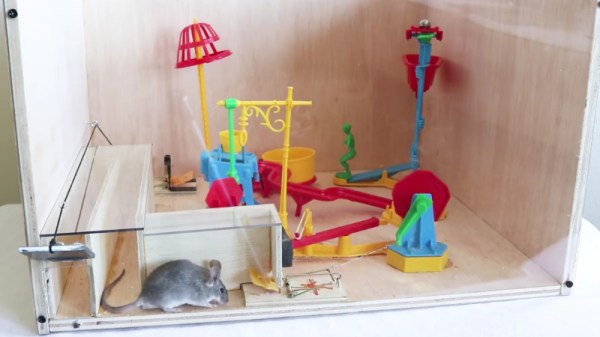

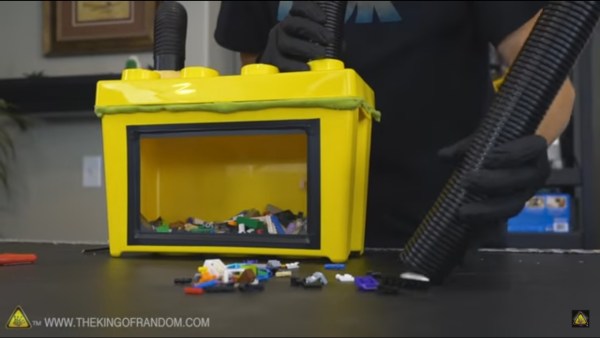
 After the kids have gone to bed and LEGO bricks are scattered all over the floor, furniture, stairs (ouch), and everywhere else, wouldn’t it be nice if