Always wanted to be a citizen of Fire Nation? Here’s one way to ace the citizenship exam: punch-activated flaming kung fu gauntlets of doom.
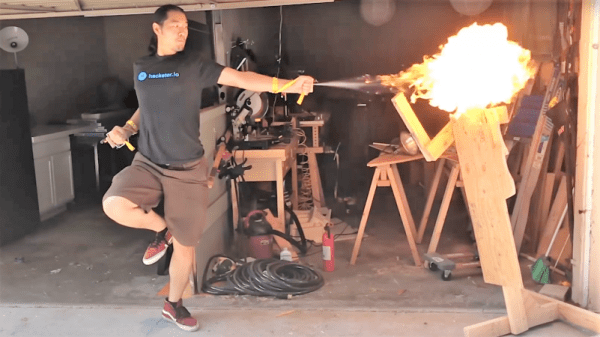
As with all the many, many, many flamethrower projects we’ve featured before, we’ve got to say this is just as bad an idea as they are and that you should not build any of them. That said, [Sufficiently Advanced]’s wrist-mounted, dual-wielding flamethrowers are pretty cool. Fueled by butane and containing enough of the right parts for even a minimally talented prosecutor to make federal bomb-making charges stick, the gauntlets each have an Arduino and accelerometer to analyze your punches. Wimpy punch, no flame — only awesome kung fu moves are rewarded with a puff of butane ignited by an arc lighter. The video below shows a few close calls that should scare off the hairy-knuckled among us; adding a simple metal heat shield might help mitigate potential singeing.
Firebending gloves not enough to satisfy your inner pyromaniac? We understand completely.
Continue reading “Be The Firebender You Want To See In The World”