Forth is one of those interesting languages that has a cult-like following. If you’ve never looked into it, its strength is that it is dead simple to put on most CPUs, yet it is very powerful and productive. There are two main principles that make this possible. First, parsing is easy because any sequence of non-space characters makes up a legitimate Forth word. So while words like “double” and “solve” are legal Forth words, so is “#$#” if that’s what you want to define.
The other thing that makes Forth both simple and powerful is that it is stack-based. If you are used to a slide rule or an HP calculator, it is very natural to think of “5+2*3” as “5 2 3 * +” but it is also very simple for the computer to interpret.
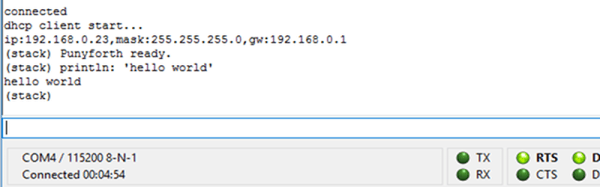
[Zeroflag] created PunyForth–a Forth-like language for the ESP8266. You can also run PunyForth for cross development purposes on Linux (including the Raspberry Pi). The system isn’t quite proper Forth, but it is close enough that if you know Forth, you’ll have no trouble.
Continue reading “Interactive ESP8266 Development With PunyForth”