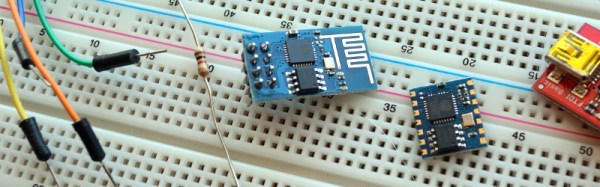
Cheap consumer WiFi devices are great for at least three reasons. First, they almost all run an embedded Linux distribution. Second, they’re cheap. If you’re going to break a couple devices in the process of breaking into the things, it’s nice to be able to do so without financial fears. And third, they’re often produced on such low margins that security is an expense that the manufacturers just can’t stomach — meaning they’re often trivially easy to get into.
Case in point: [q3k] sent in this hack of a tiny WiFi-enabled SD card reader device that he and his compatriots [emeryth] and [informatic] worked out with the help of some early work by [Benjamin Henrion]. The device in question is USB bus-powered, and sports an SD card reader and an AR9331 WiFi SOC inside. It’s intended to supply wireless SD card support to a cell phone that doesn’t have enough on-board storage.
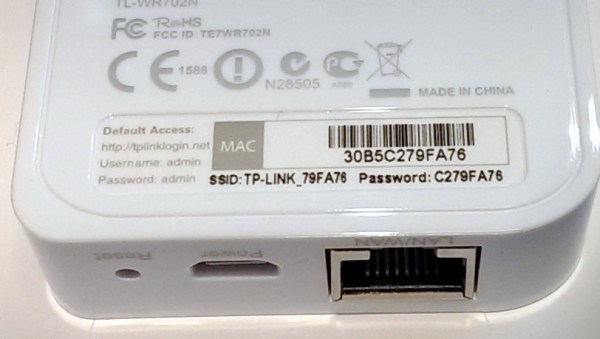
The hack begins with [Benajmin] finding a telnet prompt on port 11880 and simply logging in as root, with the same password that’s used across all Zsun devices: zsun1188. It’s like they want to you get in. (If you speak Chinese, you’ll recognize the numbers as being a sound-alike for “want to get rich”. So we’ve got the company name and a cliché pun. This is basically the Chinese equivalent of “password1234”.) Along the way, [Benjamin] also notes that the device executes arbitrary code typed into its web interface. Configure it to use the ESSID “reboot”, for instance, and the device reboots. Oh my!
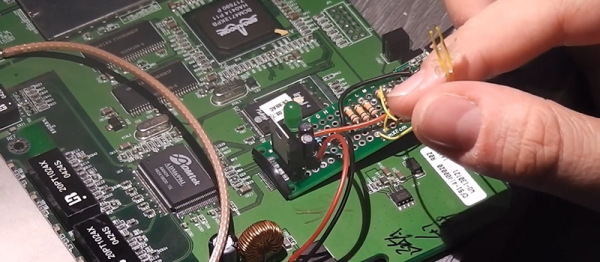
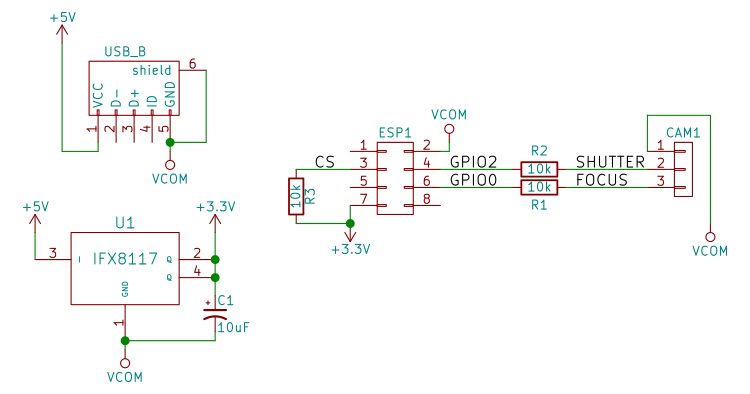
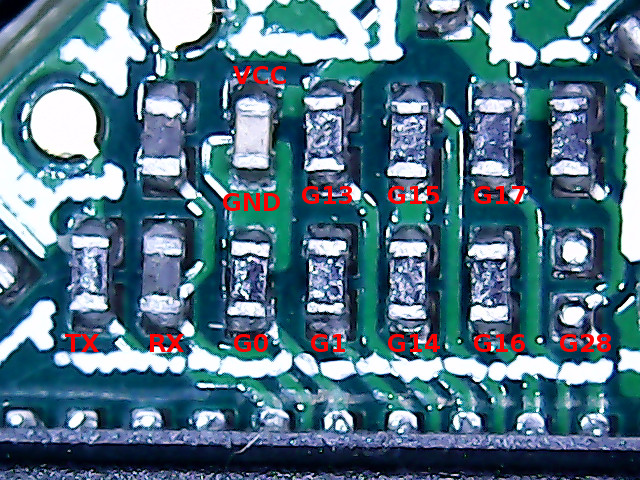 From here [q3k] and co. took over and ported OpenWRT to the device and documented where its serial port and GPIOs are broken out on the physical board. But that’s not all. They’ve also documented how and where to attach a wired Ethernet adapter, should you want to put this thing on a non-wireless network, or use it as a bridge, or whatever. In short, it’s a tiny WiFi router and Linux box in a package that’s about the size of a (Euro coin | US quarter) and costs less than a good dinner out. Just add USB power and you’re good to go.
Nice hack!