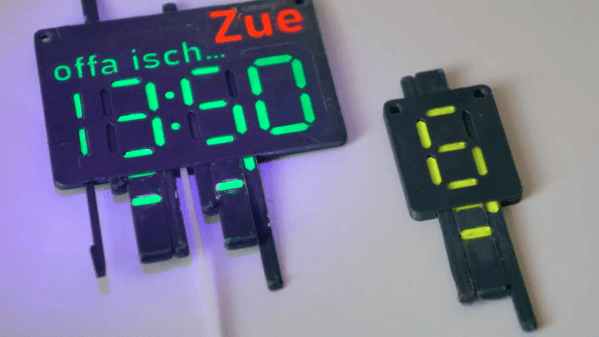
We’ve seen a lot of clever re-imagining of the classic 7-segment display, and proving there is still room for something new is [Jack]’s 7-segment “DigiTag” display.
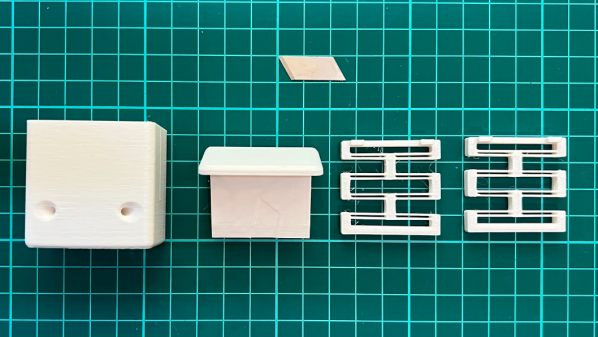
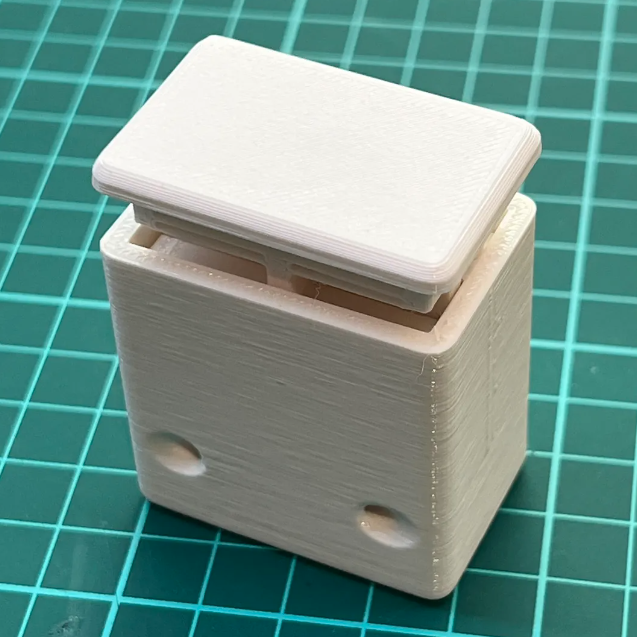
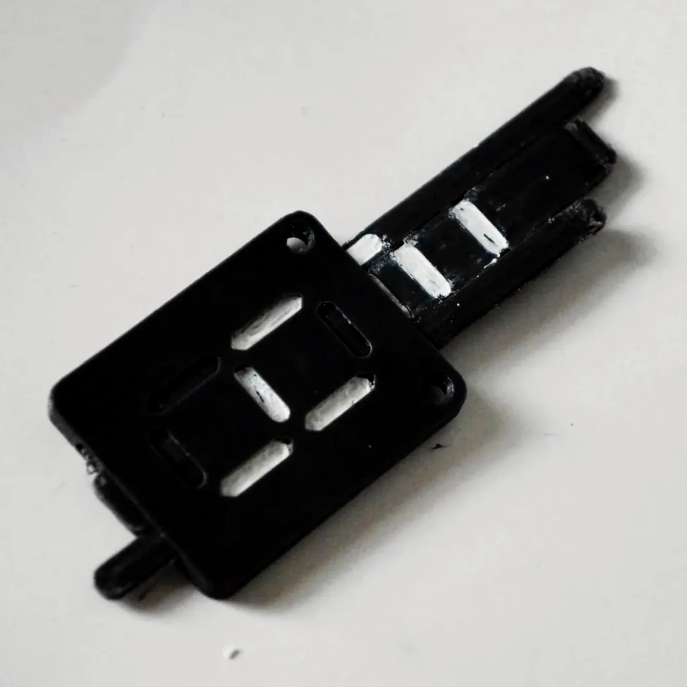 This 3D printable device has a frame into which is slotted three sliders. These sliders can be adjusted individually, mixing and matching the visibility of colored and uncolored areas, to create digits 0-9. We’ve seen some unusual 7-segment-inspired displays before, using from one motor for the whole digit to ones that need one motor per segment, but nothing quite like this approach.
While this particular design relies on the user to manually “dial in” each digit, the resulting key-like assembly (and unique shape for each digit) seems like it could have some interesting applications — a puzzle box design comes to mind.
If you have any ideas of your own on how this could be used, don’t keep them to yourself! Let us know in the comments, below.