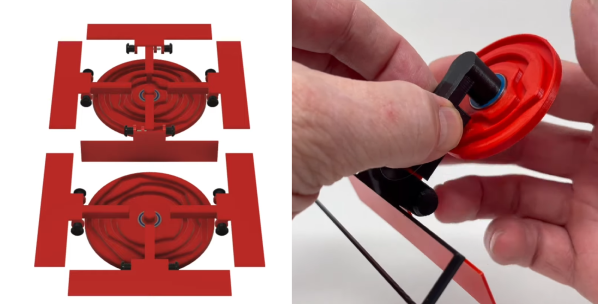
A camera dolly can be fantastic filmmaking tool, and [Cornelius] was determined to create his own version: the “Dope” DIY Dolly. The result not only upped his production quality, but was also entirely in line with his DIY approach to filmmaking in general.
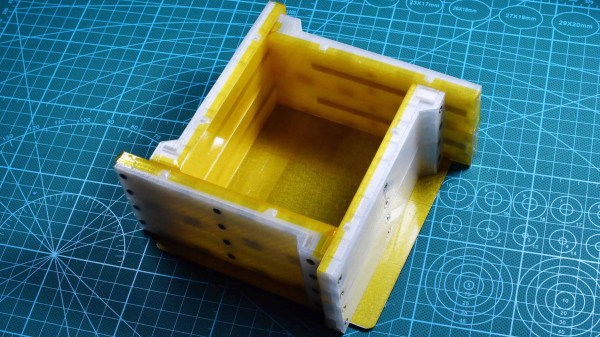
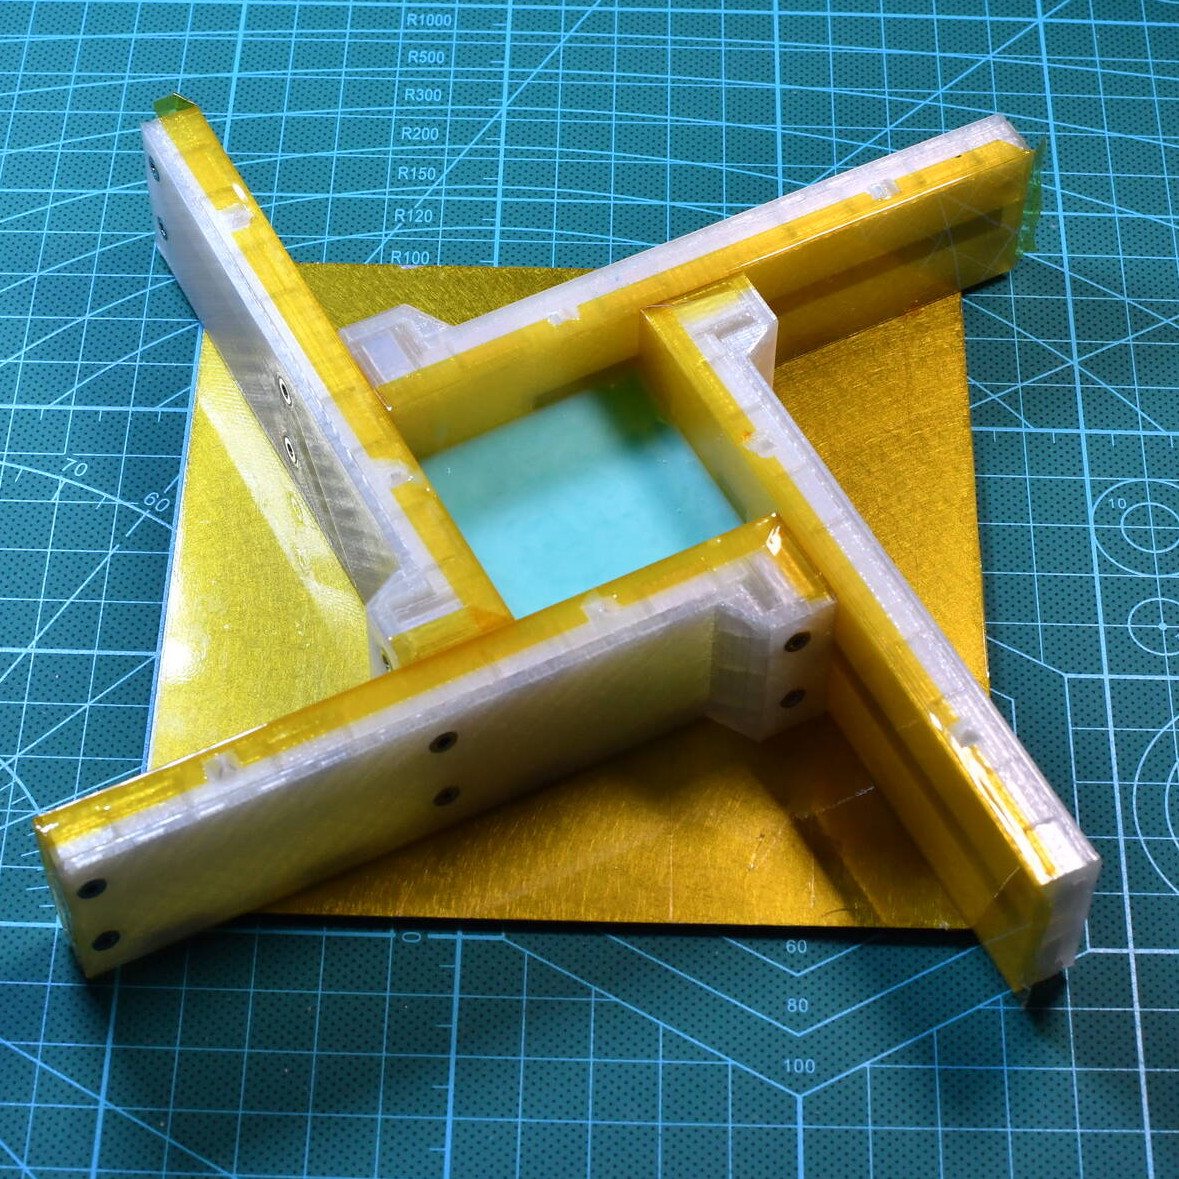
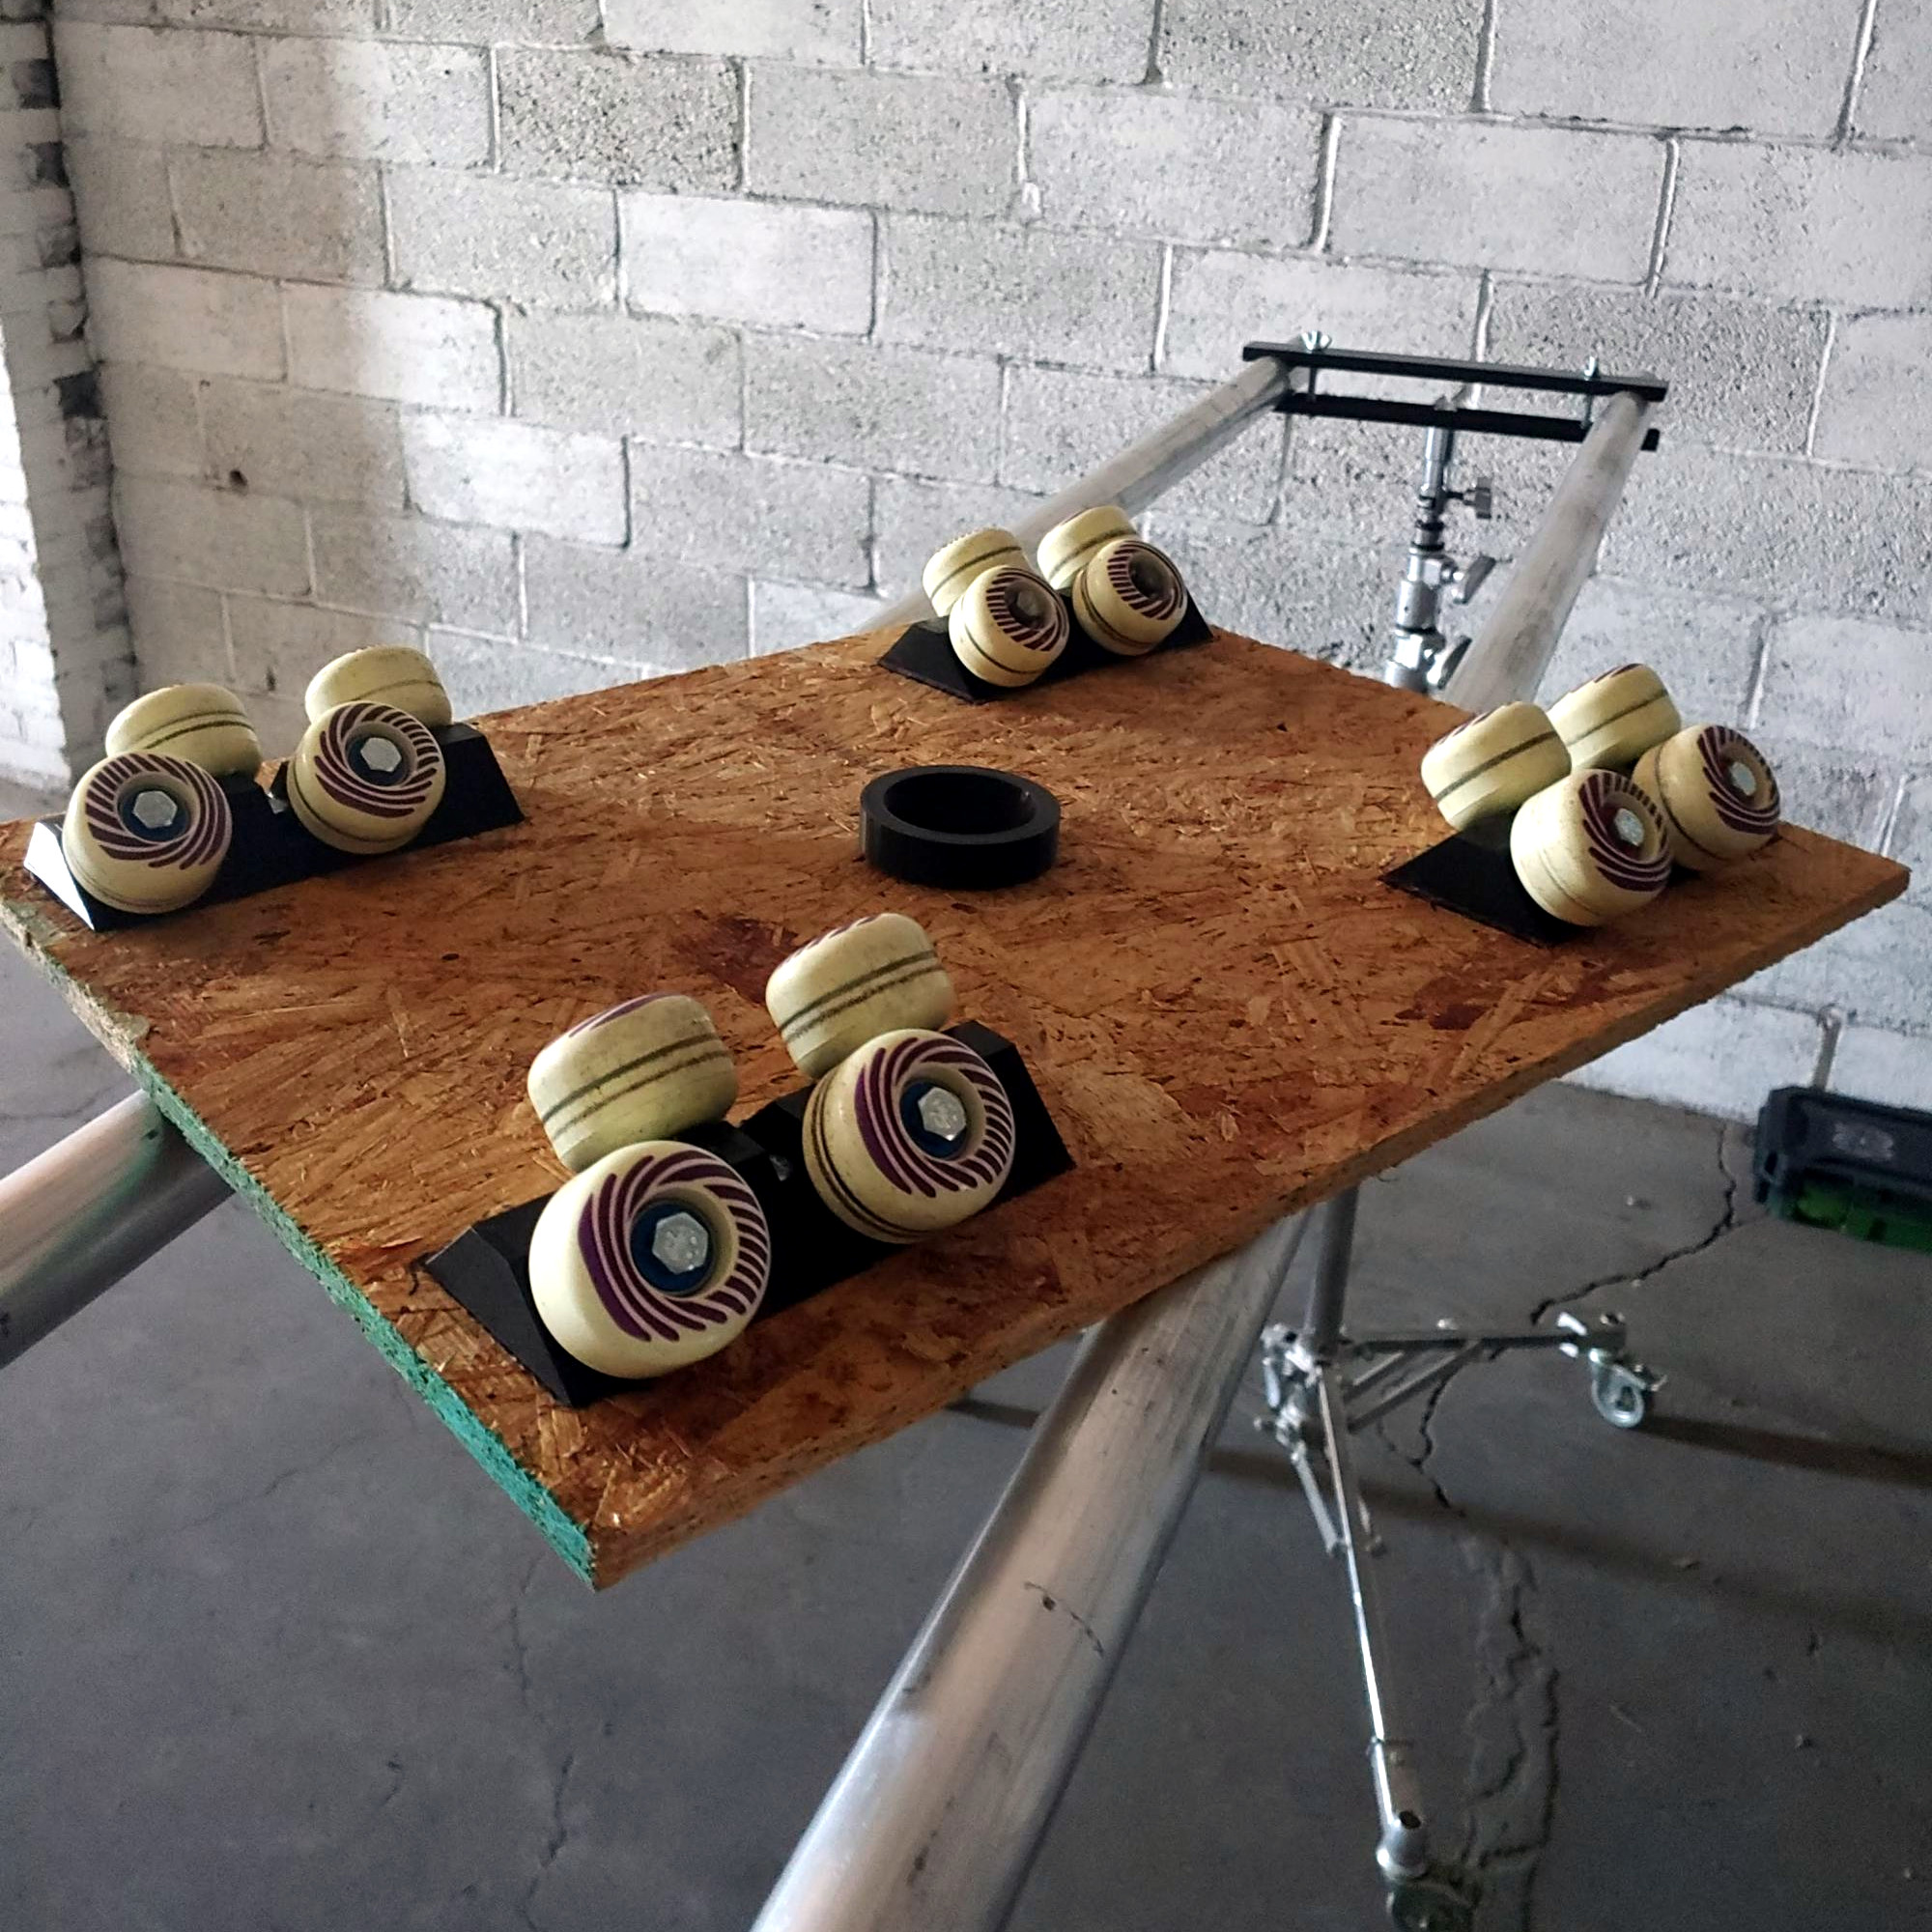 A basic dolly design is straightforward enough: a flat platform with wheels, and some aluminum tubing upon which to roll. But while dolly assemblies are easy to purchase or rent, [Cornelius] found that his DIY version — which used easily sourced parts and about 80 hours worth of 3D printing — provided perfectly acceptable results, while opening the door to remixing and sharing with like-minded filmmakers.
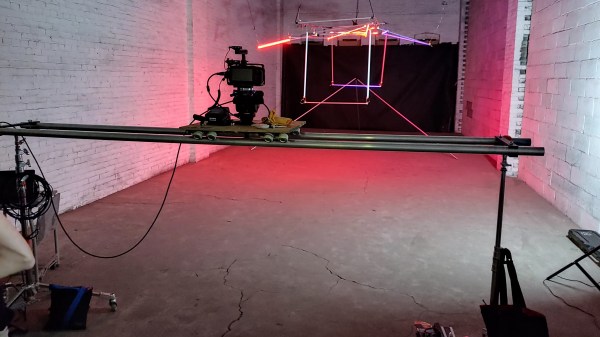
Interested? Download the STL files to get started on your own version. As for the track, smooth metal pipe is best, but sometimes track made from PVC can do the job. [Cornelius] has a few additional STL files for those planning to make a base from 1″ PVC pipe, and those are on a separate download link near the bottom of the project page (here’s that link again.) Watch the Dope Dolly in action in the brief video embedded below.
On the other hand, if you prefer your DIY camera equipment to be on the smaller and more complicated end of the spectrum, be sure to check out this multi-axis camera slider.
Continue reading “DIY Camera Dolly Costs More Time Than Money”