[Chris Mullins] wanted to automate opening and closing the slats of mini blinds in his apartment, and came up with a system to do it as a fun project. Manually opening and closing the slats means twisting a rod. Seems straightforward to automate that, but as usual when having to work around something that already exists, making no permanent alterations, complications arose.
The blinds are only 1 inch wide, leaving little room for mounting any sort of hardware. While there is a lot of prior art when it comes to automating blinds, nothing he found actually fit the situation [Chris] had, so he rolled his own.
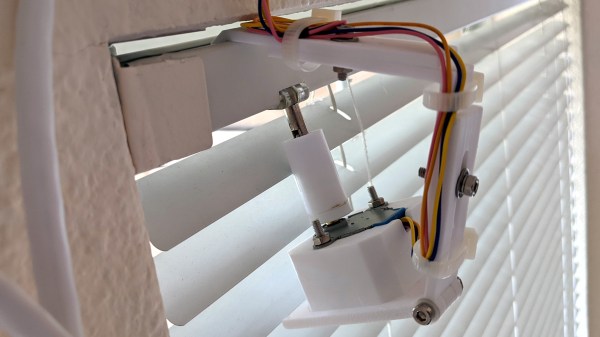
 The rod that is normally twisted to control the blinds is removed, and the shaft of a stepper motor takes its place. [Chris]’ mounting solution is made to fit blinds with narrow 1 inch tracks (existing projects he found relied on 2 inch tracks) and the 3D printed mount is fully adjustable, so the 28BYJ stepper motor can be moved into exactly the right position. Speaking of the stepper motor, the 28BYJ motor is unipolar but the A4988 driver he wanted to use is for bipolar steppers only. Luckily, cutting a trace on the motor’s PCB is all it takes to turn a unipolar motor into bipolar.
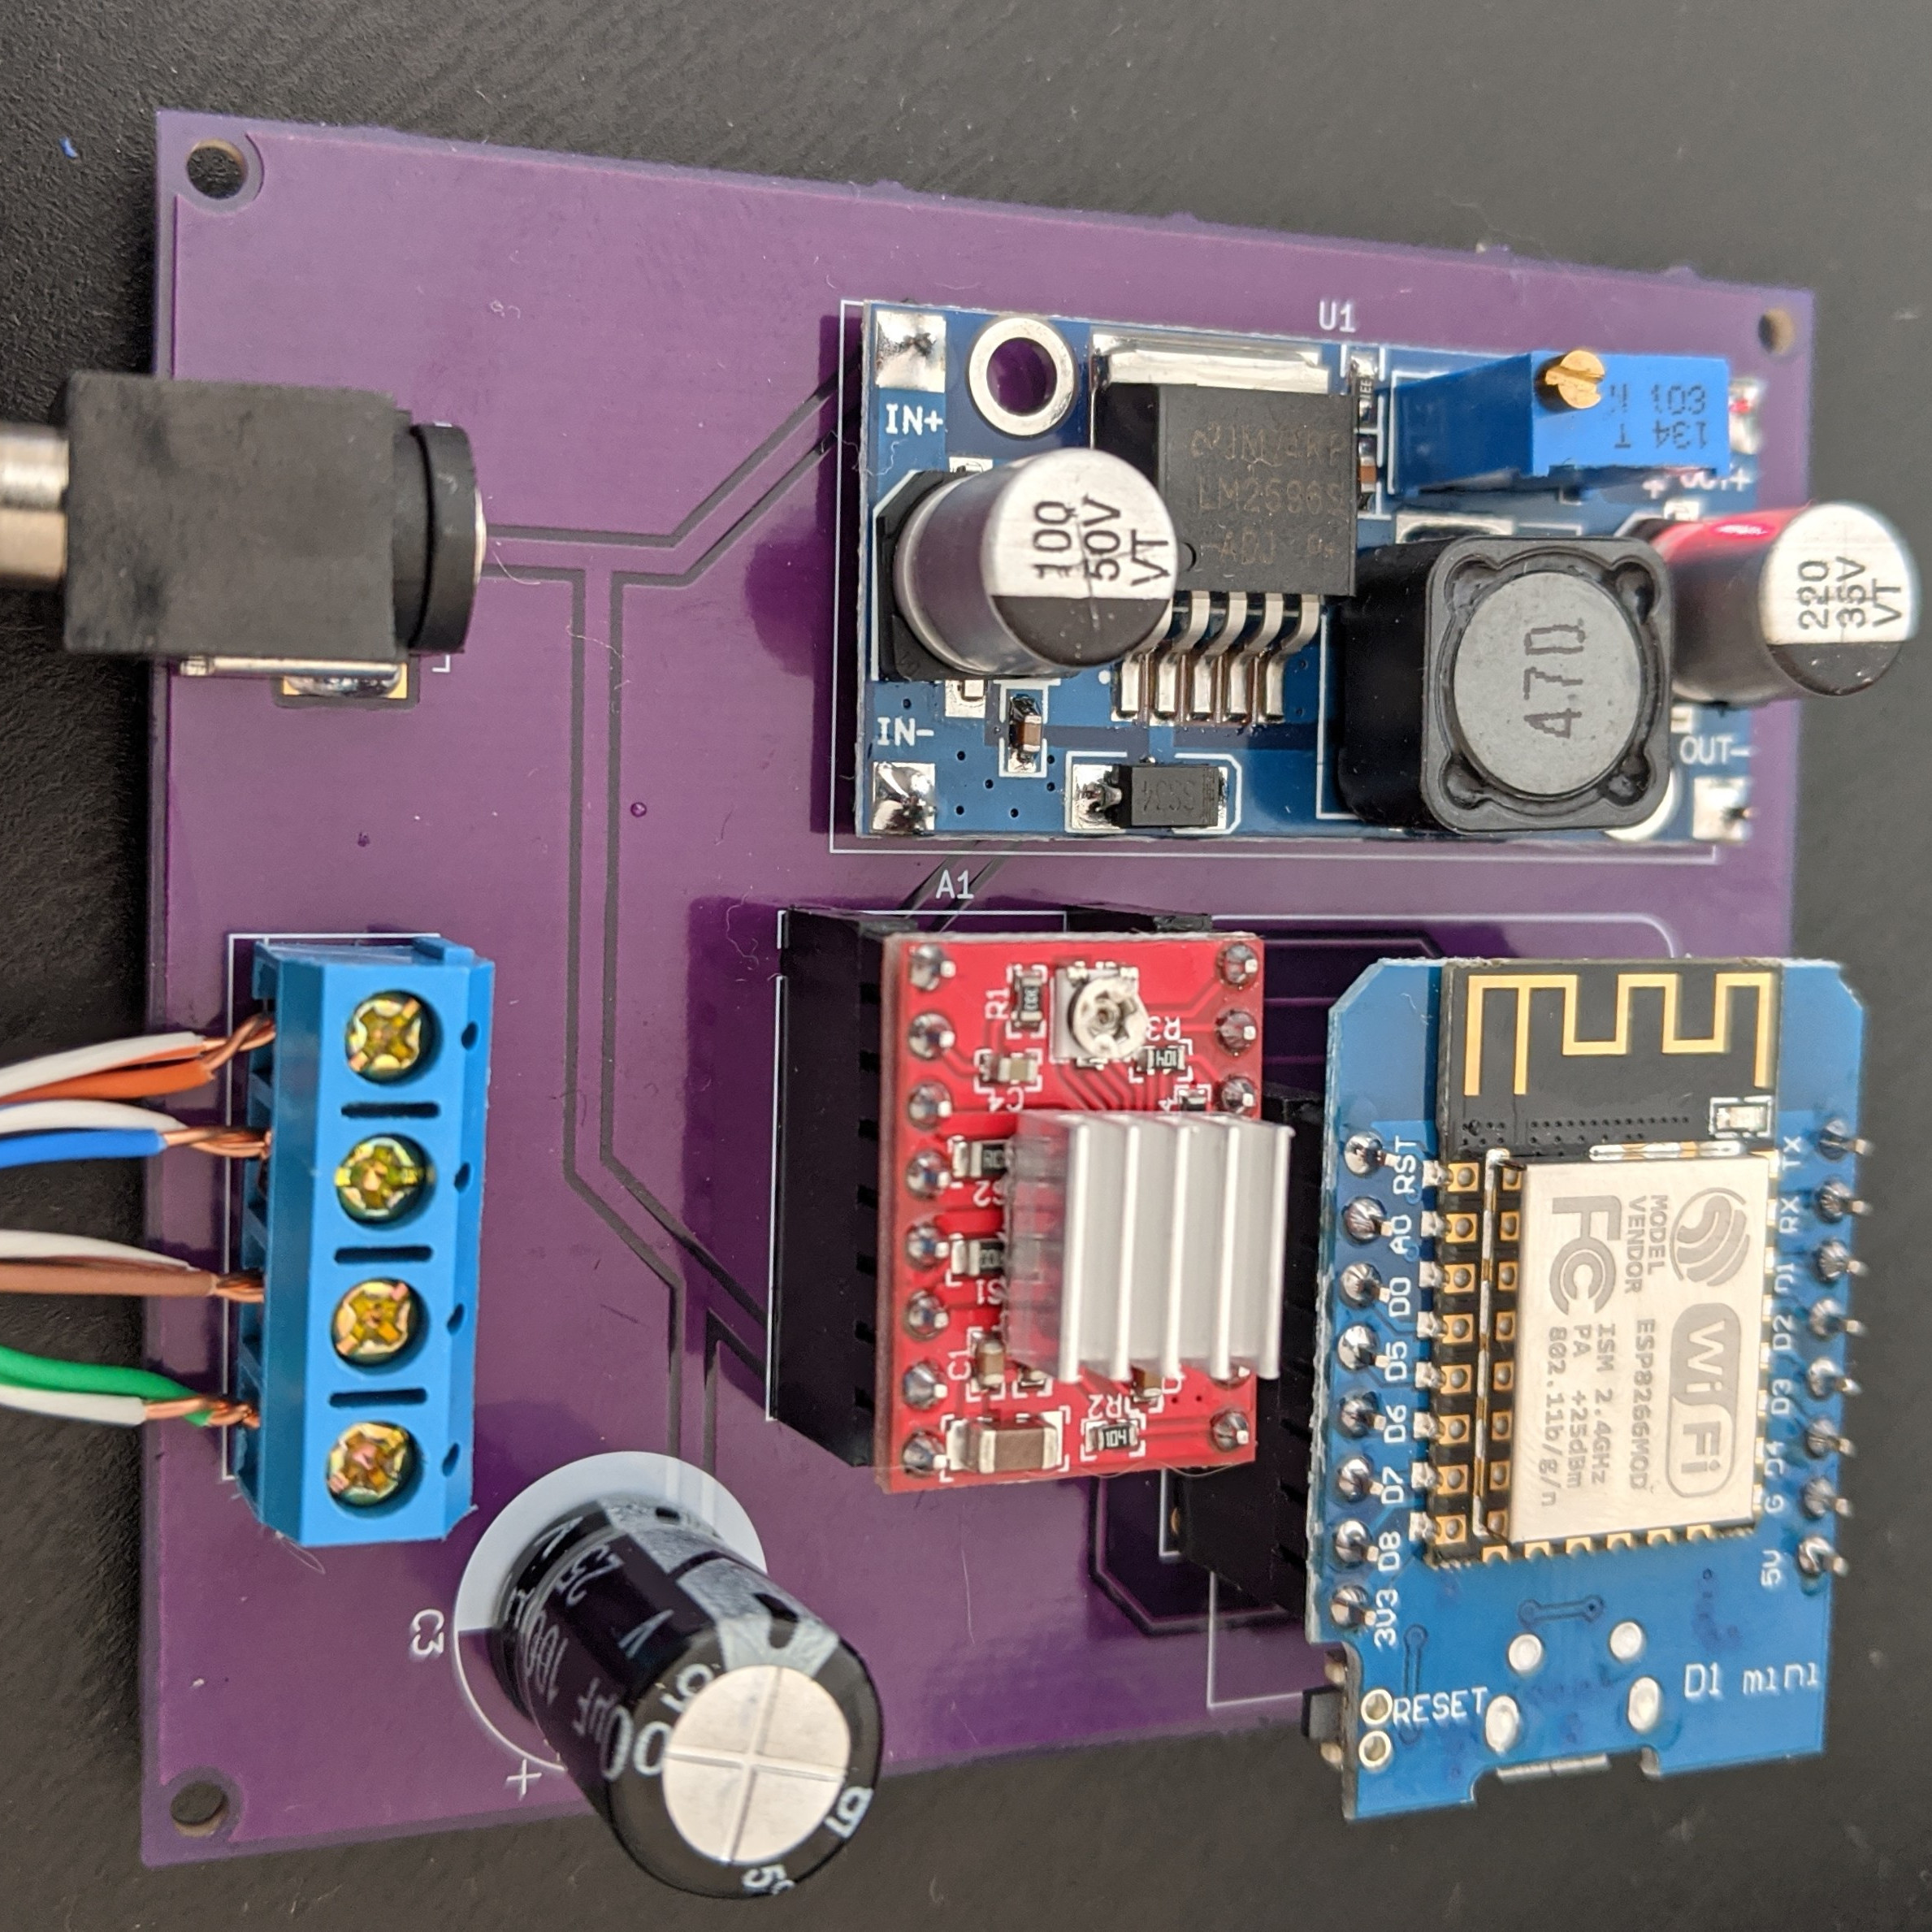
To drive the motor and provide wireless functionality, the whole thing works with a Wemos D1 ESP8266, an A4988 stepper driver, and a buck converter. While it worked fine as a one-off on a perfboard, [Chris] used the project as an opportunity to learn how to make a PCB using KiCad; the PCB project is here on GitHub and the ESP8266 runs the ESPHome firmware. Be sure to check out the project page on his blog for all the details; [Chris] links to all the resources there, and covers everything from a bill of materials to walking through configuration of ESPHome with integration into the open-source Home Assistant project.
Looking to control natural light but blinds aren’t your thing? Maybe consider automated curtains.