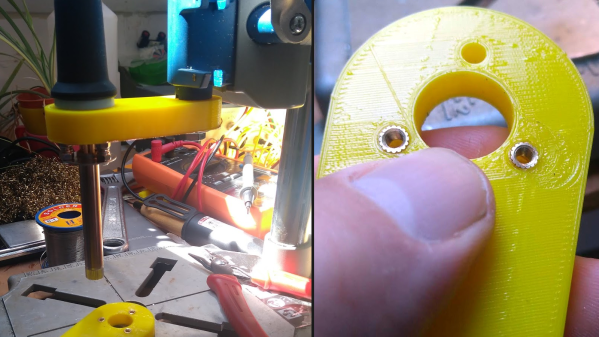
Dremel has been helping people fit square pegs into round holes for years, and [concretedog] saw that the Dremel 220 Workstation — a piece of hardware similar to a drill press — could be convinced to hold a cheap soldering iron just as easily as it holds a rotary tool. A soldering iron makes an effective thermal insert tool, and the job of heating and pressing the threaded metal rings into plastic is made much easier when it can be done similar to operating a drill press. With a few modifications and a 3D-printed adapter, the thermal insert rig was born.
 Whenever one is working around a design that already exists, it pays to be flexible and adjust to the unexpected. The Dremel 220 has a holder intended to clamp a rotary tool, and the original plan was to simply design and print an adapter so a soldering iron could sit in place of the rotary tool. That plan changed upon realizing that the entire rotary tool holder disconnected from the tool’s frame with a single bolt. It made much more sense to make the soldering iron replace the rotary tool holder, instead.
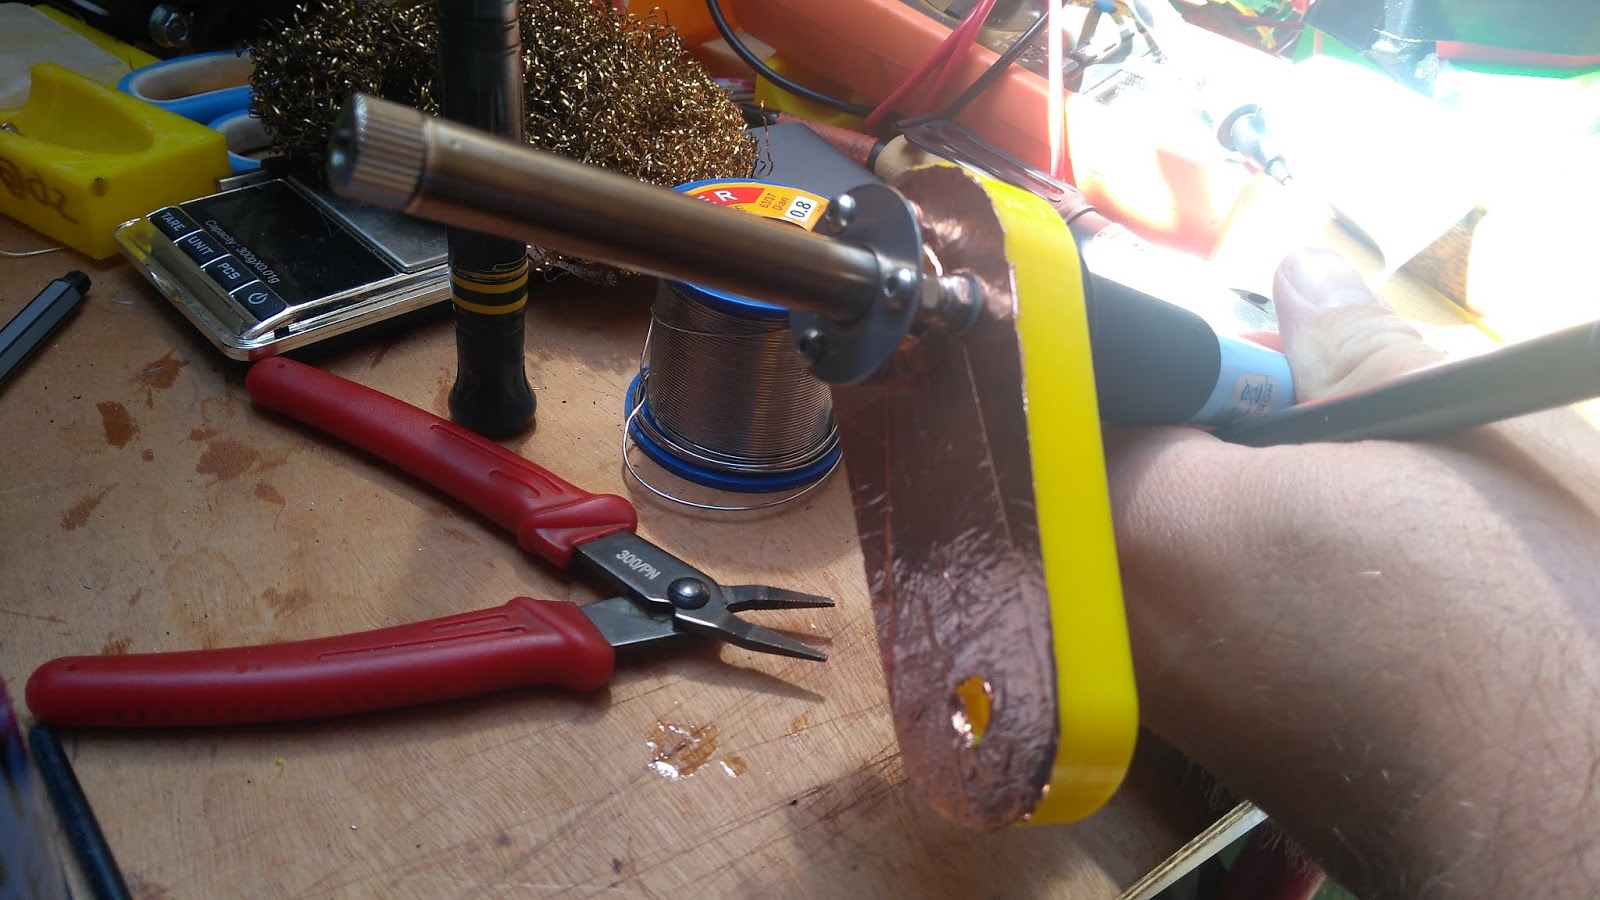
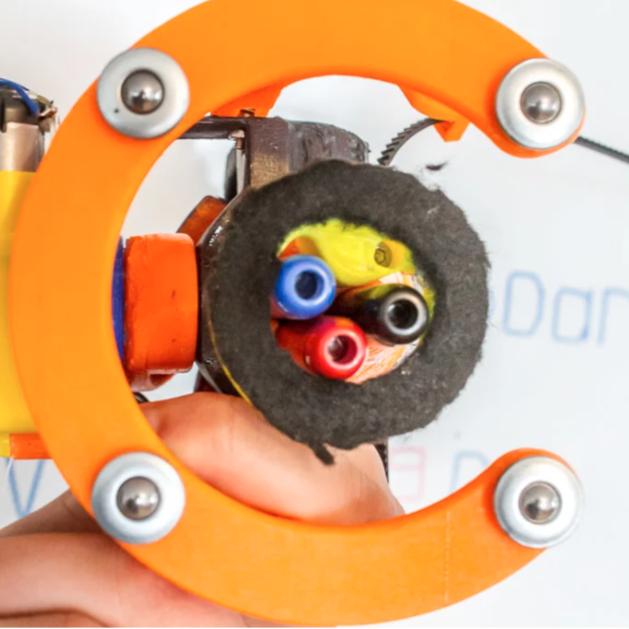
The resulting modified soldering iron is mounted via standoffs to a 3D-printed adapter with a copper foil heat shield. [concretedog] admits it’s not ideal from a heat management perspective, but it makes a fine prototype that seems to work well for light duty. The next step would be a metal version.
If you’re intrigued by threaded heat-set inserts, you can learn all about how to use them from Joshua Vasquez’s guide to the handy things. And should you prefer to make your own DIY press from 3D printed parts and off-the-shelf hardware, we have that covered as well.
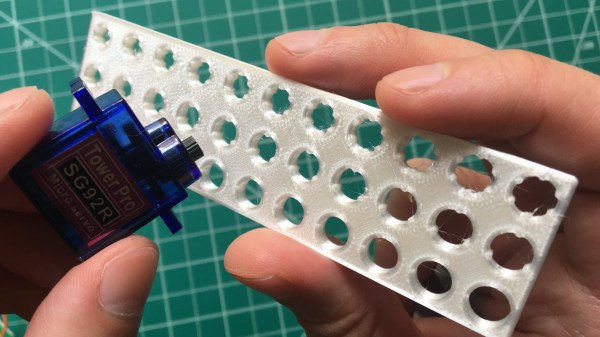

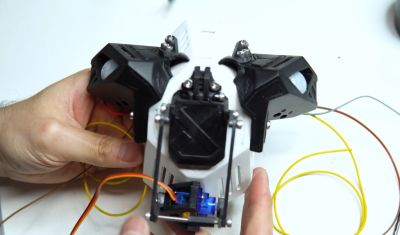 While homemade masks are usually made from fabric [DesignMaker]’s version is much more to a hacker’s taste and includes 3D-printed parts, an Arduino Nano, PIR sensors, an SG90 servo, and some Neopixels. [DesignMaker]’s background in industrial design certainly helped him when modeling the mask as it looks just plain awesome.
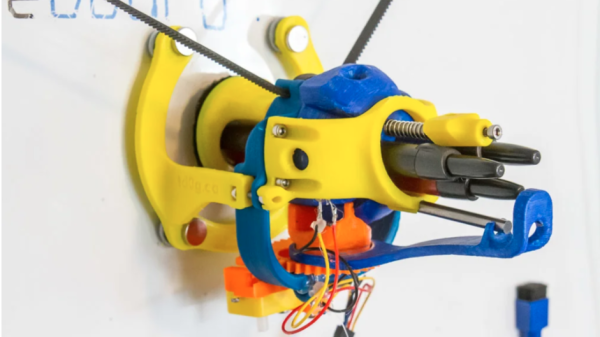

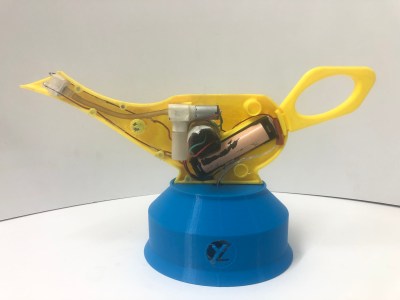 The lamp body consists of two 3D-printed halves held together by neodymium magnets. They house a 400 kV spark generator, a fuel pump plus tank, and a 18650 Li-ion battery. The fuel pump is actually a 3 V air pump but it can also pump liquids at low pressure. As fuel [YeleLabs] used rubbing alcohol that they mixed with boric acid to give the flame a greenish tint. The blue base at the bottom of the lamp houses the triggering mechanism which magically lights up the lamp when you snap your fingers. This is achieved by a KY-038 microphone module and KY-019 relay module connected to a Digispark ATTiny85 microcontroller. When the microphone signal is above a certain threshold the relay module will simultaneously switch on the spark generator and fuel pump for 150 ms.


