It is over a decade since the RepRap project was begun, originally to deliver 3D printers that could replicate themselves, in other words ones that could print the parts required to make a new printer identical to themselves. And we’re used to seeing printers of multiple different designs still constructed to some extent on this principle.
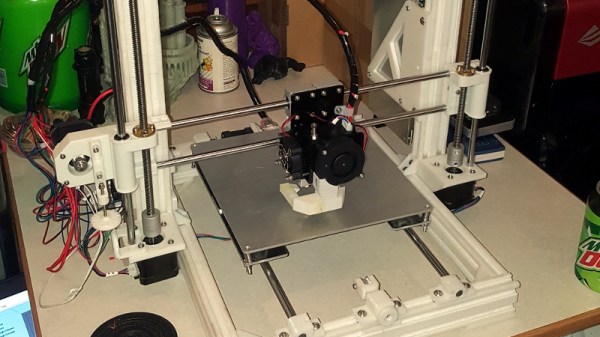
The problem with these printers from a purist replicating perspective though is that there are always frame parts that must be made using other materials rather than through the 3D printer. Their frames have been variously threaded rod, lasercut sheet, or aluminium extrusion, leaving only the fittings to be printed. Thus [Chip Jones]’ Thingiverse post of an entirely 3D printed printer frame using a 3D printed copy of aluminium extrusion raises the interesting prospect of a printer with a much greater self-replicating capability. It uses the parts from an Anet A8 clone of a Prusa i3, upon which it will be interesting to see whether the 3D printed frame lends the required rigidity.
There is a question as to whether an inexpensive clone printer makes for the most promising collection of mechanical parts upon which to start, but we look forward to seeing this frame and its further derivatives in the wild. Meanwhile this is not the most self-replicating printer we’ve featured, that one we covered in 2015.
Thanks [MarkF] for the tip.