How do you resist this talk title? You can’t! [Karsten Becker]’s talk about what kinds of 3D printers you’d use on the moon is a must-see.
[Part-Time Scientists] was a group of 35 people working on a mission to the moon. Then they won the qualifying round in the Google Lunar XPRIZE, got a bunch of money, and partnered with some heavy corporate sponsors, among which is Audi. Now they’ve added eleven full-time employees and updated the name to [PT Scientists]. (They’re taking applications if you’re interested in helping out!)
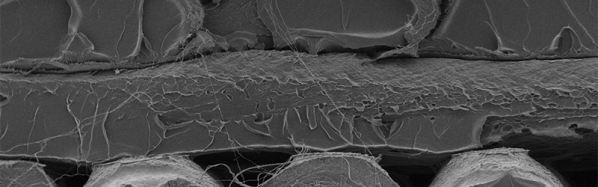
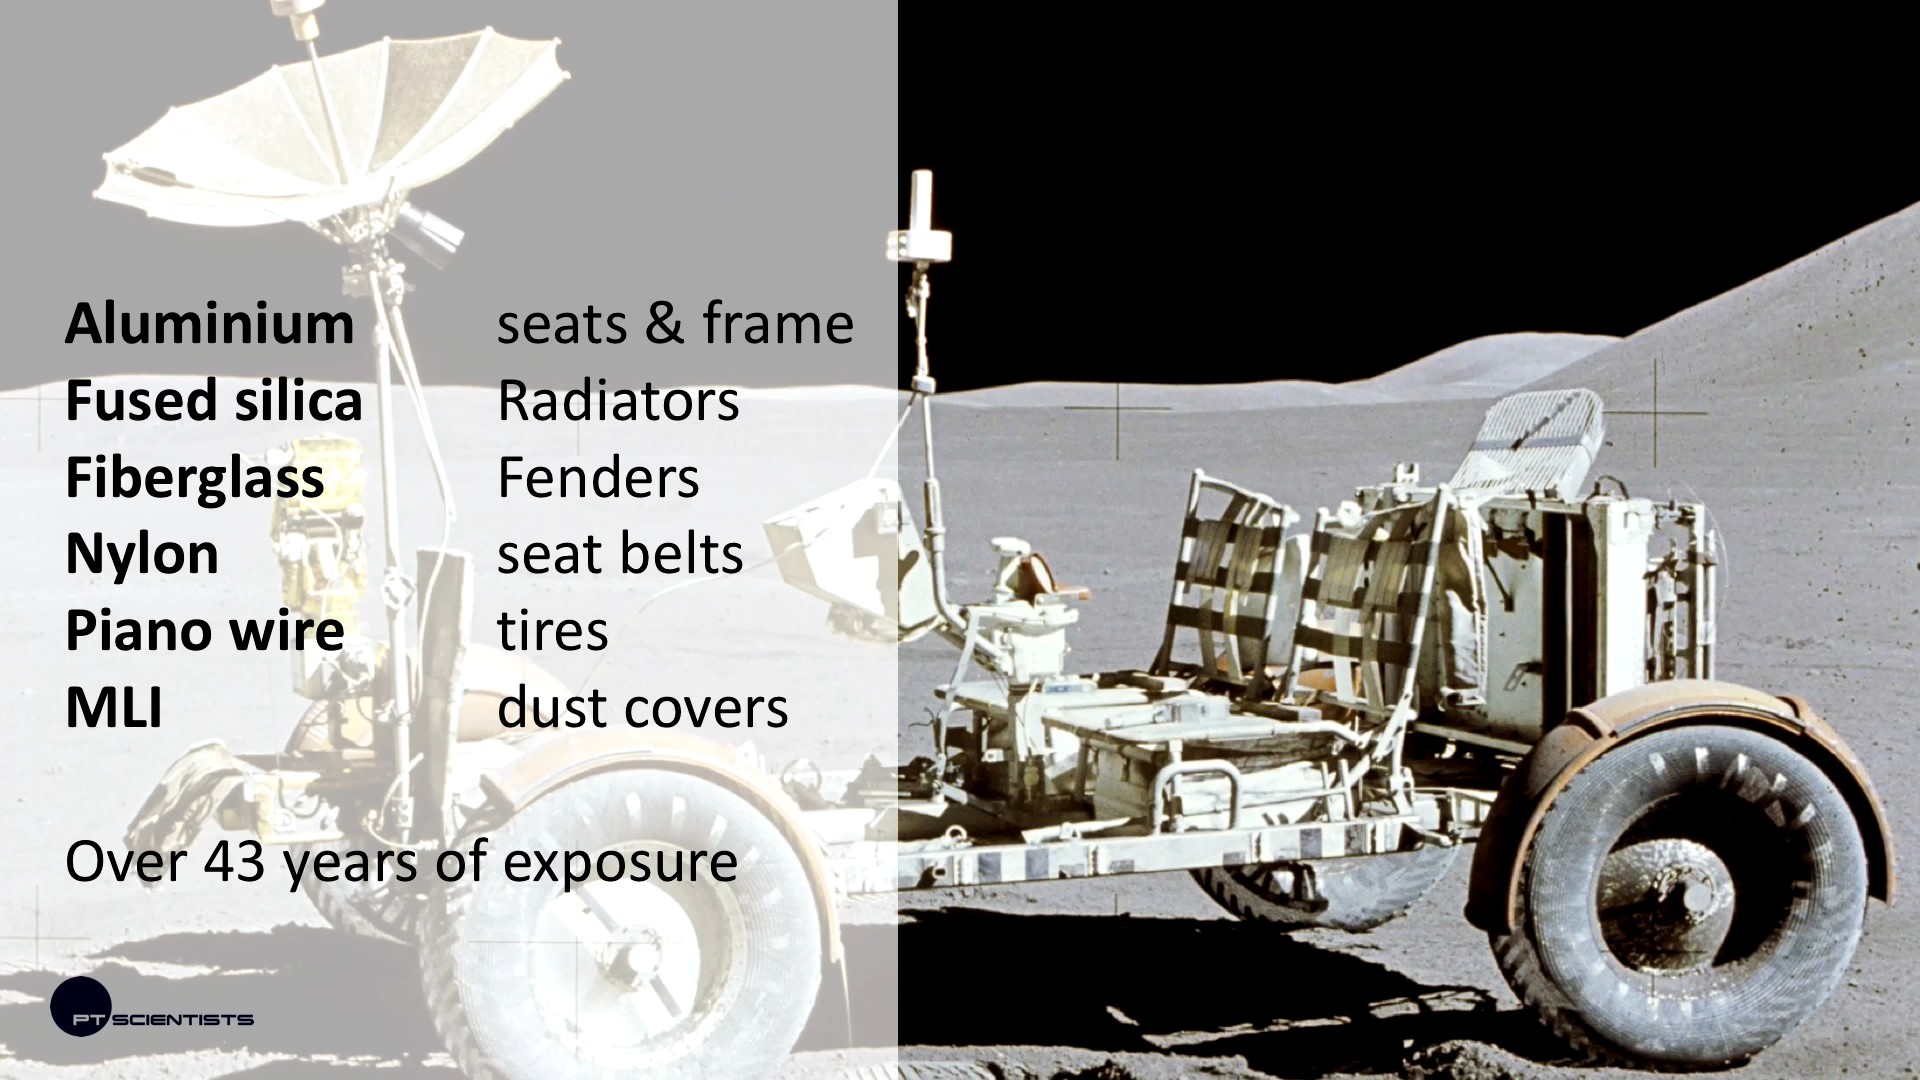 A really neat part of their planned mission is to land near the Apollo 17 landing site, which will let them check up on the old lunar rover that NASA left up there last time. The science here is that, 45 years on, they hope to learn how all of the various materials that make up the rover have held up over time.
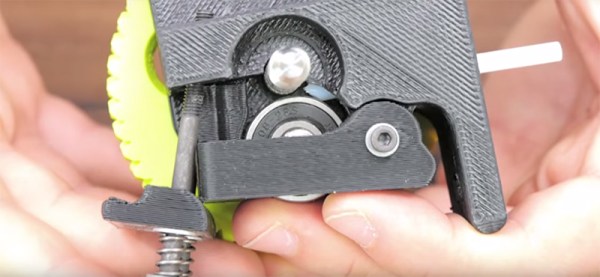
But the main attraction of their mission is experimental 3D printing using in-situ materials. As [Karsten] says, “3D printing is hard…but we want to do it on the moon anyway.”
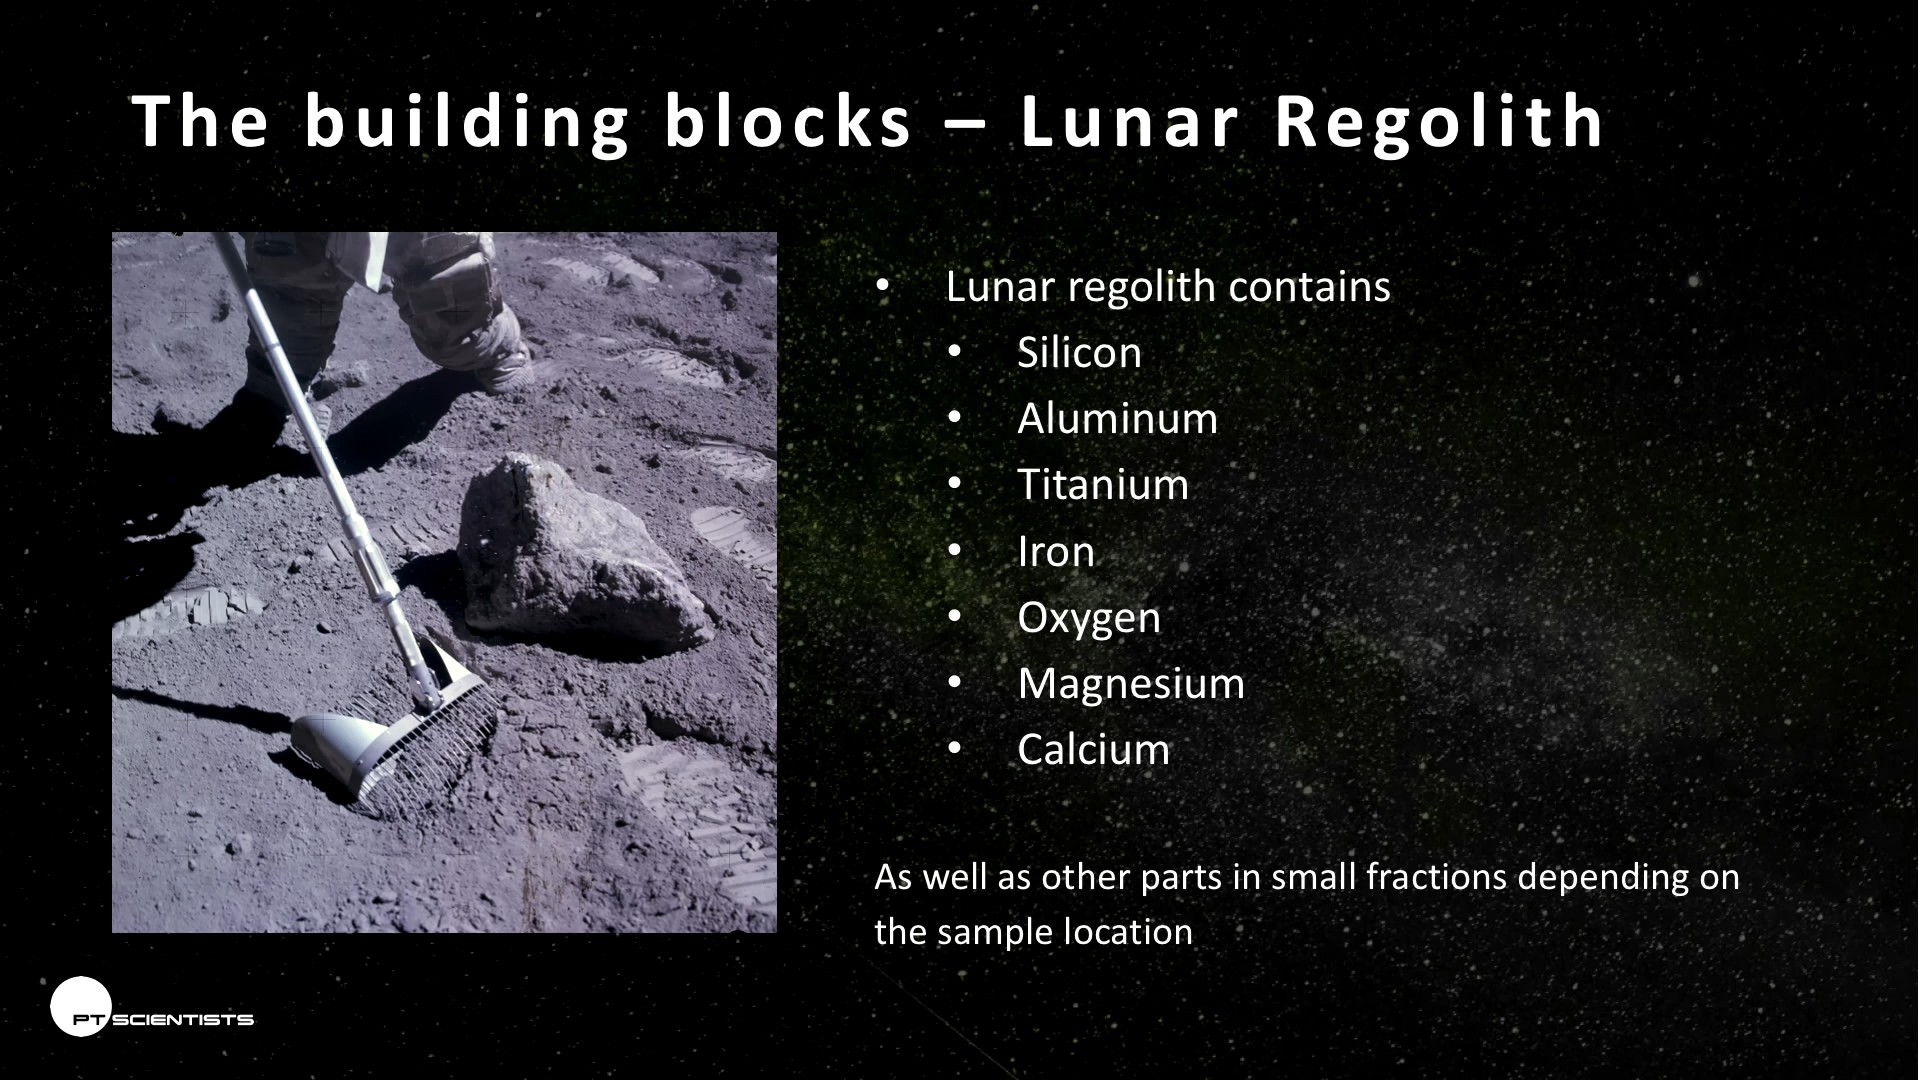 One idea is to essentially microwave the lunar regolith (and melt it) . This should work because there’s a decent iron component in the regolith, so if they can heat it up it should fuse. The catch with microwaving is directivity — it’s hard to make fine details. On the plus side, it should be easy to make structures similar to paved roads out of melted regolith. Microwave parts are robust and should hold up to launch, and microwaving is relatively energy efficient, so that’s what they’re going to go for.
But there are other alternatives. The European Space Agency is planning to bring some epoxy-like binder along, and glue regolith together in layers like a terrestrial cement printer. The problem is, of course, schlepping all of the binder to the moon in the first place.
And then there are lasers. [Karsten] talked lasers down a little bit, because they’re not very energy efficient and the optics are fidgety — not something you’d like to be supporting remotely from earth.
The final option that [Karsten] mentioned was the possibility of using locally-generated thermite to fuse regolith. This has been tested out on earth, and should work. [Karsten] thought it was an interesting option, but balls of hot thermite are potentially tough on rovers, and the cost of mistakes are so high that they’re going to put that off for a future mission.
In the end, the presentation ran only thirty minutes long, so there’s a great Q&A session after that. Don’t go home once you hear the audience clapping!