Some of you will be familiar with the idea of using a brush as a nozzle wipe on a 3D printer. The idea is that passing the hot end over the brush cleans any stray plastic from the nozzle, ensuring that those plastic bits don’t end up in unwelcome places. [Mark Rehorst] attempted to implement a nozzle brush system in his own printer, but hasn’t so far been successful.
 One of the things [Mark] makes is 3D printed lamp shades and this led to his experiments in setting up an automatic nozzle cleaner. Despite best efforts, the hot ends of 3D printers can occasionally accumulate bits of molten plastic which can sometimes end up deposited on the print. Because the lamp shades are so thin and so big, having a charred blob end up on the print is pretty unwelcome. Having the nozzle automatically wiped clean would be a very handy feature, but is proving to be a troublesome one.
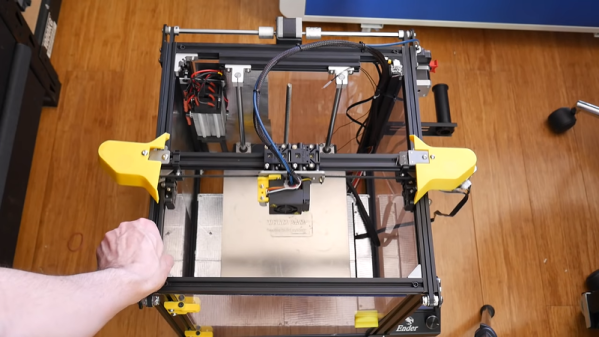
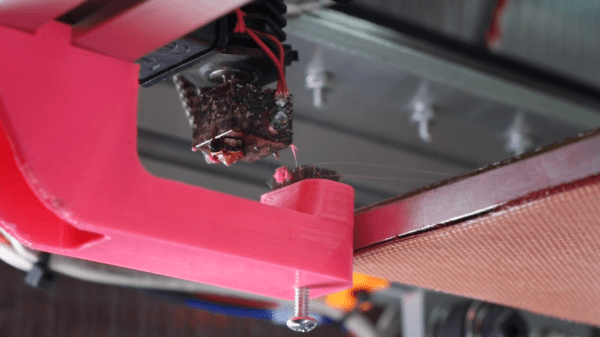
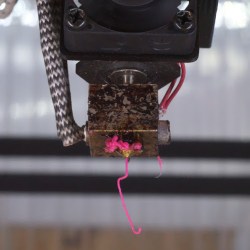
[Mark] based his design on a small, dense wire brush used for cleaning the print nozzle of a Stratasys printer. Sadly, he found no combination of motion or brush height that got the nozzle reliably clean every time. Sometimes a blob would be dislodged, but the hot end would pick it back up again on subsequent passes. You can see it in slow motion from a variety of angles in the video below.
Continue reading “Fail Of The Week: The 3D Printer Nozzle Wipe That Won’t”