[Hristo Borisov] shows us his clever home automation project, a nicely packaged WiFi switchable wall socket. The ESP8266 has continuously proven itself to be a home automation panacea. Since the ESP8266 is practically a given at this point, the bragging rights have switched over to the skill with which the solution is implemented. By that metric, [Hristo]’s solution is pretty dang nice.
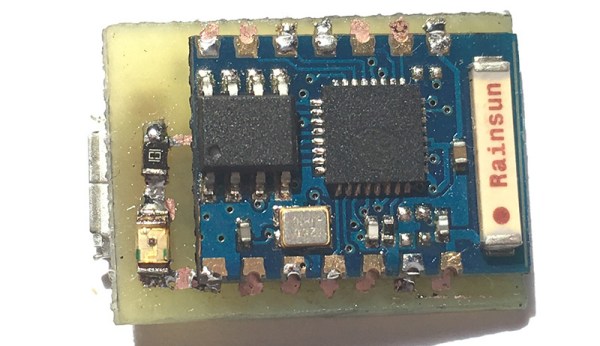
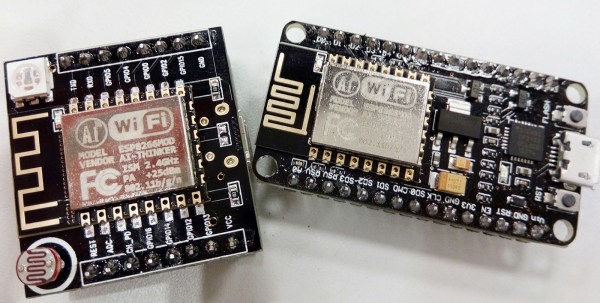
 It’s all based around a simple board. An encapsulated power supply converts the 220V offered by the Bulgarian power authorities into two rails of 3.3V and 5V respectively. The 3.3V is used for an ESP8266 whose primary concern is the control of a triac and an RGB LED. The 5V is optional if the user decides to add a shield that needs it. That’s right, your light switches will now have their own shields that decide the complexity of the device.
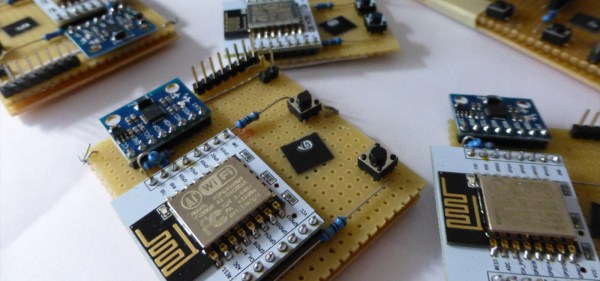
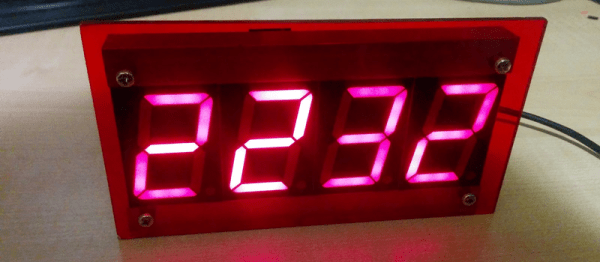
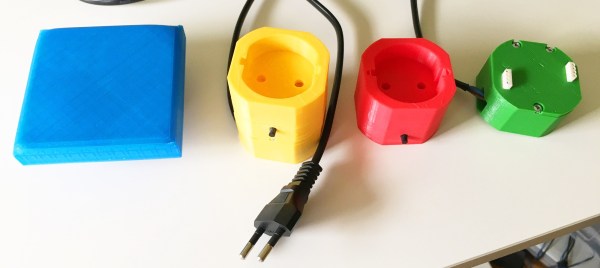
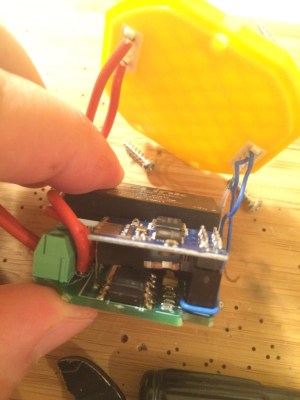
The core module seen to the right contains the actual board. All it needs is AC on one side and something to switch or control on the other The enclosure is not shown (only the lid with the shield connectors is seen) but can be printed in a form factor that includes a cord to plug into an outlet, or with a metal flange to attach to an electrical box in the wall. The modules that mate with the core are also nicely packaged in a 3D printed shield. For example, to convert a lamp to wireless control, you use a shield with a power socket on it. To convert a light switch, use the control module that has a box flange and then any number of custom switch and display shields can be hot swapped on it.
It’s all controllable from command line, webpage, and even an iOS app; all of it is available on his GitHub. We’d love to hear your take on safety, modularity, and overall system design. We think [Hristo] has built a better light switch!