We’re beginning to think the “S” in [Jeremy S Cook] stands for strandbeest. He’ll be the talk of the 4th of July picnic once he brings out his latest build—a weaponized, remote-controlled strandbeest that shoots bottle rockets. There are a bank of money shots up on Imgur.
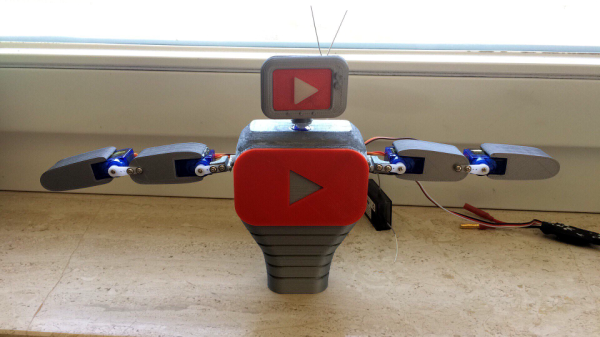
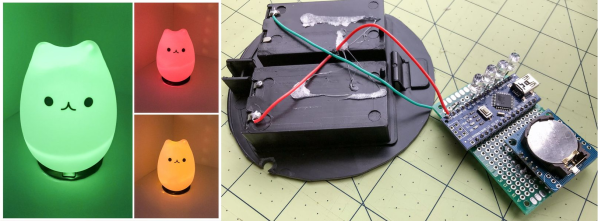
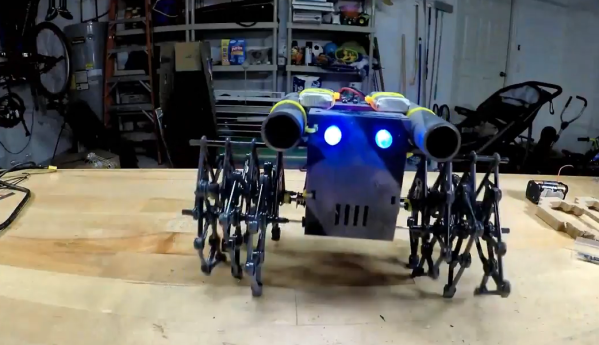
This ‘beest is the natural next step after his remote-controlled walker, which we featured a month or so ago. Like that one, the locomotion comes from a pair of micro gear motors that are controlled by an Arduino Nano over Bluetooth. The pyrotechnics begin when nitinol wire cleverly strung across two lever nuts is triggered. All the electronics are housed inside a 3D-printed box that [Jeremy] designed to sit in the middle of the legs. We love the face plate he added later in the build, because those gumdrop LED eyes are sweet.
Can you believe that this vehicle of destruction began as a pile of innocent, pasta-colored pieces of kit? We dig the camouflaged battleship paint job, ’cause it really toughens up the whole aesthetic. And really, that’s probably what you want if you’re driving around a spindly beast that can just shoot rockets whenever. Let’s light this candle after the break, shall we?
Continue reading “R/C Rocket-Beest Burns Up Fuses Out There Alone”