The World Health Organization estimates that around 90% of the 285 million or so visually impaired people worldwide live in low-income situations with little or no access to assistive technology. For his Hackaday Prize entry, [Tiendo] has created a simple and easily reproducible way-finding device for people with reduced vision: a bracelet that detects nearby objects and alerts the wearer to them.
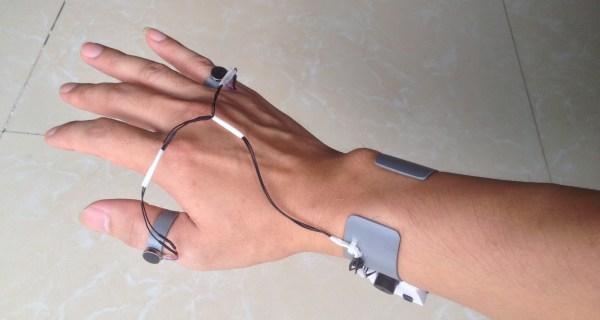
It does its job using an ultrasonic distance sensor and an Arduino Pro Mini. The bracelet has two feedback modes: audio and haptic. In audio mode, the bracelet will begin to beep when an object is within 2.5 meters. And it behaves the way you’d expect—get closer to the object and the beeping increases; back away and it decreases. Haptic mode involves two tiny vibrating disk motors attached to small PVC cuffs that fit on the thumb and pinky. These motors will buzz differently based on the person’s proximity to a given object. If an object is 1 to 2.5 meters away, the pinky motor will vibrate. Closer than that, and it switches over to the thumb motor.
To add to the thriftiness of this project, [Tiendo] re-used other objects where he could. The base of the bracelet is a cuff made from PVC. The nylon chin strap and plastic buckle from a broken bike helmet make it adjustable to fit any wrist. To keep the PVC cuff from chafing, he slipped small pieces from an old pair of socks on to the sides.
It’s easy to see why this project is a finalist in our Best Product contest. It’s a simple, low-cost assistive device made from readily available and recycled materials, and it can be built by anyone who knows a little bit about electronics. Add in the fact that it’s lightweight and frees up both hands, and you have a great product that can help a lot of people. Watch it beep and buzz after the break. Continue reading “Hackaday Prize Entry: A Bracelet For The Blind”