Britain is famously known as a land of manners and hospitality. Few situations could make an Englishman’s stiff upper lip quiver, short of running out of tea bags while entertaining house guests. Thankfully, [The Gentleman Maker] is here and living up to his name – with a helpful tea monitor to ensure you’re never caught out again.
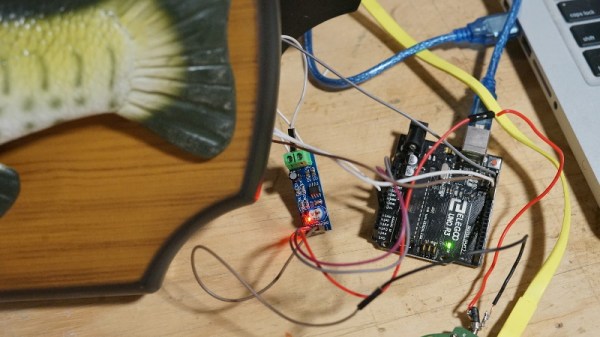
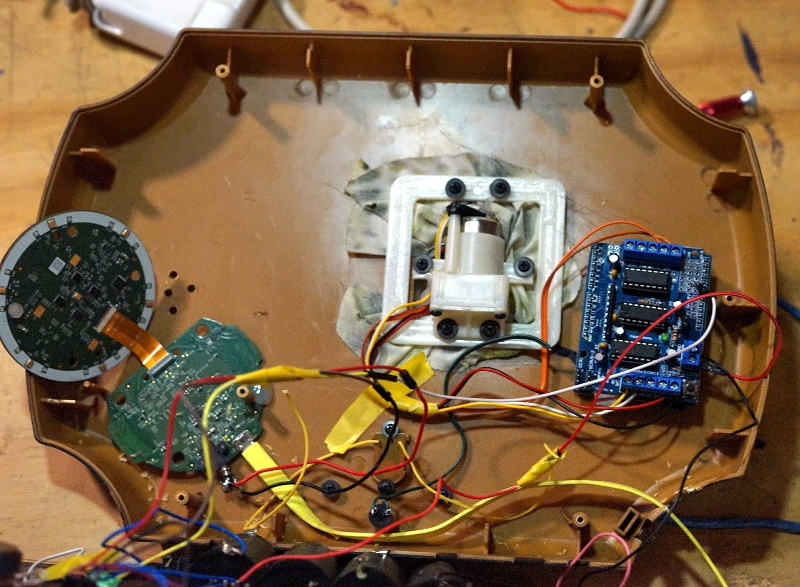
The Intelli-T, as it has been dubbed, monitors tea inventory by weight. An Arduino Uno combined with a HX711 IC monitors a load cell mounted under a canister, with a reed switch on the lid. Upon the canister being open and closed, the Arduino takes a measurement, determining whether tea stocks have dipped below critical levels. If the situation is dire, a Raspberry Pi connected over the serial port will sound an urgent warning to the occupants of the home. If there is adequate tea, the Raspberry Pi will instead provide a helpful tea fact to further educate the users about the hallowed beverage.
It’s a fun project, and one that has scope for further features, given the power of the Raspberry Pi. A little more work could arrange automatic ordering of more tea online, or send alerts through a service like IFTTT. We’ve seen [The Gentleman Maker]’s uniquely British hacks before, such as the umbrella that tells you the weather. Video after the break.
Continue reading “A Modern Solution To Tea Bag Inventory Management”