Everyone remembers popping their first wheelie on a bike. It’s an exhilarating moment when you figure out just the right mechanics to get balanced over the rear axle for a few glorious seconds of being the coolest kid on the block. Then gravity takes over, and you either learn how to dismount the bike over the rear wheel, or more likely end up looking at the sky wondering how you got on the ground.
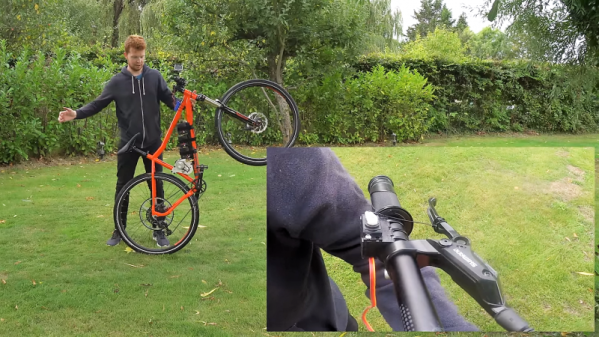
Had only this wheelie cheating device been available way back when, many of us could have avoided that ignominious fate. [Tom Stanton]’s quest for the perfect wheelie led him to the design, which is actually pretty simple. The basic idea is to apply the brakes automatically when the bike reaches the critical angle beyond which one dares not go. The brakes slow the bike, the front wheel comes down, and the brakes release to allow you to continue pumping along with the wheelie. The angle is read by an accelerometer hooked to an Arduino, and the rear brake lever is pulled by a hobby servo. We honestly thought the servo would have nowhere near the torque needed, but in fact it did a fine job. As with most of [Tom]’s build his design process had a lot of fits and starts, but that’s all part of the learning. Was it worth it? We’ll let [Tom] discuss that in the video, but suffice it to say that he never hit the pavement in his field testing, although he appeared to be wheelie-proficient going into the project.
Still, it was an interesting build, and begs the question of how the system could be improved. Might there be some clues in this self-balancing motorized unicycle?
Continue reading “Cheating The Perfect Wheelie With Sensors And Servos”