The apparent lull on the Arduino front the last few weeks was just the calm before the storm that is the Bay Area Maker Faire (BAMF). Both companies claiming the Arduino name were there over the weekend, with news and new products in tow. Ironically, you could see from one booth straight over to the other. Small world.
Perhaps the biggest news from Arduino LLC is that hacker-friendly Adafruit is now going to be making officially-licensed boards in the US. Competing with this news, Arduino SRL brought its new boards, including the Yun Mini and ARM-powered Arduino M0. And [Massimo Banzi] and Arduino LLC seem to be taking an end-run around the Arduino SRL trademark by announcing the “Genuino” brand for European production. For all the details, read on!
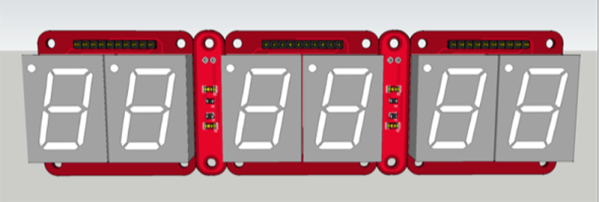

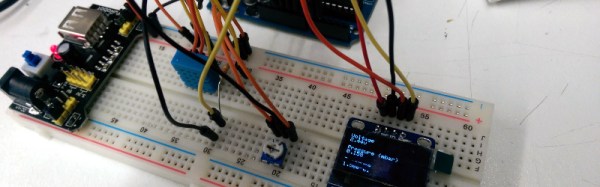
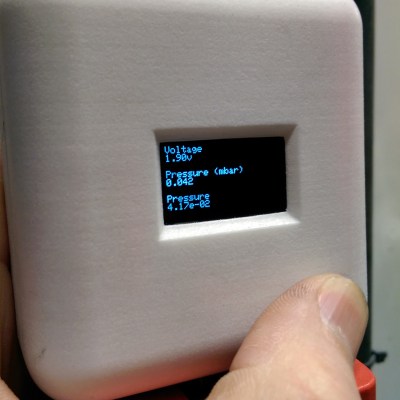 This project goes a little beyond simple Arduino programming though. A 12V to 5V power supply drives the device, which is laid out on a blank PCB. The display fits snugly over the circuit which reduces the footprint of the project, and the entire thing is housed in a custom-printed case with a custom-printed pushbutton. The device gets power and data over the RJ45 connection so no external power is needed. If you want to take a look at the code,
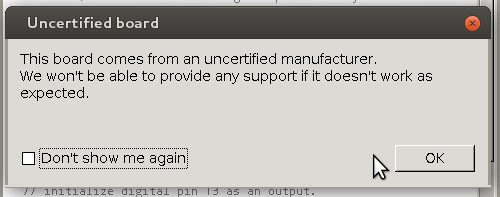 But before that, it’s time to bid farewell to the cheeky little popup window that would deliver a warning message when using a board bearing the USB IDs of their former-partner-turned-competitor. We absolutely