One might think the last thing the world needs is for The Great Old Ones to rise from their near-death sleep deep in the Pacific ocean, and begin again their reign over Earth. Actually, the last thing the world needs is another Arduino clone. Here’s this one. Fittingly, it’s called the Ktuluino.
Actually, this isn’t yet another attempt to build an Arduino clone that adds nothing to existing designs; it’s just [Jeff]’s attempt at PCB design. He needed something to practice on, so why not something that ends in -uino?
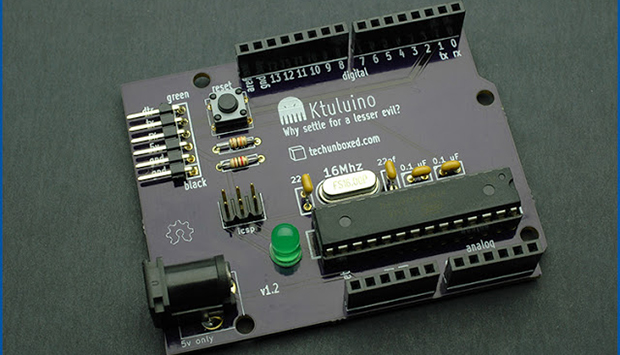
The board is just about as simple as Arduinos come – an ATMega328P is the brains of the outfit and also the most expensive component, closely followed by either the power jack or the header pins. As an exercise in PCB design, we’ll give this a thumbs up, but this could also be used for an ‘introduction to soldering’ workshop at a hackerspace, or alternatively a coaster.