Cheap GPS modules

If you’re making a GPS-enabled project, you may have noticed the commonly available GPS modules are pretty expensive – usually around $50. Here’s one for $8. It’s a U-blox PCI-5S GPS receiver on a PCI Express card. There are test points for serial and USB data, though, so fitting this in your project is a breeze.
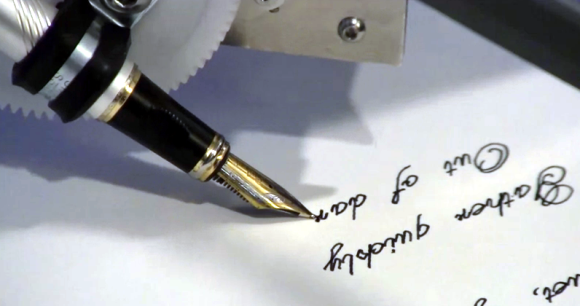
Grandfather clock makes a giraffe’s scarf

Here’s a clock project from [Siren Elise Wilhelmsen]. Over the course of 365 days, the clock knits a giant, 2-meter tube of yarn that should be the perfect start for a half-dozen pairs of socks. No video for this, but if you find one, post a comment.
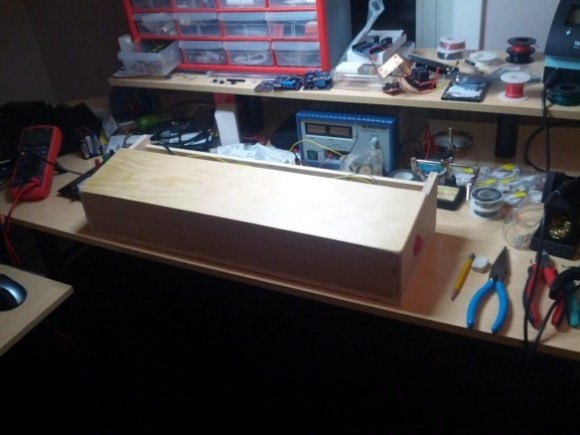
A huge hackerspace for Hotlanta

Atlanta is getting a new hackerspace. It’s called My Inventor Club and they’re starting to move into their space. Judging from [Scott]’s pictures of the new space it’s huge. We can’t wait for the video tour once they’re done moving in.
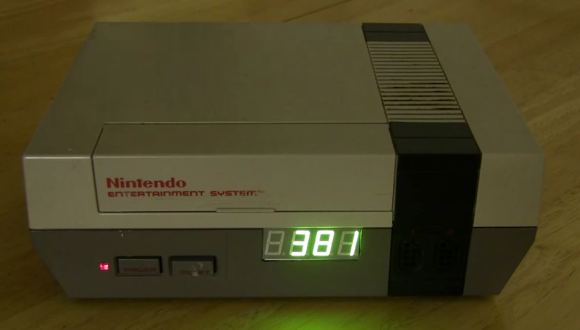
Ardino and Windows 8

Windows 8 is… weird… and you can’t install unsigned drivers without a lot of rigamarole. This means installing the Arduino IDE is a pain but [Dany] has a solution. Reboot into “test mode” and you can install unsigned drivers without your computer throwing a hissy fit.
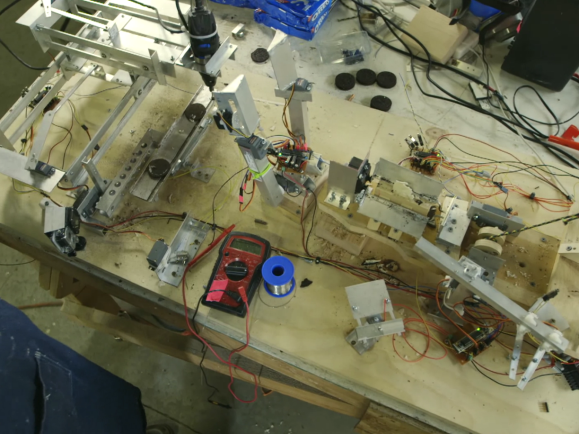
Tweet for welts and bruises
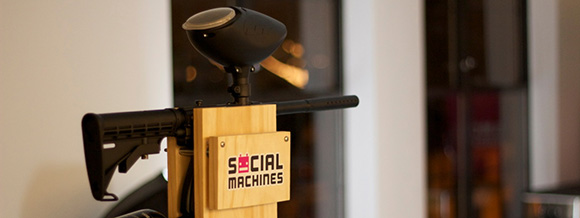
[Zach]’s boss told him to come up with a Twitter-controlled paintball gun. Why he was asked to build this is beyond us, but the build is still cool. It’s powered by an Arduino and was built in just 12 hours. If only there was a video stream…
Hey guys, need some help here.
Alright, I’ve got a little problem with component sourcing. I’m making a ‘shield’ for the Raspberry Pi. Does anyone know where I can get really long female headers for the GPIO pins so the board will fit over the USB and Ethernet jacks? Here’s the project if you’re curious. I think the female part of the header needs to be 14mm high at least to fit over the USB port.
EDIT: Samtec ESQ-113-33-L-D. Here’s their site. This site is amazing. You can actually… find things. Completely unique experience here. Thank you, [Richard].