Controlling your computer with a wave of the hand seems like something from science fiction, and for good reason. From Minority Report to Iron Man, we’ve seen plenty of famous actors controlling their high-tech computer systems by wildly gesticulating in the air. Meanwhile, we’re all stuck using keyboards and mice like a bunch of chumps.
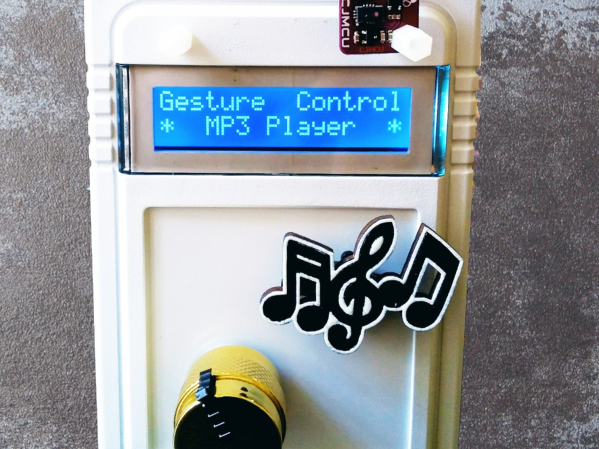
But it doesn’t have to be that way. As [Norbert Zare] demonstrates in his latest project, you can actually achieve some fairly impressive gesture control on your computer using a $10 USD PAJ7620U2 sensor. Well not just the sensor, of course. You need some way to convert the output from the I2C-enabled sensor into something your computer will understand, which is where the microcontroller comes in.
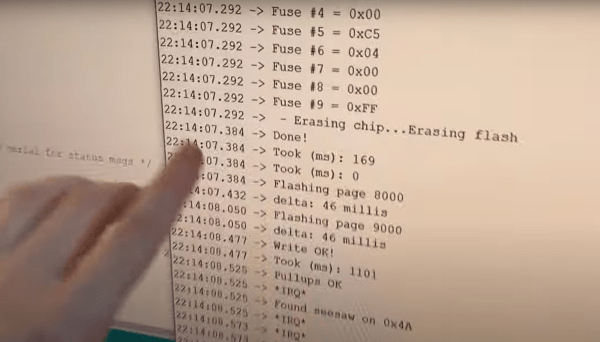
 Looking through the provided source code, you can see just how easy it is to talk to the PAJ7620U2. With nothing more exotic than a
 switch case statement, [Norbert] is able to pick up on the gesture flags coming from the sensor. From there, it’s just a matter of using the Arduino Keyboard library to fire off the appropriate keycodes. If you’re looking to recreate this we’d go with a microcontroller that supports native USB, but technically this could be done on pretty much any Arduino. In fact, in this case he’s actually using the ATtiny85-based Digispark.
This actually isn’t the first time we’ve seen somebody use a similar sensor to pull off low-cost gesture control, but so far, none of these projects have really taken off. It seems like it works well enough in the video after the break, but looks can be deceiving. Have any Hackaday readers actually tried to use one of these modules for their day-to-day futuristic computing?
Continue reading “Low-Cost Computer Gesture Control With An I2C Sensor”