We love the simplicity of Arduino for focused tasks, we love how Raspberry Pi GPIO pins open a doorway to a wide world of peripherals, and we love the software ecosystem of Intel’s x86 instruction set. It’s great that some products manage to combine all of them together into a single compact package, and we welcome the recent addition of Seeed Studio’s Odyssey X86J4105.
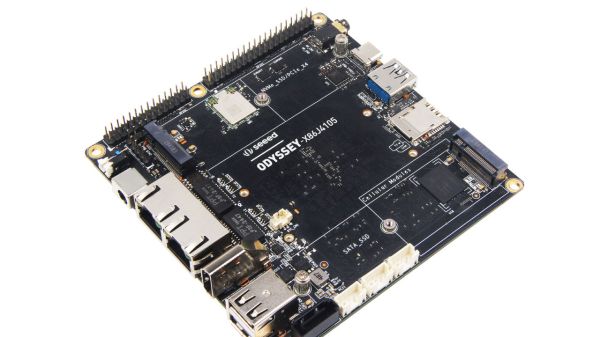
[Ars Technica] recently looked one over and found it impressive from the perspective of a small networked computer, but they didn’t dig too deeply into the maker-friendly side of the product. We can look at the product documentation to see some interesting details. This board is larger than a Raspberry Pi, but its GPIO pins were laid out in exactly the same order as that on a Pi. Some HATs could plug right in, eliminating all the electrical integration leaving just the software issue of ARM vs x86. Tasks that are not suitable for CPU-controlled GPIO (such as generating reliable PWM) can be offloaded to an on-board Arduino-compatible microcontroller. It is built around the SAMD21 chip, similar to the Arduino MKR and Arduino Zero but the pinout does not appear to match any of the popular Arduino form factors.
The Odyssey is not the first x86 single board computer (SBC) to have GPIO pins and an onboard Arduino assistant. LattePanda for example has been executing that game plan (minus the Raspberry Pi pin layout) for the past few years. We’ve followed them since their Kickstarter origins and we’ve featured creative uses here and there. LattePanda’s current offerings are built around Intel CPUs ranging from Atom to Core m3. The Odyssey’s Celeron is roughly in the middle of that range, and the SAMD21 is more capable than the ATmega32U4 (Arduino Leonardo) on board a LattePanda. We always love seeing more options in a market for us to find the right tradeoff to match a given project, and we look forward to the epic journeys yet to come.