The field of computer science has undeniably changed the world for virtually every single person by now. Certainly for you as Hackaday reader, but also for everyone around you, whether they’re working in the field themselves, or are simply enjoying the fruits of convenience it bears. What was once a highly specialized niche field for a few chosen people has since grown into a discipline that not only created one of the biggest industry in modern times, but also revolutionized every other industry, some a few times over.
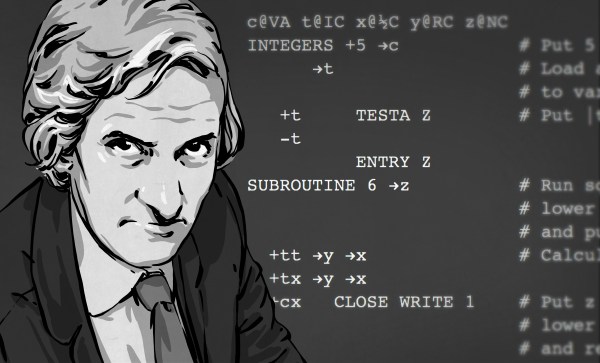
The fascinating part about all this is the relatively short time span it took to get here, and with that the privilege to live in an era where some of the pioneers and innovators, the proverbial giants whose shoulders every one of us is standing on, are still among us. Sadly, one of them, [Tony Brooker], a pioneer of the early programming language concept known as Autocode, passed away in November. Reaching the remarkable age of 94, the truly sad part however is that this might be the first time you hear his name, and there’s a fair chance you never heard of Autocode either.
But Autocode was probably the first high-level computer language, and as such played a fundamental role in the development of whatever you’re coding in today. So to honor the memory of [Tony Brooker], let’s remember the work he did with Autocode, and the leap in computer science history that it represented.
Continue reading “Tony Brooker And Autocode – The First High-level Language”
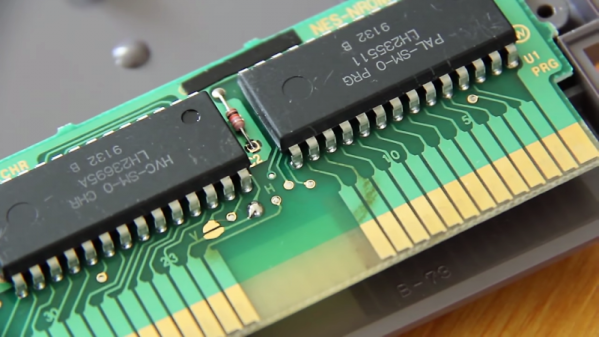

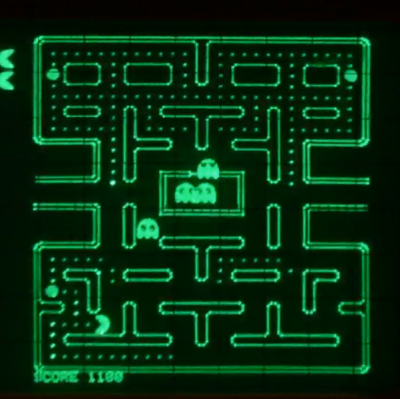 Using a CRT oscilloscope in X-Y mode as a vector display, the console faithfully reproduces some classic games, most of which, curiously enough, were not originally vector games. There are implementations of the Anaconda, RetroRacer, and AstroLander minigames from Timesplitter 2. There are also versions of Pac-Man, Tetris, and even Super Mario Brothers. Most of the games were prototyped in JavaScript before being translated into assembly and placed onto EEPROM external cartridges, to be read by the ATMega128 inside the console. Sound and music are generated using the ATMega’s hardware timers, with a little help from a reverse-biased transistor for white noise and a few op-amps.


