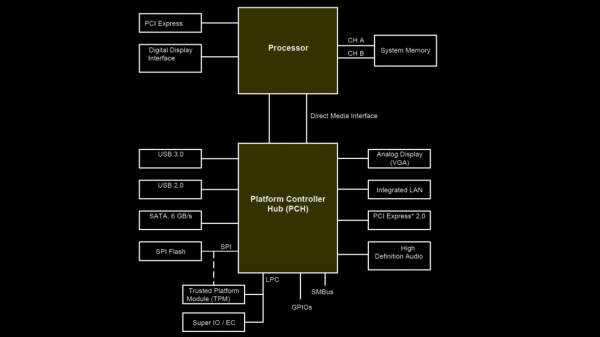
At the dawn of the PC, IBM provided the Basic Input Output System (BIOS). It took care of bringing the machine up, and exposed a series of software hooks for the hardware. Over the years the BIOS and its updated descendants served us well, but as we entered a 64-bit world its limitations began to show.
The replacement was the Unified Extensible Firmware Interface or UEFI, and the chances are you’re viewing this on a machine which uses it in some capacity. But what if you only have UEFI and need BIOS to run a piece of older software? Never fear, because here’s CSMWrap, which brings it back, just for you.
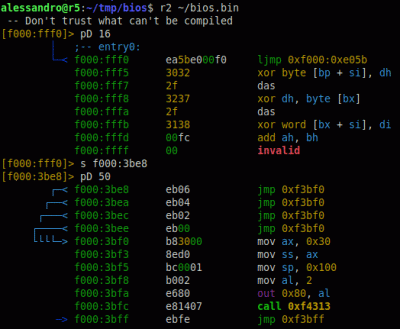
Under the hood it’s a wrapper for the SeaBIOS compatibility support module, doing the work of setting up the memory mapping such that it will load, and ensuring that other services such as the VGA BIOS are loaded. As it stands it can boot FreeDOS and some older Windows versions under UEFI in QEMU, and it’s claimed also run on real hardware. We don’t often need to run DOS on our 2025 machine, but it’s neat to know we can.
Meanwhile if the BIOS interests you, know that there’s also an open source BIOS for the earliest of PCs.
BIOS header image: Thomas Schanz, CC BY-SA 4.0.