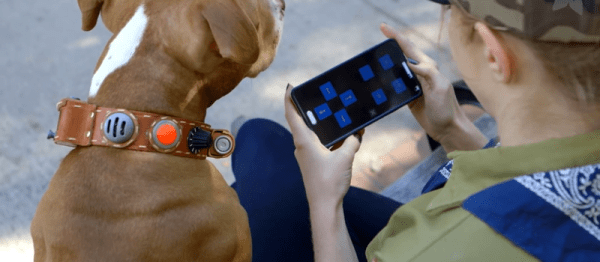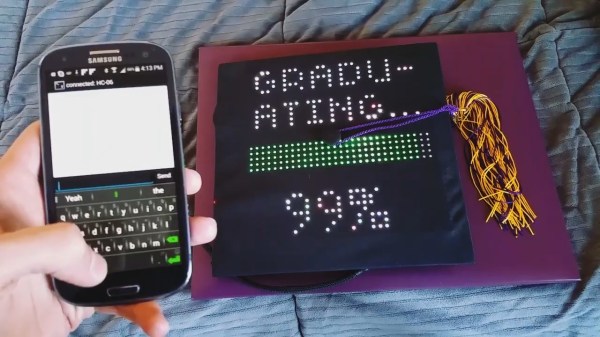
Decorating graduation caps is often frowned upon by the administration but [Dan Barkus] is challenging his school authorities to keep from smiling when they see what he has in store. His build will dazzle the audience by mounting 1024 RGB LEDs in a 32×32 matrix on top of his cap, but hidden under the cap’s black cloth. When the LEDs are off he’s indistinguishable, and when he fires up the LEDs, shine through and put on a heck of a show. He can type messages on his phone to be displayed on the cap. He can even display images and animated GIFs.
The LED display is an Adafruit 32×32 RGB LED matrix panel. To control the display, [Dan] uses a Teensy, a 32 bit ARM Cortex-M4 microcontroller board. Wireless communication is done via a JBtek HC-06 Bluetooth board.
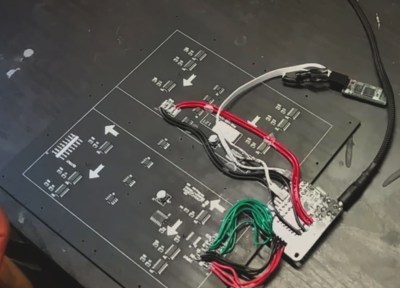
The LED display can draw up to 4 amps at full white brightness so he picked up a USB battery with two output ports, one capable of 2.1 amps and the other 2.4 amps. He then hacked together a cable that has two USB connectors on one end, connected in parallel, and a DC jack on the other end. Altogether the battery bank is capable of up to 4.5 amps output combined out those two ports, meeting the LED display’s needs. The DC jack is plugged into the Teensy and all power goes through there.
One problem [Dan] had was that the Bluetooth module was booting up before the Teensy. It didn’t see the Teensy in time, causing the Bluetooth not to work. The solution he found is shown in the 2nd video embedded below. The fix powers the Bluetooth module separately, using a current limiting resistor and a capacitor to build up the voltage, delaying just long enough for the Teensy to win.
Continue reading “Stealthy Mortar Board Unleashes Bling At Graduation Ceremony”