Cardboard is a surprisingly durable material, especially in its corrugated form. It’s extremely lightweight for its strength, is easy to work, can be folded and formed into almost any shape, is incredibly inexpensive, and when it has done its duty it can be recycled back into more paper. For these reasons, it’s often used in packaging material but it can be used to build all kinds of things outside of ensuring that products arrive at their locations safely. This working cardboard record player is one example.
While the turntable doesn’t have working records in the sense that the music is etched into them like vinyl, each has its own RFID chip embedded that allows the ESP32 in the turntable’s body to identify them. Each record corresponds to a song stored on an SD card that instructs the ESP32 to play the appropriate song. It also takes care of spinning the record itself with a small stepper motor. There are a few other details on this build that tie it together too, including a movable needle arm held on with a magnet and a volume slider.
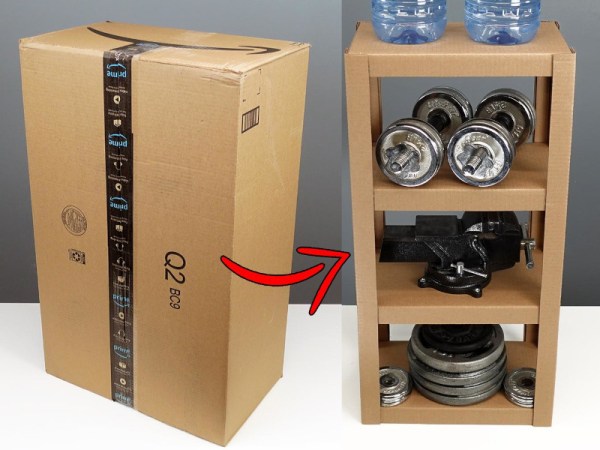
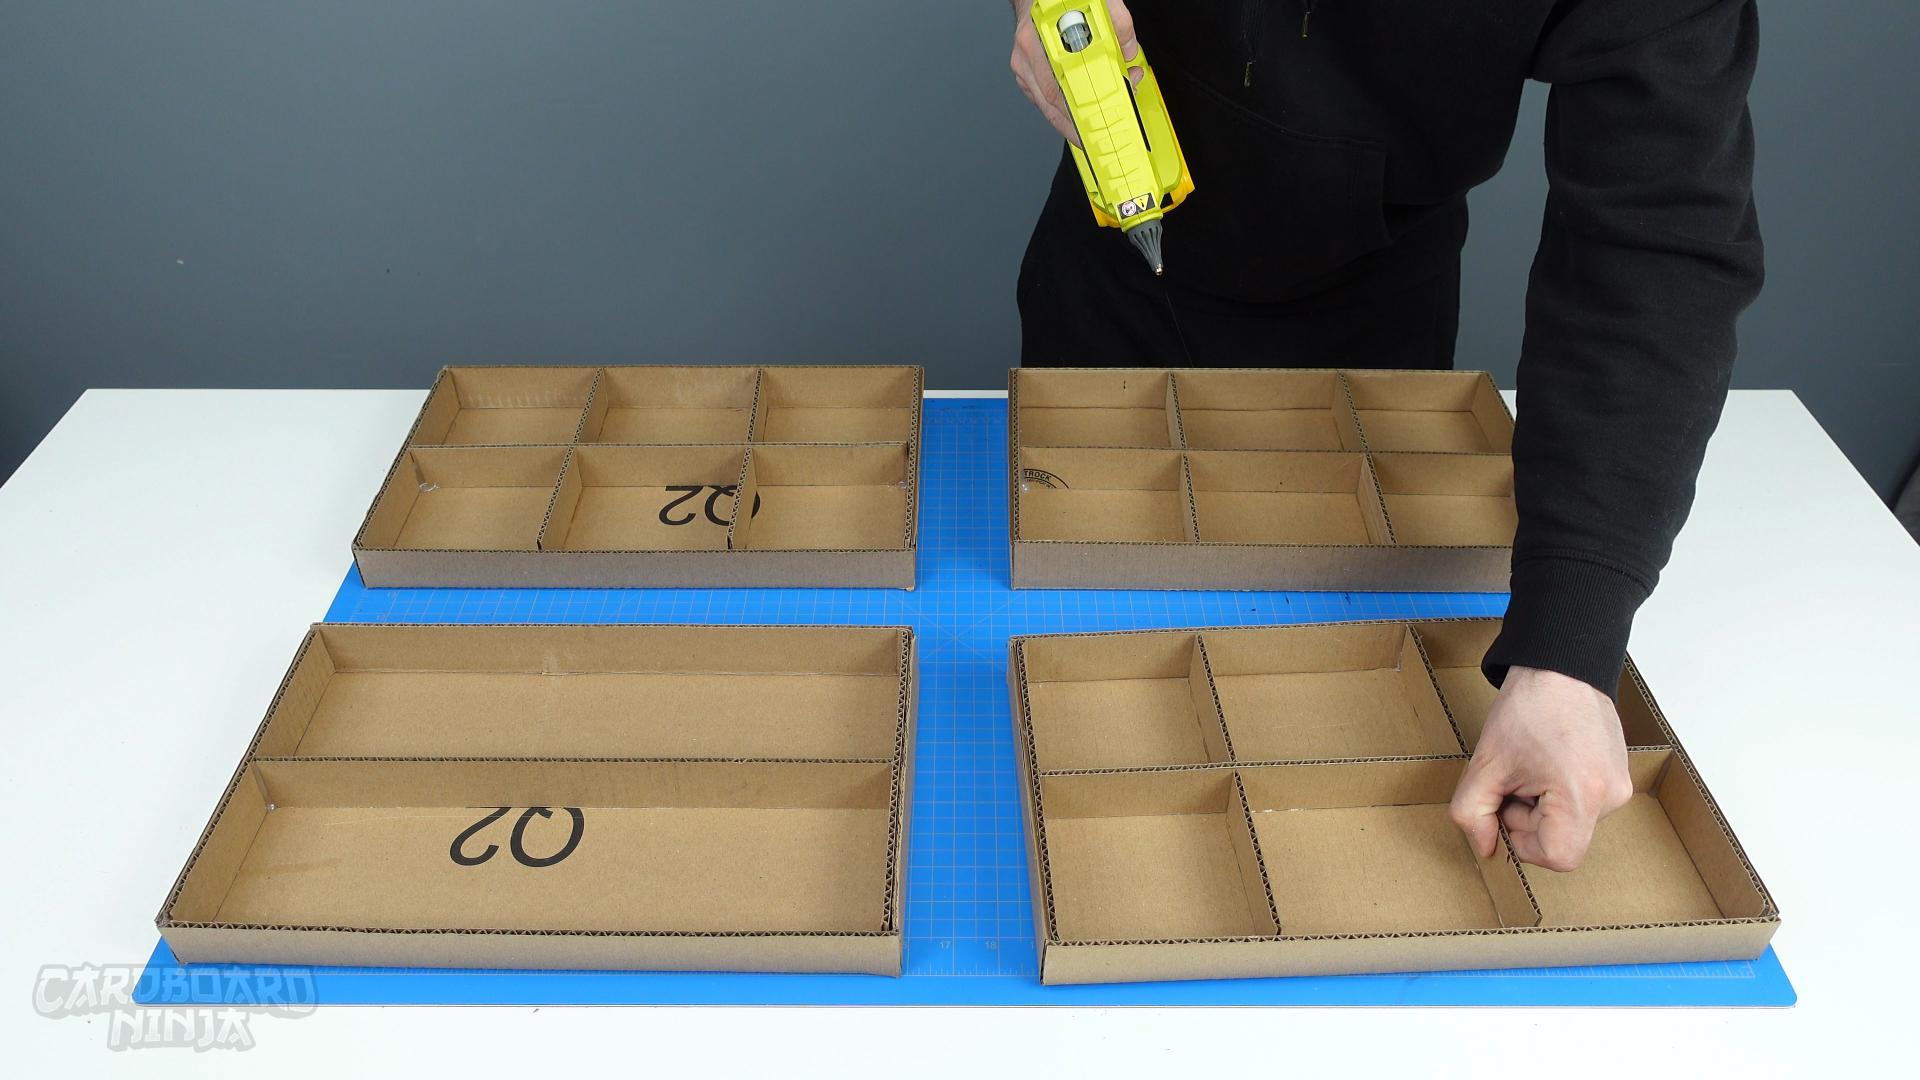
As far as a building material goes, cardboard is fairly underrated in our opinion. Besides small projects like this turntable, we’ve also seen it work as the foundation for a computer, and it even has the strength and durability to be built into a wall or even used as shelving material. And, of course, it’s a great material to use when prototyping new designs.
Continue reading “Swapping Vinyl For Cardboard With This ESP32 Turntable”