On autonomous robots, the most difficult challenges usually lie in the software and electronic realms, but the mechanics can also be very time consuming. To help address this challenge, [Nikodem Bartnik] is working on the Open Robotic Platform (ORP), a modular robotics chassis system designed to make prototyping as easy and affordable as possible. Video after the break.
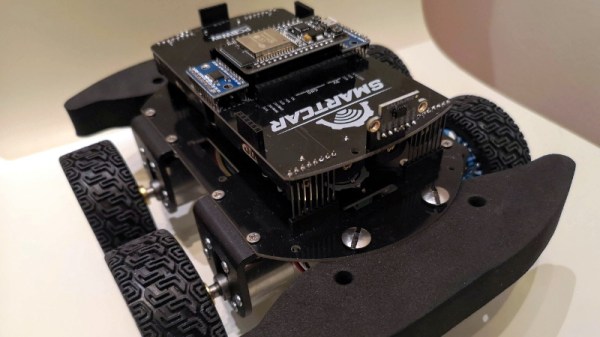
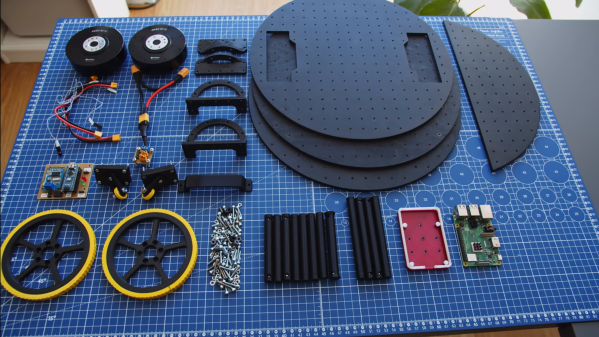
The ORP is governed by a set of design rules to maintain interchangeability. Most of the design rules are very open, but the cornerstone of ORP is its standardized mounting plates featuring a 20 mm grid pattern of 3.5 mm mounting holes. These plates can be stacked using connecting rods, creating a versatile foundation upon which various components can be mounted.
[Nikodem] is on a mission to create and collect an entire library of these modular components. From custom 3D-printed holders that accommodate sensors, motors, wheels and dev boards to homemade PCBs that snap directly onto the chassis, everything to get your robot rolling as soon as possible. While manufacturing methods and materials are not limited, 3D printing and laser cutting will likely be the most popular manufacturing technologies for making your own parts.