PCB Pen Holder Is Over The Top

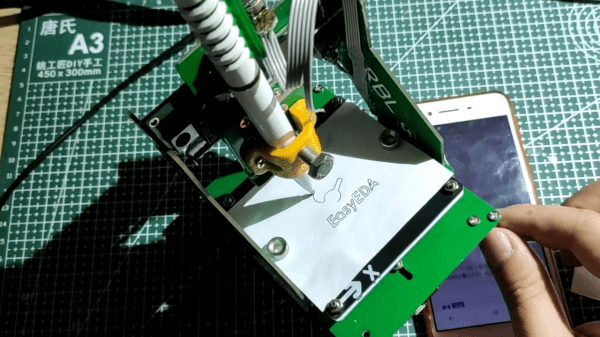
Like most of us, [Arnov] used a spare coffee mug to hold pens on his desk. But there has to be a better way, right? Surely if you build a better mouse trap… or, in this case, a pen holder. He’d be the first to admit that he might have gotten a little carried away, but the result is an attractive pen holder made from PCB material, one of which is actually an active circuit board.

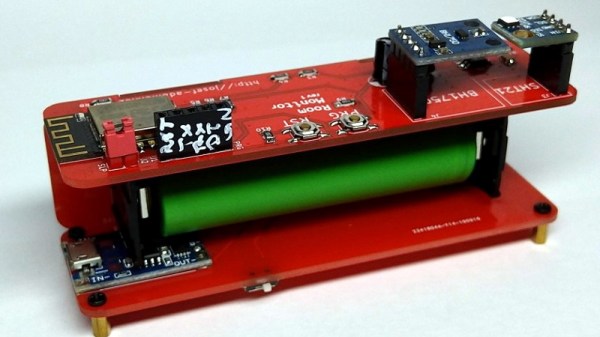
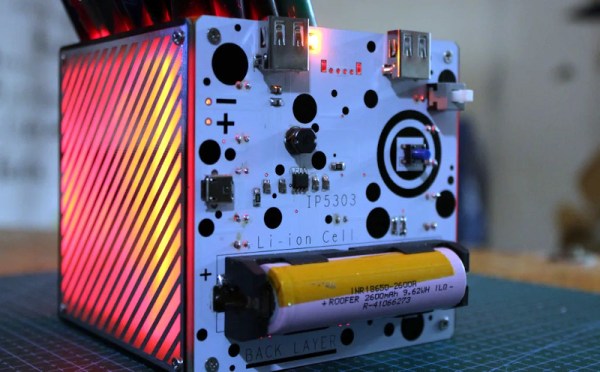
The pen holder has some power management, as there’s a rechargeable battery that allows it to charge devices such as a smartphone or an embedded board. The power is also available for LEDs in the pen holder. The PCBs are bound together with 3D printed brackets.

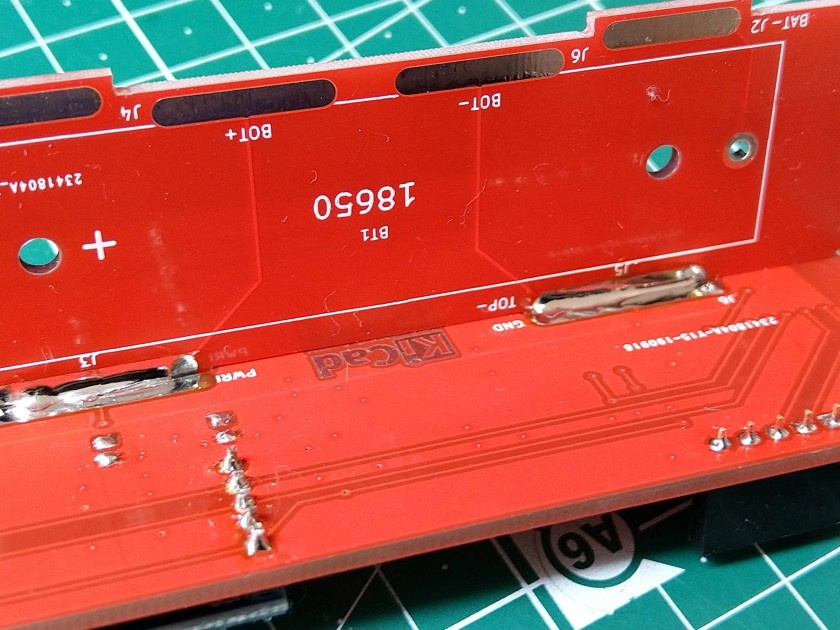
The non-functioning PCBs still have patterns etched to make them more interesting looking. This is one of those things that isn’t technically a big deal, but we really liked the look of it, which was quite professional. We’ve seen PCBs used as enclosures before, but making the pattern and improving light transmission by removing the solder mask were nice touches.

If you don’t like the idea of making enclosures from PCB material, don’t forget they can form other components, as well. Clever arrangements can build resistors, capacitors, and inductors not to mention exotic transmission line elements.

Continue reading “PCB Pen Holder Is Over The Top”

Pen Plotter From PCB Panels

Hacker [12344321A] has built a clever open-source pen plotter having a frame made from odd-shaped PCB panels (Chinese). It holds an ordinary drafting pen and draws on a small writing platform 8 x 8 cm square. This is barely enough space to draw a business card, depending on which country you’re from. The motion appears to be provided by DVD stepper motor head positioning assemblies, and the controller is an ESP32-based GRBL 3-axis board. User control is via WiFi and the plotter can be seen in operation being driven from the user’s smartphone (see video on the project page above).

Linear Motion Assemblies from a DVD player?

This looks like it would be an inexpensive build, and seems sturdy enough despite being literally held together by solder and paper clips. But be forewarned, the project is documented on an open-source hardware sharing site sponsored by EasyEDA called OSHWHub — the Chinese equivalent of their similar English-language OSHWLab. Hence all the notes are in Chinese, although Google translate can help here. [12344321A] provides all the engineering design files under GPL 3.0 license.

Thanks to [J. Peterson] for finding this project and bringing it to our attention via the tip line.

Master Video Call Control Panel Is Made Of PCBs

[memestra] is a teacher whose life has become a series of videoconferences over the last year or so. With all the classes and meetings, they spend the whole day switching between either Zoom, Teams, or Meet. If anyone needs a single piece of hardware to control them all, it’s [memestra]. Well, and every other teacher out there.

The hardware — an Arduino Pro Micro and some buttons — should come as no surprise, except for maybe [memstra]’s use of a resistor network for the LEDs. Still, there’s a lot to like about this little box, starting with the enclosure. That’s not milled or laser-cut metal — each side is a PCB, and they’re all soldered together into a box.

We especially like the top panel, which fits down over the PCB that all the components are soldered to. Each of the non-volume buttons has multiple functions that are accessed by pressing, long pressing, or double pressing. But even the volume buttons do double duty: press them together to mute and un-mute. If [memestra] ever forgets which button does what and how, there’s a handy reference table silkscreened on the bottom panel.

In true teacher fashion, [memestra] has written comprehensive instructions for anyone looking to build a similar device. The heavily-commented code should make it a cinch to drop in keyboard shortcuts for Discord or anything else you might be using, though it’s worth noting that this box is optimized for the desktop apps and not the browser-based versions.

Just looking for a fun way to end video calls? Pull chains are pretty fun.

ESP32 Rover With PCB Chassis Is Ready To Roll

The microcontrollers are cheap, the sensors are cheap, even the motors are cheap. So why are all the good wheeled robotics platforms so expensive? [Dimitris Platis] wanted to develop an affordable platform for experimenting with rovers, but the cheap plastic chassis he was using gave him all sorts of problems. So he did what any good hacker would do, and built a better version himself.

Interestingly, [Dimitris] decided to go with a chassis made from two PCB panels. The motors, mounted to small angled brackets, bolt directly to the lower PCB. These aren’t your standard $2 DC cans either. Each JGB37-520 gearhead motor comes complete with an encoder that allows your software to determine speed, distance, and direction. The upper PCB connects to the lower with several rows of pin headers, and plays host to whatever electronics payload you might be experimenting with at the time.

For the controller, [Dimitris] says the ESP32 is hard to beat by pretty much any metric you want to use. With integrated wireless and considerable computational power, there’s plenty of options for controlling your little rover either remotely or autonomously. But he also says that every effort has been made to ensure that you could switch out the microcontroller with something else should you want to spin up a customized version.

The whole idea reminds us a bit of quadcopters we’ve seen in the past, where the PCB wasn’t just being used structurally as a place to bolt the motors and hardware to, but actually contained functional traces and components that reduced how much wiring you needed to do. Naturally, this means that any damage to the chassis might cripple the electronics, but presumably, that’s what the big foam bumpers are there for.

[Dimitris] designed this project for educational use, so he assumes you’ll want to build 10 or 12 of these for your whole classroom. In those quantities, he says each bot will cost around $60. If you wanted to reduce the price a bit more, he says swapping the motors would be your best bet as they’re the single most expensive component of the design. That said, $60 for a quality open source rover platform sounds pretty fair to us.

Still too much? You could check out one of the 3D printable rover designs we’ve covered over the years. Or see if you can get lucky and pick up a cheap robot from the clearance rack and hack it.

A Slightly Bent ESP8266 Sensor Platform

The ability to get professionally manufactured PCBs, at least small ones, for dirt cheap has had a huge impact on the sort of projects we see around these parts. It’s getting to the point where experimenting with PCB enclosures is not only a way to make your next project stand out, but an economical choice.

Which is how this ESP8266 sensor gadget from [Josef Adamčík] got its unique “folded over” look. The top panel is where the microcontroller and headers for various sensors live, the bottom panel is home to the TP4056 USB charging module, and the center panel provides mechanical support as well as holds the single 18650 cell. Rather than close the whole thing up with a fourth panel, he decided to leave it open so the battery can easily be removed. Plus, of course, it looks cooler this way.

Could [Josef] have fit all his electronics on a single 100 x 100 PCB and then put the whole thing into a 3D printed enclosure? Well, sure. But that’s been done to death at this point, and besides, he was looking for an excuse to get more comfortable doing PCB design. We think it also makes for a considerably more visual appealing final product than simply taking the “normal” way out.

Currently [Josef] has an SHT21 humidity/temperature sensor and a BH1750 light sensor slotted into the headers on the top side of the device, but they could just as easily be swapped out with something else if you wanted to do something a bit more exciting. We notice that homebrew air quality monitors are becoming increasingly popular.

Building bespoke enclosures from PCBs is a fantastic trick that frankly we’d love to see more of. It’s somewhat of an artform in itself, but if you’re willing to put the effort in to do it right the results can be truly phenomenal.

SIM Card Connectors And White PCBs Make Huge LED Snowflakes Happen

[Mike Harrison] talked about designing and building a huge scale LED lighting installation in which PCBs were used as both electrical and mechanical elements, and presented at Electromagnetic Field 2016. The project involved 84,000 RGBW LEDs, 14,000 microcontrollers and 25,000 PCBs. It had some different problems to solve compared to small jobs, but [Mike] shared techniques that could be equally applied to smaller scale projects or applications. He goes into detail on designing for manufacture and assembly, sourcing the parts, and building the units on-site.

The installation itself was a snowflake display for a high-end shopping mall in Hong Kong in the 2015 Christmas season. [Mike] wanted a small number of modular boards that could be connected together on-site to make up the right shapes. In an effort to minimize the kinds of manufacturing and parts needed, he ended up using modular white PCBs as structural elements as well as electrical. With the exception of some minor hardware like steel wire supports, no part of the huge snowflakes required anything outside of usual PCB manufacturing processes to make. The fewer suppliers, the fewer potential problems. [Mike] goes into design detail at 6:28 in the video.

For the connections between the boards, he ended up using SIM card connectors intended for cell phones. Some testing led to choosing a connector that matched up well with the thickness of a 1.6mm PCB used as a spacer. About 28,000 of them were used, and for a while in 2015 it was very hard to get a hold of that particular part, because they had cleaned everyone out! Continue reading “SIM Card Connectors And White PCBs Make Huge LED Snowflakes Happen”