If you own an Apple product you probably live in a world with a few proprietary interfaces, but by and large your displays and desktop peripherals will use familiar ports such as USB and DisplayPort. For the Mac owner of yore though it was a different matter, as [Dandu] is here to tell us with the tale of a vintage Apple monochrome CRT monitor and a modern Mac.
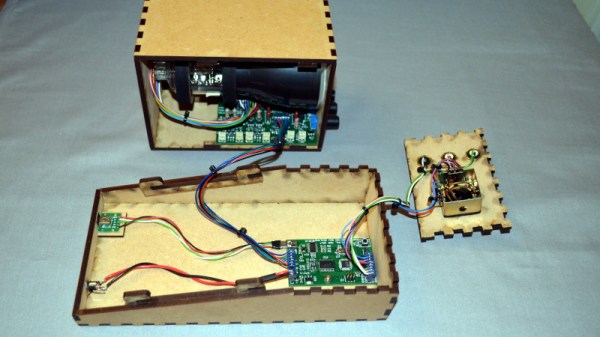
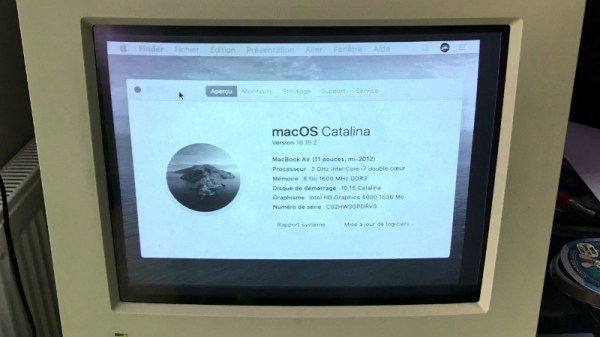
There are no handy VGA ports to be found in this screen, instead it has a 15-pin D connector following a proprietary interface. With the right adapter it’s easy enough to produce VGA from the modern machine, but while it is in theory possible to map VGA pins to Apple pins there’s a snag with this particular model. Instead of using separate sync pins, it demands a composite sync of the type you might find in an analogue TV set that contains both horizontal and vertical sync pulses. The solution came through a simple transistor circuit, and then with the requisite settings on the modern Mac to deliver the 640×480 resolution it was possible to see a MacOS Catalina desktop on something more suited to a Mac II.
We’re more used to seeing CRT Macs in the form of the venerable SE/30, a machine that’s been on our radar for a long time.