[splat238] is back at it again with another cool RGB LED display project. We were contemplating whether or not our readers have had enough of these over the last few weeks, but we’ve learned over the years that you can never have too many LED projects.
Instead of making a cool mask like we’ve covered before, [splat238] decided to trick-out some shutter shades. What’s really cool is he used the PCB itself as the frame, similar to another hack we’ve seen, which we’re sure also made his design process that much more convenient.
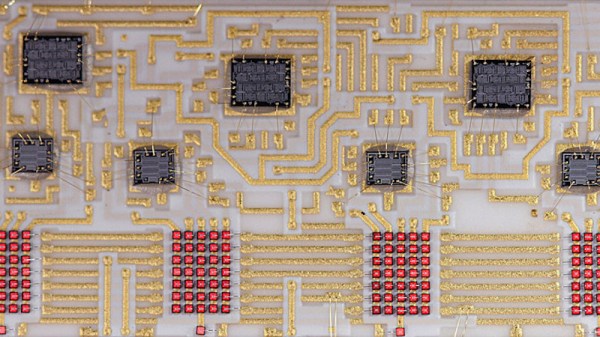
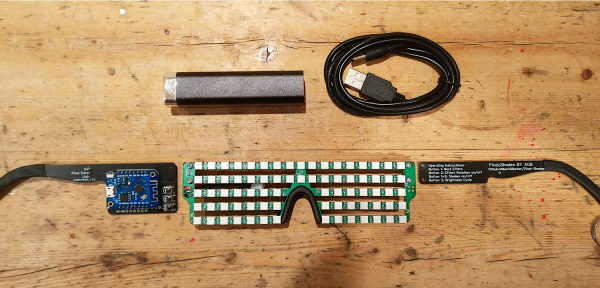
[splat238] got his boards pre-assembled since it would be really difficult to solder all those LEDs by hand. There are 76 of them in this design. It’s pretty helpful that he walks the reader through how to get the boards assembled, providing information on reliable fabrication and assembly houses that he’s had good experiences with. Pretty solid information if you don’t already have a go-to one-stop-house or have never designed for assembly before.
The glasses use an ESP8266-based microcontroller since it has plenty of space for storing LED patterns and has the potential benefit of including WiFi control in later revisions. However, we think you’ll be pretty happy with simply toggling through the patterns with a simple pushbutton.
The LEDs use a whopping 2.5 A at maximum and rely on an external power bank, so you’ll probably want to be really careful wearing this over an extended period of time. Maybe consider doing a bit of PWM to help reduce power consumption.
Another cool project [splat238]! Keep them coming. Continue reading “RGB LED Shutter Shades”