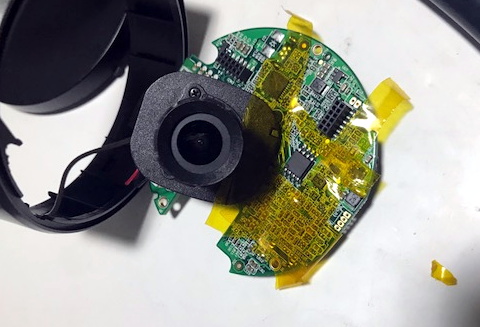
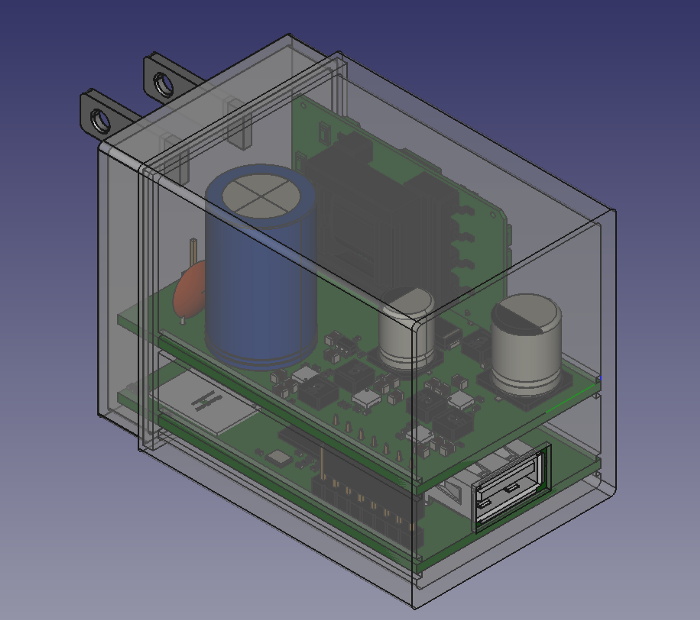
Over the last few months we’ve been keeping an eye on WiFiWart, an ambitious project to develop a Linux single-board computer (SBC) small enough to fit inside a USB wall charger. Developer [Walker] says the goal is to create an easily concealable “drop box” for penetration testing, giving security researchers a valuable foothold inside a target network from which to preform reconnaissance or launch attacks. Of course, we don’t need to tell Hackaday readers that there’s plenty of other things you can do with such a tiny open hardware Linux SBC.
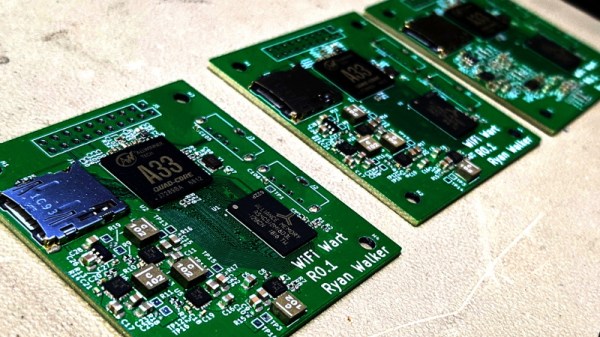
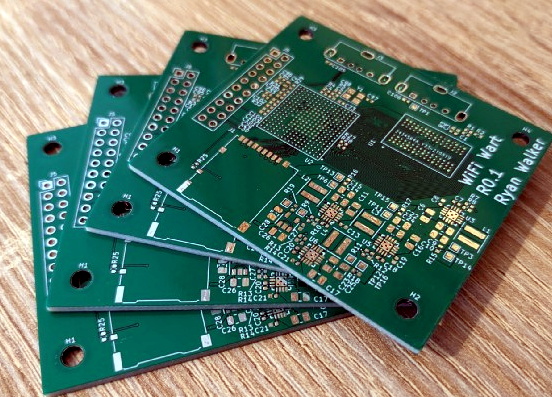
 Today we’re happy to report that [Walker] has gotten the first version of the board booted into Linux, though as you might expect given a project of this complexity, there were a few bumps along the way. From the single missing resistor that caused U-Boot to throw up an error to the finer points of compiling the kernel for an embedded board, the latest blog post he’s written up about his progress provides fascinating insight into the little gotchas of bringing up a SBC from scratch.
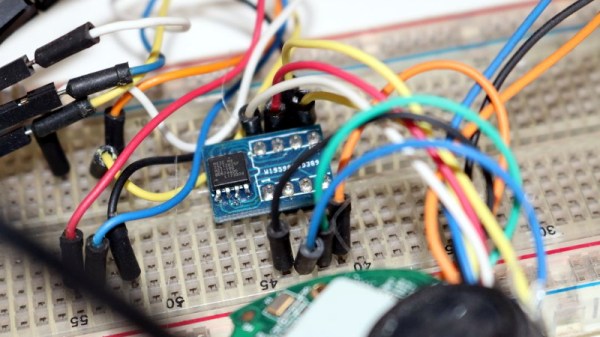
Once the board was booted into Linux, [Walker] started testing out different aspects of the system. A memory benchmark confirmed the finicky DDR3 RAM was working as expected, and he was able to load the kernel modules for the dual RTL8188 interfaces and connect to a network. While the two WiFi modules are currently hanging off the board’s full-sized USB ports, they will eventually be integrated into the PCB.
Critically, this prototype board is also allowing [Walker] to get an idea of what the energy consumption of the final hardware might be. Even at full tilt, this larger board doesn’t go over 500 mA at 5 VDC; so if he designs the power supply with a maximum output of 1 A, he should have a nice safety margin. As mentioned in the previous post, the plan is currently to put the PSU on its own board, which will allow more effective use of the charger’s internal volume.
With the software and hardware now largely locked in, [Walker] says his attention will be turned towards getting everything small enough to fit into the final form factor. This will certainly be the most challenging aspect of the project, but with a growing community of hackers and engineers lending their expertise to the cause, we’re confident the WiFiWart will soon be a reality.

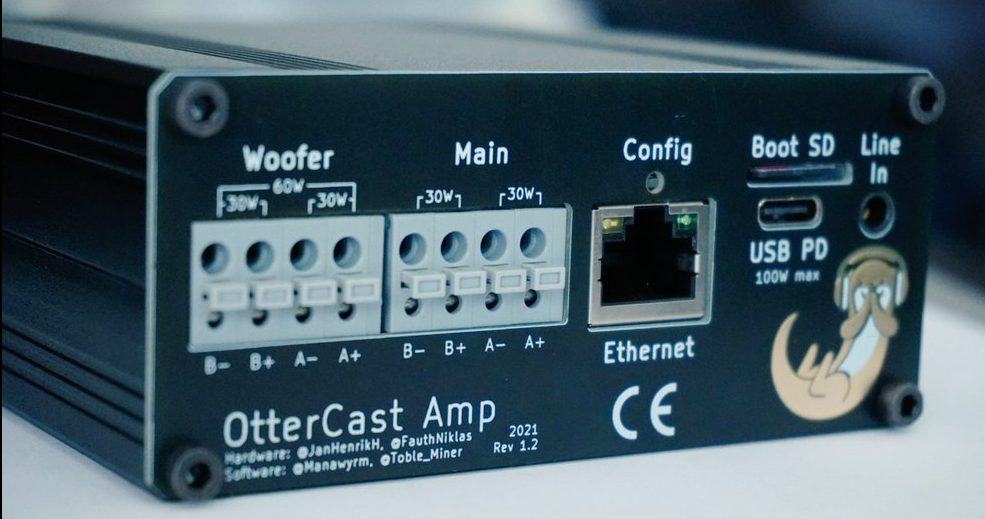
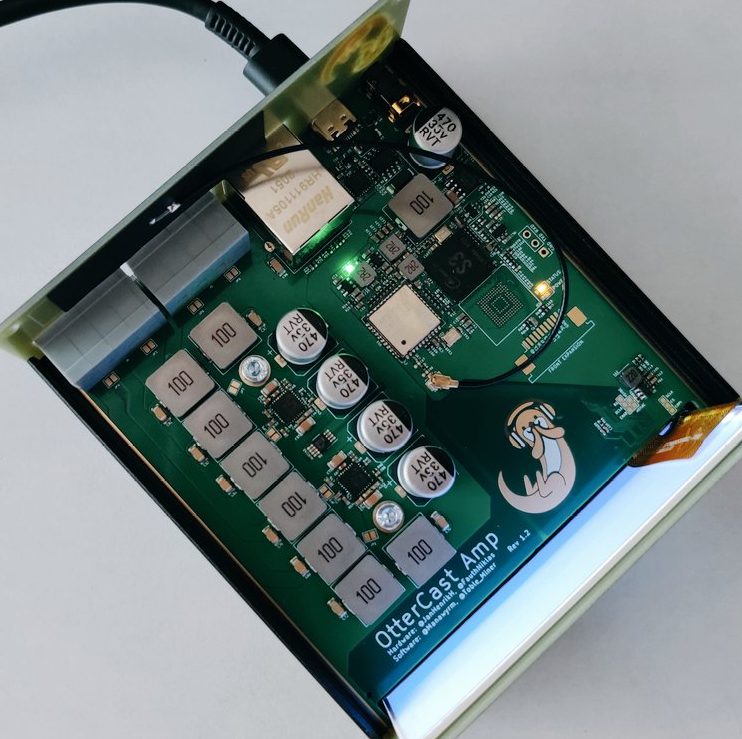 One look at the chassis and it’s clear that unlike the OtterCastAudio this is not a simple Chromecast Audio replacement. The face of the OtterCastAmp is graced by a luscious 340×800 LCD for all the cover art your listening ear can enjoy. And the raft of connectors in the back (and mountain of inductors on the PCBA) make it clear that this is a fully fledged class D amplifier, driving up to 120W of power across four channels. Though it may drive a theoretical 30W or 60W peak across its various outputs, with a maximum supply power of 100W (via USB-C power delivery, naturally) the true maximum output will be a little lower. Rounding out the feature set is an Ethernet jack and some wonderfully designed copper PCB otters to enjoy inside and out.