While we are used to USB WiFi adapters, embedded devices typically use SDIO WiFi cards, and for good reasons – they’re way more low-power, don’t take up a USB port, don’t require a power-sipping USB hub, and the SDIO interface is widely available. However, SDIO cards and modules tend to be obscure and proprietary beyond reason. Enter ESP-Hosted – Espressif’s firmware and driver combination for ESP32 (press release)(GitHub), making your ESP32 into a WiFi module for either your Linux computer (ESP-Hosted-NG) or MCU (ESP-Hosted-FG). In particular, ESP-Hosted-NG his turns your SPI- or SDIO-connected ESP32 (including -S2/S3/C2/C3/C6 into a WiFi card, quite speedy and natively supported by the Linux network stack, as opposed to something like an AT command mode.
We’ve seen this done with ESP8266 before – repurposing an ESP8089 driver from sources found online, making an ESP8266 into a $2 WiFi adapter for something like a Pi. The ESP-Hosted project is Espressif-supported, and it works on the entire ESP32 lineup, through an SDIO or even SPI interface! It supports 802.11b/g/n and even Bluetooth, up to BLE5, either over an extra UART channel or the same SDIO/SPI channel; you can even get BT audio over I2S. If you have an SPI/SDIO port free and an ESP32 module handy, this might just be the perfect WiFi card for your Linux project!
There are some limitations – for instance, you can’t do AP mode in the NG (Linux-compatible) version. Also, part of the firmware has blobs in it, but a lot of the firmware and all of the driver are modifiable in case you need your ESP32 to do even more than Espressif has coded in – this is not fully open-source firmware, but it’s definitely way more than the Broadcom’s proprietary onboard Raspberry Pi WiFi chip. There’s plenty of documentation, and even some fun features like raw transport layer access. Also, of note is that this project supports ESP32-C6, which means you can equip your project with a RISC-V-based WiFi adapter.
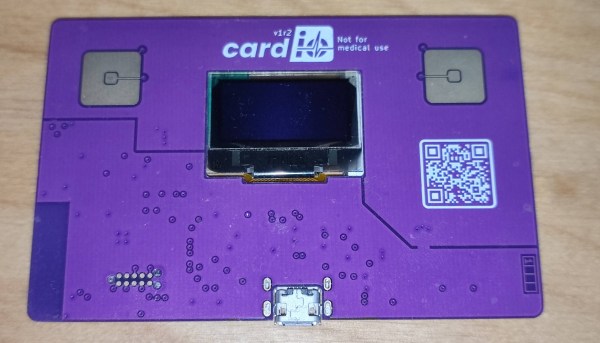
Title image from [zhichunlee].