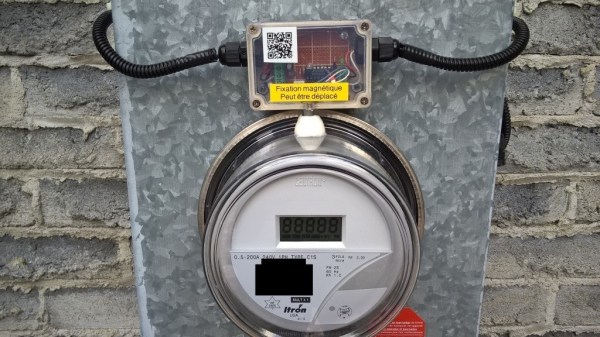
Hackers love to monitor things. Whether it’s the outside temperature or the energy used to take a shower, building a sensor and displaying a real-time graph of the data is hacker heaven. But the most interesting graphs comes from monitoring overall power use, and that’s where this optically coupled smart-meter monitor comes in.
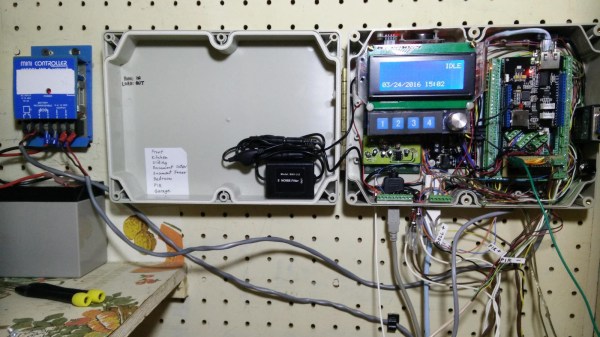
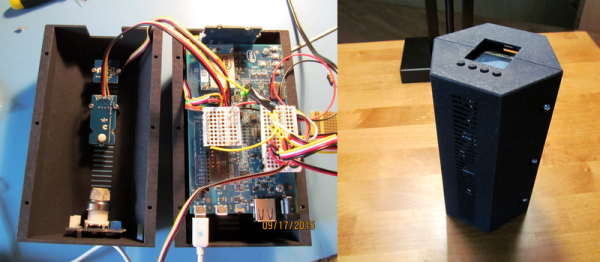
[Michel]’s meter reader is pretty straightforward. His smart wattmeter is equipped with an IR LED that pips for every watt-hour consumed, so optical coupling was a natural approach. The pulse itself is only 10 ms wide, so he built a pulse stretcher to condition the pulse for a PIC microcontroller. The PIC also reads the outside temperature with a DS18B20 and feeds everything to the central power monitor, with an LCD display and a classic Simpson meter to display current power usage. The central monitor sends the power and temperature data to Thingspeak, along with data from [Michel]’s wood-stove monitor and a yet-to-be-implemented water heater monitor.
[Michel] is building out an impressive suite of energy and environmental monitors for his Quebec base of operations. We’re looking forward to seeing how he monitors that water heater, and to see what other ideas he comes up with.
Continue reading “Energy Monitor Optically Couples To Smart Meter”


 Lastly, ED-E, can turn things in the house on and off. This is accomplished in 100% Hackaday-approved (if not UL-approved) style with a device that appears to be a lamp cable fed into a spray painted Altoids tin.