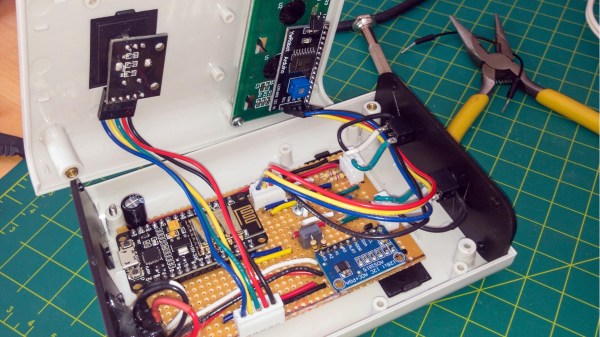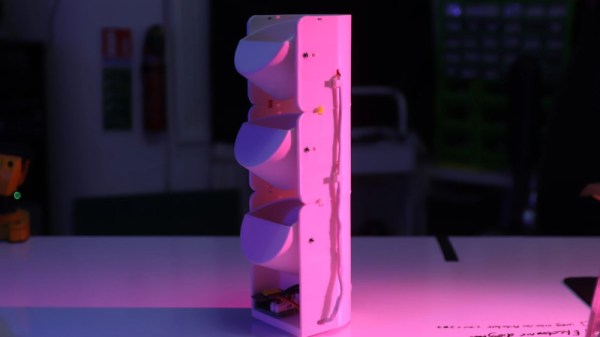
Sorting out pills is a mildly tedious task, and one that’s ripe for a bit of automation. It’s a task that [Mellow] has taken on enthusiastically, with the result of an extremely well-designed dispenser that has a stack of hoppers with servos controlled by an ESP8266 that dispense the pills required on time.
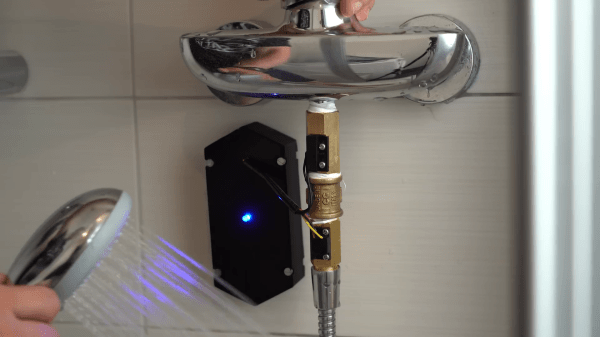
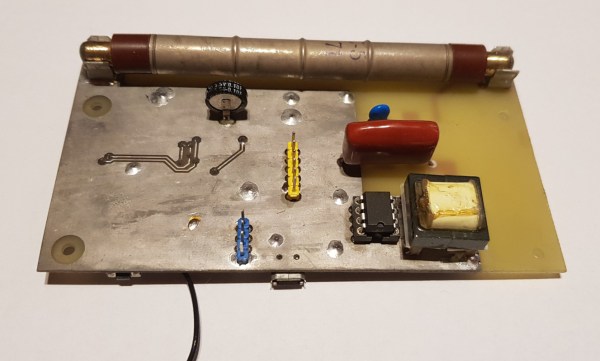
There are a series of videos of which we’ve put the latest below the break, showing the various iterations of this project. Earlier versions used multiple microcontrollers rather than the single ESP, and his sensor choice is both simple and ingenious. A single vibration sensor detects the pills falling upon it, resulting on an extremely compact electronics set-up and the base of the 3D printed stack.
We’re struck by this design, by its simplicity, ingenuity, and its pleasing aesthetics with the use of a piece of perfboard and a load of heatshrink to make an extremely tidy wiring loom. We’re not sure we’ll ever need a pill dispenser like it, but if we did we don’t think we could come up with a better design.
You might be surprised to find that pill dispensers have appeared here before.
Continue reading “A Pill Dispenser For The Person With Everything”