In the very late 1990s, something amazing was invented. White LEDs. These magical pieces of semiconductors first became commercially available in 1996, and by the early 2000s, you could buy a single 5mm white LED for less than a dollar in quantity one. A year or two later, an astonishing product showed up on infomercials airing on basic cable at 2 a.m. It was a flashlight that never needed batteries. With a small white LED, a few coils wrapped around a tube, and a magnet, you could just shake this flashlight to charge it. It’s just what you needed for when the Y2K virus killed all electronics.
Of course, no one uses these flashlights now because they suck. The early white LEDs never put out enough light, and charging a flashlight by shaking it every twenty seconds is annoying. There is another technology that desperately needs a battery-less solution, though: remote controls. They hardly use any power at all. That’s exactly what [oneohm] did for his Hackaday Prize entry. He created the Undead Remote.
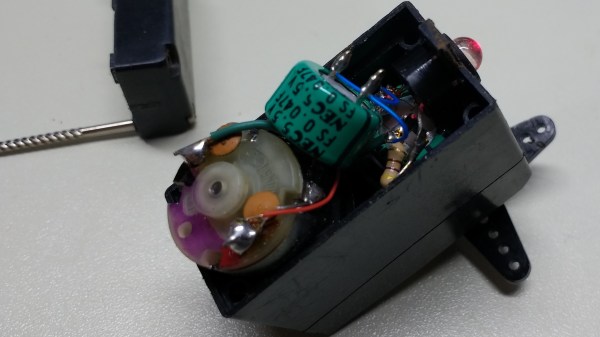
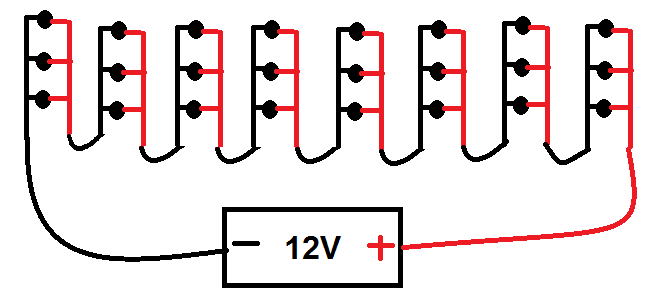
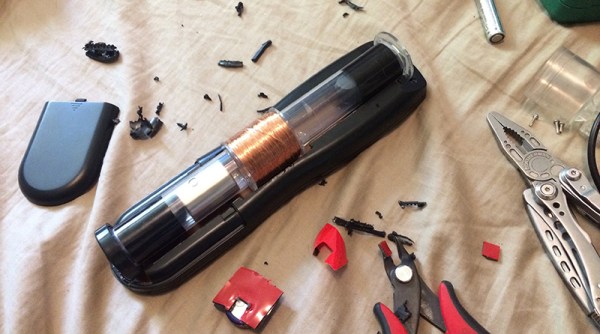
The dream of a battery-less remote control has been dead since your parents got rid of that old Zenith Space Command, but here it is. This is really just a shake flashlight, a diode rectifier, a large capacitor, and some glue. Shake the remote, and you can change the channel. Is it useful? Certainly. Does it look weird and is it slightly inconvenient? Also yes. But there you go. If you want an easy way to deal with batteries in your remote control, this is a solution.