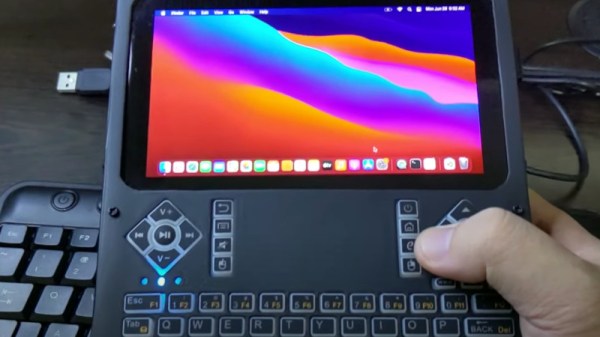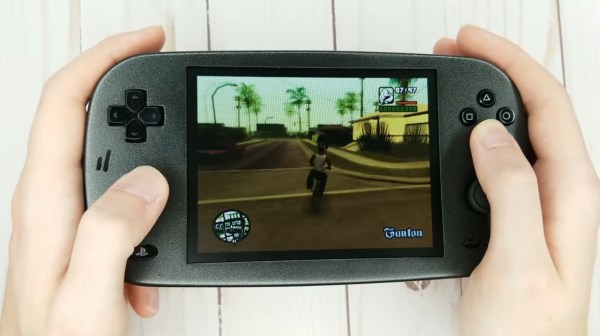
The first thing we notice about this portable PS2 is that the plastic looks like a consumer-grade shell, not a 3D printed case. It comes from [GingerOfOz], who has lots of portable conversions under his belt, so we are not surprised this looks like a genuine Sony device. When you are as experienced as he, details like plastic texture, and button selection, are solved problems, but shouldn’t be taken for granted by us mortals.
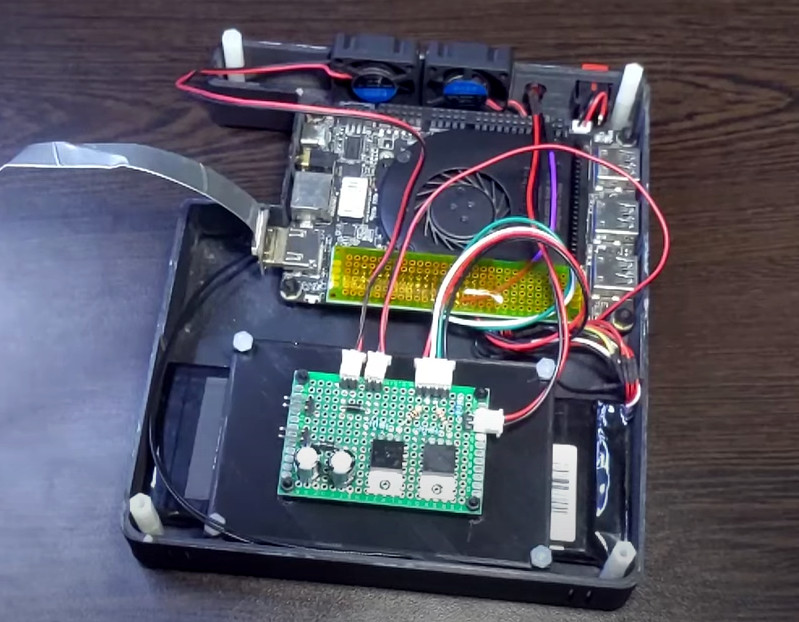
Of course, this isn’t just pretty, and if it weren’t functional, we wouldn’t be talking about it. The system plays nearly all PS2 titles from USB memory. The notable exceptions are the ones that refuse to load without a Dualshock controller. Rude. If you’re wondering if it plays games at full speed, yes. It achieves authentic speed because it uses a PS2 slim motherboard which gets cut down by a Dremel. Custom PCBs provide the rest of the hardware, like volume buttons and battery charging. There is no optical drive since they are power hogs, so your cinematic cut scenes may lag, and load times are a little longer.
Modern mobile phones are one of the most powerful gaming systems ever built, but there is something about purpose-built portable gaming hardware that just feels right. You know?