Solder Station Hack Adds Temperature Control

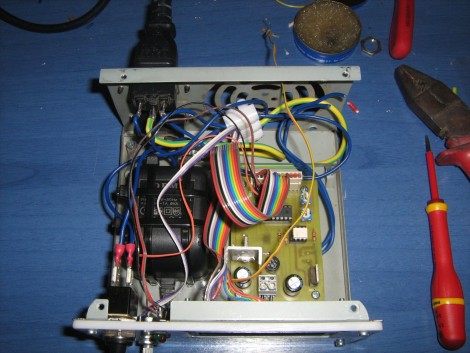
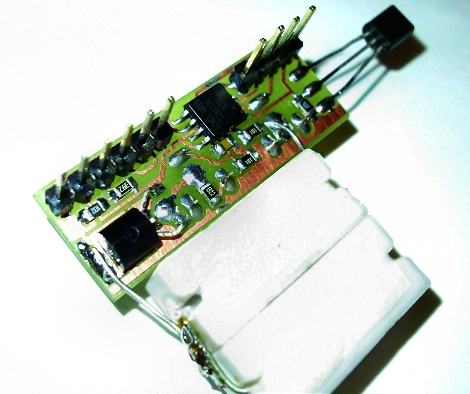
Take that cheap fire stick you call a soldering iron and turn it into a real tool. [Giorgos Lazaridis] turned his 30 watt soldering iron into a temperature controlled soldering station by adding a thermistor just above the tip to monitor how hot things are getting. A MAX6675 takes care of the thermocouple and shoots a digital temperature value off to the PIC 16F88 which controls the unit by taking user input from a potentiometer and displaying the settings on an HD44780 character display. His use of a dissected ‘wall wort’ inside of the ATX power supply carcass used as the case for the station is a clever hack. See it melt some metal in the clip after the break.

This makes a nice upgrade to our solder station guide, which had a temperature controlled iron but lacked the sensor and automation seen here. Continue reading “Solder Station Hack Adds Temperature Control”

‘tiny’ Power Supply Monitor

[Manekinen] built a power supply monitor based around an AVR ATtiny13. Voltage and amperage are displayed on a 16×2 LCD character display (we’re not sure what the third number is… samples per second?). This is no small feat considering that the tiny13 is an 8-pin chip. He makes it happen by using the pins for both LCD control and ADC input. To make this happen the HD44780 compliant display is used in 4-bit mode. Check out the video after the break and hit up the non-translated page if you want to download the source code and PCB artwork. A note of warning, he’s using the RESET pin for I/O which means once you burn the fuses you’ll need a programmer that has High Voltage Serial Programming capabilities if you want to reprogram the chip. Continue reading “‘tiny’ Power Supply Monitor”

Frustromantic Box, A Reverse Geocache

One of the best feelings in the world is when one of our posts inspires a fellow hacker to plan, create, and execute his or her own project.

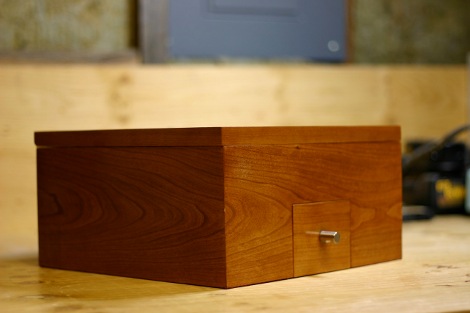
[Russ] let us know about his Frustromantic Box which he gained inspiration from the original Reverse Geochache we posted about. For those out of the loop, the box is locked and will only open in a certain location. The current distance to the  location is displayed on the screen when a button is pressed, and usually there is a limited number of button presses (3 presses for those that know geometry, 50 for everyone else). As soon as the box is at location, it will open.

The Frustromantic Box uses an Arduino, classic HD44780 display, a servo, and the pièce de résistance EM406 GPS. All built in time to frustrate his wife for Christmas.

ATmega8 Spectrum Analyzer

[Manekinen] built a very responsive spectrum analyzer. The components at the party are what you’d expect, an ATmega8 does the hard work interpreting data from the LM324 op-amp. This build stands out because it is fast and configurable. In fact, the explanation of the calibration process is where this project shines.

Instead of using water, an HD44780 module displays the spectrum data. The device currently supports several different character displays including 16×2, 20×2, 24×2, and 20×2. We’ve embedded a video of a 20×4 VFD in action after the break. As the video progresses, watch for the Polish words that pop up. This corresponds to the brightness and sensitivity being adjusted with the 5-button keyboard.

Continue reading “ATmega8 Spectrum Analyzer”

Parts: 4×20 VFD Character Display (NA204SD02)

futuba-serial

Futaba makes vacuum florescent character displays that can be used as a drop-in replacement for common character LCDs. VFDs have a wider viewing angle, and generally look cooler.

Futaba’s character displays can be interfaced using the standard 8-bit or 4-bit parallel LCD interface, or a simple two-wire protocol. The protocol type is set by resistors on the back of the display, so it’s not particularly easy to change without a hot-air rework station. Today we’ll demonstrate a serially-interfaced VFD using the Bus Pirate.

Continue reading “Parts: 4×20 VFD Character Display (NA204SD02)”

LCD PIC Graphics Demo

[conville] has been pushing standard HD44780 character displays to the limit. Embedded above is an example spectrum analyzer and text scrolling demo. Below you’ll find a scope demo. Both of these are created using a PIC 16F688 that dynamically rewrites a custom character set to create the animation. You can find the source code on mikrocontroller.net. Continue reading “LCD PIC Graphics Demo”

3 Wire LCD Display


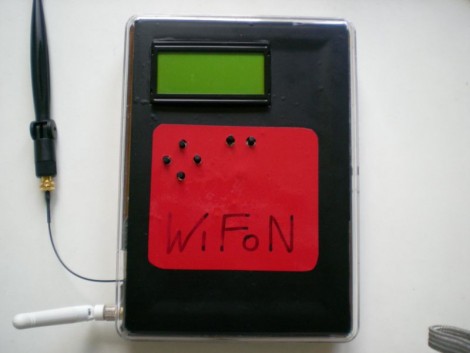
Normally driving an LCD requires seven connections to pins on the display, but by using a shift register, [Phillip Warner] at Arduino Playground was able to drive an LCD using only 3 wires. The method is cheaper than a serial LCD, but you’ll mainly save yourself a lot of effort and time by using it.

[Warner] used a HEF4094 chip to group the lines together and a variable resistor to control the contrast. A zip file with the requisite code to make this work can be found in the post.

[via YourITronics]