At its core, the Internet is really just a bunch of computers networked together. There’s no reason that there can’t be other separate networks of computers, or that we all have to tie every computer we have to The One Internet To Rule Them All. In fact, for a lot of embedded systems, it doesn’t make much sense to give them a full network stack and Cat6e Ethernet just to report a few details about themselves. Enter LoRaWAN, a wireless LAN that uses extremely low power for Internet-of-Things devices, and an implementation of one of these networks in an urban environment.
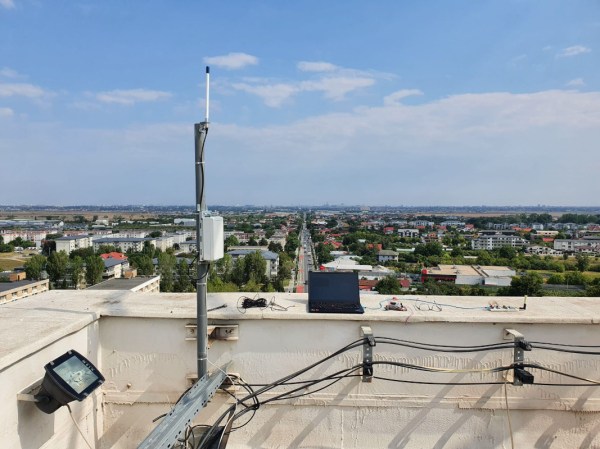
The core of the build is the LoRaWAN gateway which sits at the top of a tall building to maximize the wireless range of all of the other devices. It’s running ChirpStack on the software side and uses a Kerlink Wigrid station to broadcast. The reported range is a little over 9 km with this setup. Other gateways can also be added, and the individual LoRa modules can report to any available gateway. From there, the gateways all communicate back to the central server and the information can be sent out to the wider network, Internet or otherwise.
The project’s creator [mihai.cuciuc] notes that this sort of solution might not be best for everyone. There are other wide area networks available, but using LoRaWAN like this would be likely to scale better as more and more devices are added to the network. For some other ways that LoRa can be used to great effect, take a look at this project which builds an off-grid communications network with it.
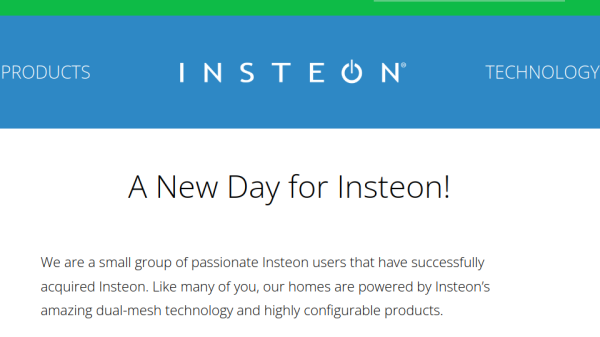
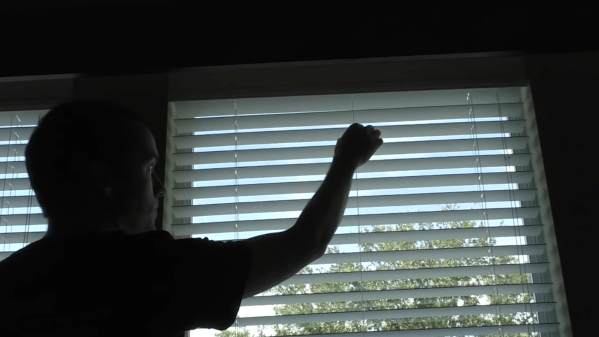
 Instantly, the Insteon subreddit has livened up. People, rightfully angry about being literally left in the dark, were looking for answers – as if mocking them, Insteon’s homepage claimed that all services were operational. Others, having expected the shutdown to eventually happen, started