Sometime last year, [Jon Petter Skagmo] bought a Dell U3421WE monitor. It’s really quite cool, with a KVM switch and picture-by-picture support for two inputs at the same time. The only downside is that control is limited to a tiny joystick hiding behind the bezel. It’s such a pain to use that [Jon] doesn’t even use all of the features available.
 [Jon] tried
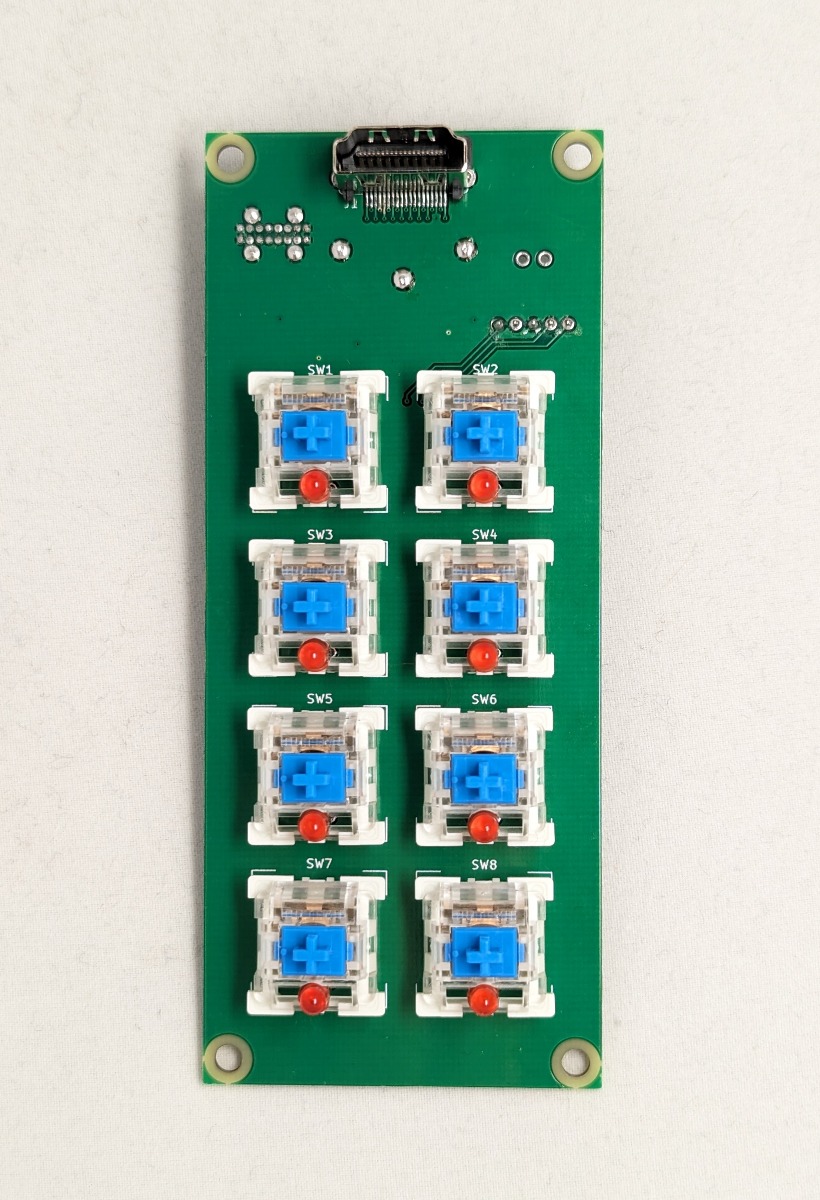
 ddcutil, but ultimately it didn’t work out. Enter the rack-mounted custom controller keyboard, a solution which gives [Jon] single keypress control of adjusting the brightness up and down, toggling picture-by-picture mode, changing source, and more.
How does it work? It uses the display data channel (DDC), which is an I²C bus on the monitor’s HDMI connector. More specifically, it has a PIC18 microcontroller sending those commands via eight Cherry MX-style blues.
Check this out — [Jon] isn’t even wasting one of the four monitor inputs because this build uses an HDMI through port. The finished build looks exquisite and fits right into the rack with its CNC-routed aluminium front panel. Be sure to check it out in action after the break.
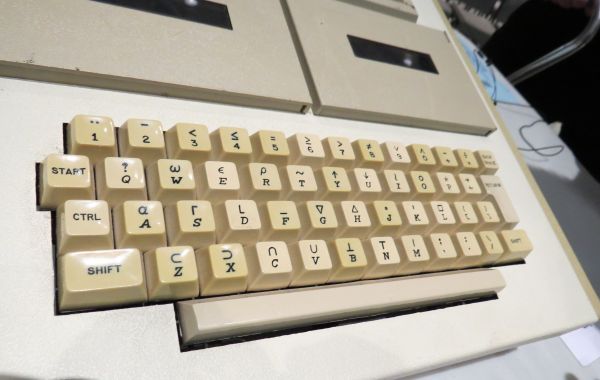
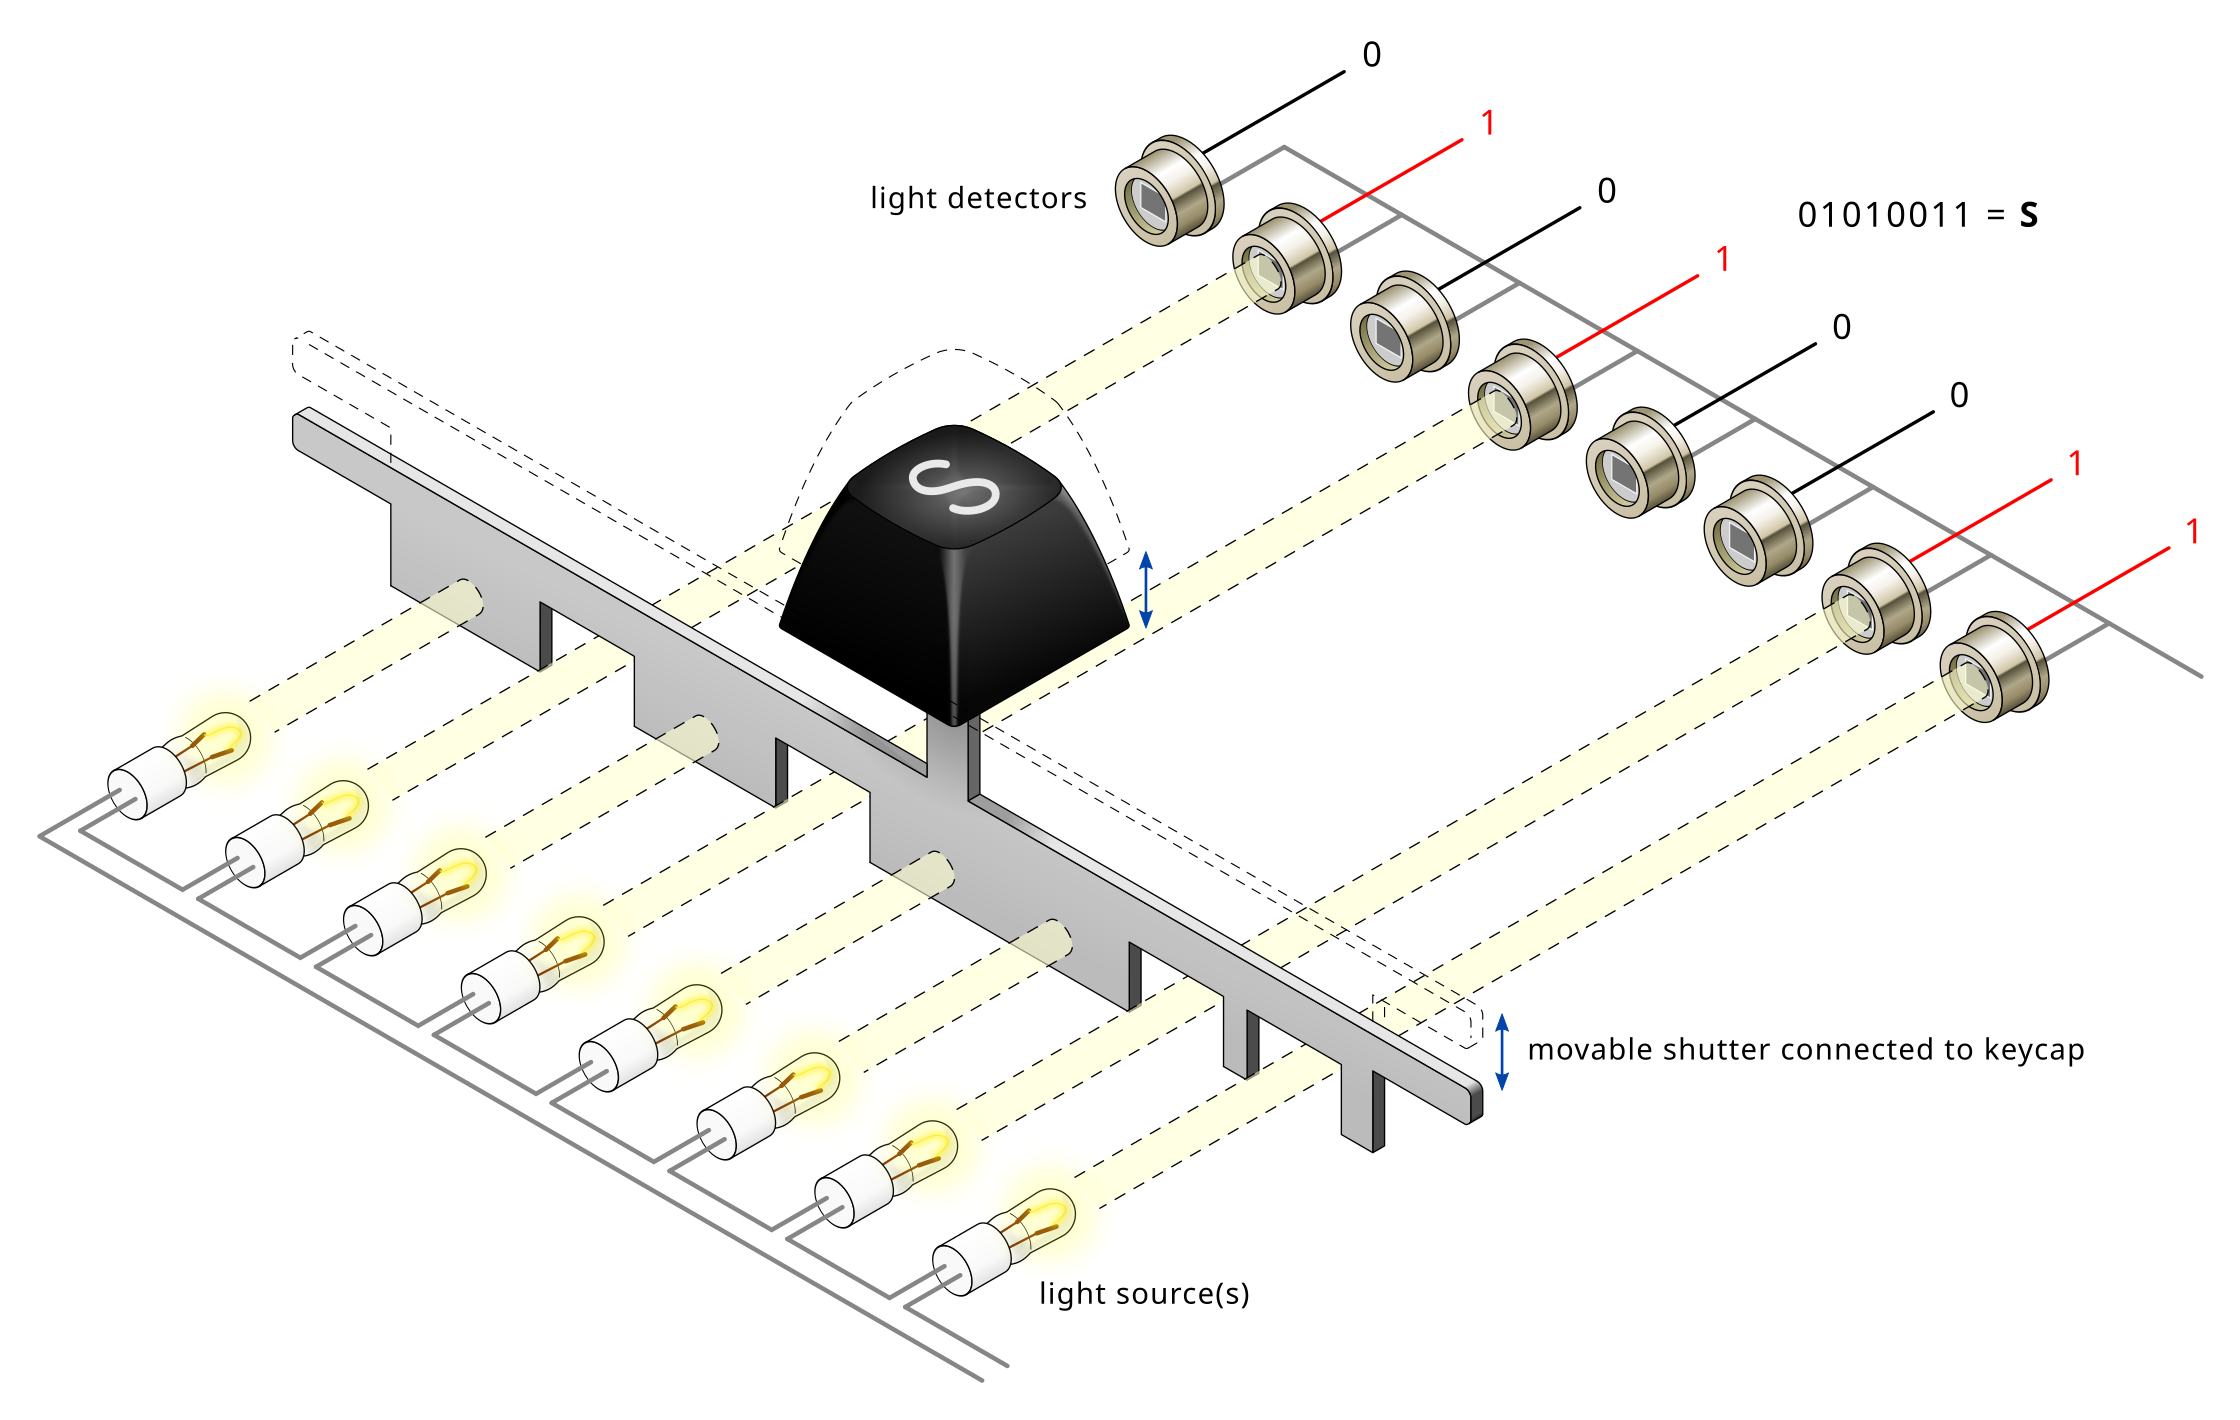
Ever wonder how given keyboard registers the key you’re pressing? Here’s a brief history of keyboard encoding.
Continue reading “HDMI DDC Keypad Controls Monitor From Rack”