We toss together our own PCB designs, throwing in a microcontroller here or there. Anything more demanding than that, and we reach for a Raspberry Pi or BeagleBone (or an old Linksys router). Why don’t we just whip together a PCB for a small Linux computer? Because we don’t know how…but [Jonas] apparently does. And when we asked him why he did it, he replied “because I can!”
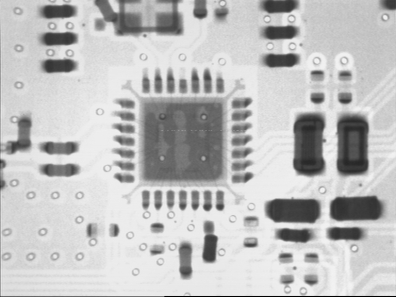
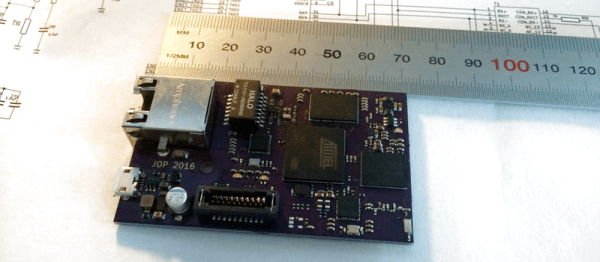
His Ethernet-to-6LoWPAN gateway project is a small, OpenWRT-capable Linux computer in disguise. Rather than yet another Raspberry Pi project, he designed around an Atmel AT91SAM9G25 400 MHz CPU, and added some memory, Ethernet, and a CC2520 radio chip to handle the wireless side. It’s all done on a four-layer board, and hotplate/skillet reflowed. This seems temptingly like something within our reach. [Jonas] had access to X-ray machines to double-check his reflow work, which probably isn’t necessary, although it looks really cool.
When finished, the project will link together a 6LoWPAN network (probably home automation) and his home wired network. That makes this device a rival to something like Philips’ Hue Bridge, which was the subject of some controversy when they locked out other devices for a few days until they recanted. Indeed, in response to this, there’s been quite a lot of effort at hacking the firmware of the Hue device, just to stay on the safe side in case Philips plays shenanigans again.
Soon, that’s not going to be necessary. [Jonas]’s design is open from the ground up, and coupled with open software running on top of the OpenWRT router operating system, that’s the full stack. And that’s great news for folks who are thinking about investing in a home automation technology, but afraid of what happens then the faceless corporations decide to pull the plug on their devices.