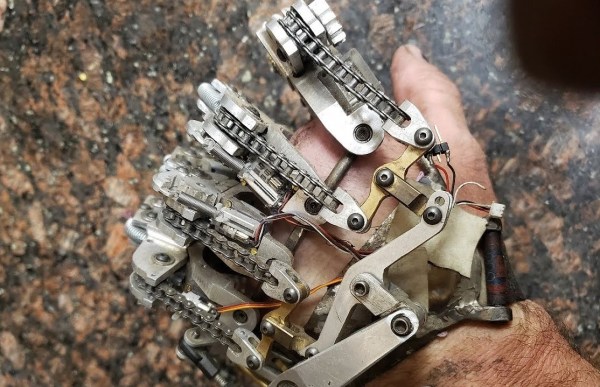
[Ian Davis] has decided to start over on his hand. [Ian] is missing four fingers on his left hand and has for a year now been showcasing DIY prosthetics on his YouTube channel. Back in July, we covered [Ian]’s aluminum hand.
Why aluminum? [Ian] found himself reprinting previous versions’ 3D printed plastic parts multiple times due to damage in the hinged joints, or UV damage rendering them brittle. With an ingenious splaying mechanism and some sensors powered by an Arduino, [Ian] has been wearing the custom machined aluminum hand on a daily basis.
However, as with many makers, he had that itch to revisit and refine the project. Even though the last version was a big jump in quality of life, he still found room for improvement. One particular problem was that the sensors tended to shift around and made it hard to get an accurate reading. To overcome this, [Ian] turned to a molding process. However, adding a stabilizing silicon layer meant that the design of the prosthetic needed to change. With several improvements in mind, [Ian] started the process of creating the plaster positive of his palm, working to create a silicon negative. The next step from here was to create a fiberglass shell that can go over the silicone with sensor wires embedded into the fiberglass shell.
It has been amazing to see the explosion in 3D printed prosthetics over the past few years and hope the trend continues. We look forward to seeing the next steps in [Ian’s] journey towards their ideal prosthetic!
Continue reading “What If You Could Design Your Own Aluminum Hand?”

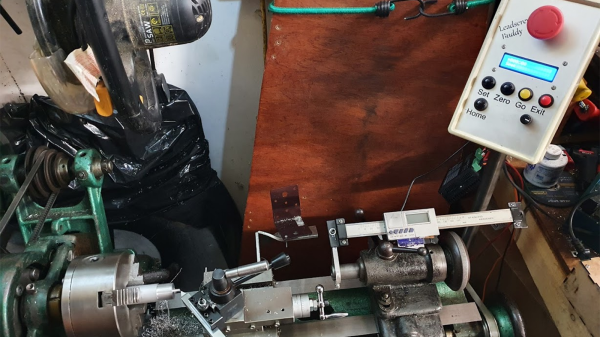
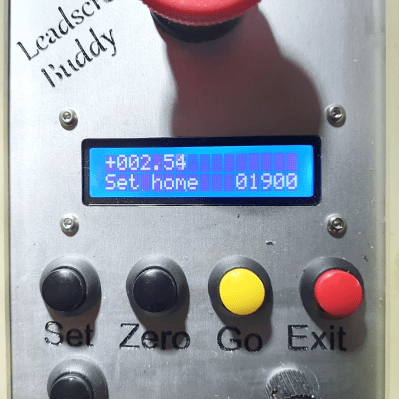 [Tony Goacher] took this idea a few steps further when he created the


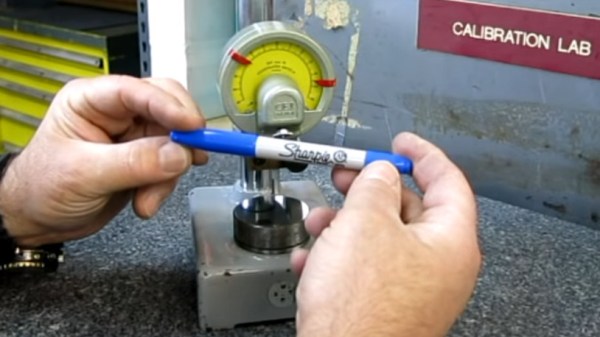
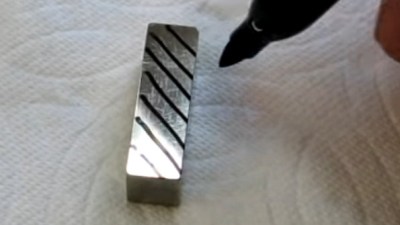 [Tom] from [oxtoolco] got his hands on a tool that measures in 1/10,000,000th (that’s one ten-millionth) increments and was wondering what kind of shenanigans you can do with this Lamborghini of dial indicators. It’s one thing to say you’re going to measure ink, but coming up with the method is the leap. In this case it’s a gauge block — a piece of precision ground metal with precise dimensions and perfectly perpendicular faces. By zeroing the indicator on the block, then adding lines from the Sharpie and measuring again, you can deduce the thickness of the ink markings.


