Having a high-quality mechanical keyboard is often a rite of passage in the computing world, with gamers and coders alike having strong opinions on the best devices. Even then, the standard keyboard layout can be substantially limiting, and often something a little extra and customizable is needed beyond even the highest-quality QWERTY keyboards. Reddit user [RonaldMcWhisky] was looking for a keyboard to use for macros, and discovered that it is possible to put cash register keyboards into service for any unique task.
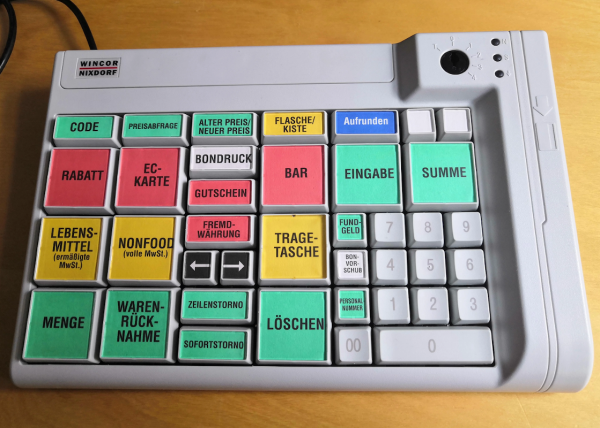
Cash register keyboards have a number of advantages over a standard QWERTY design. They have big keys, the keys can be labeled, and the keys can be ordered in a way the user wants. The hardware is also cheap since cash registers are everywhere. Adapting one to work with a standard computer took a little bit of doing. Since this is /r/linuxhardware, you’re not going to find any Windows support here, but assuming you have the minimum system requirements of a Linux install to recognize the keyboard itself, a Python script can handle the events as the keys are pressed and interpret them in whatever way you want.
The actual hardware in this specific build was a Wincor Nixdorf TA85P — let us know in the comments if you’ve got one of those in your junk box. But the idea of using a cash register for a custom keyboard is interesting, and certainly a lot of work is already done for you if you don’t want to build your own custom keyboard from the ground up.