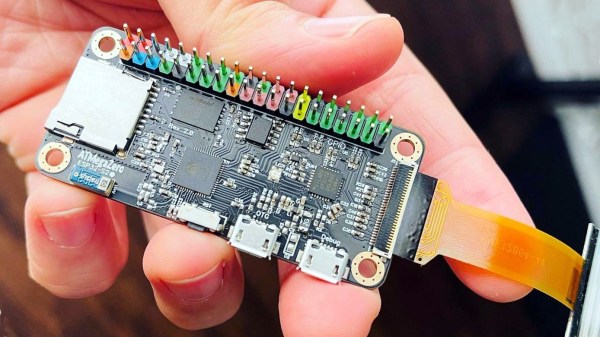
If you live in a home with a garage door opener, you may have experienced one or more inevitable moments. You pull up to your home, you press the button on the garage door opener, and… nothing. Or you can’t find the garage door opener. Or you have to mash the button repeatedly to get a response. Or… you get the idea. Thanks to [Core Electronics] however, you now have the basis for using a much better device to control your own garage door: Your phone. You can see the tutorial on the web or in video format below the break.
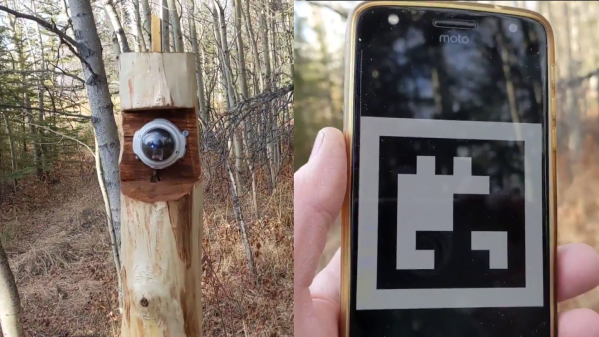
[Michael] at [Core electronics] was tired of dealing with the inconsistencies and inconveniences of a poorly built remote for his garage door opener. When he inspected the controller board on the garage door opener itself, he found that it was already configured to allow three buttons to be connected: Up, Down, and Stop. Continue reading “IOT Garage Door Opener Makes For Excellent Beginner IOT Project”