Light Sensitive MIDI Glove

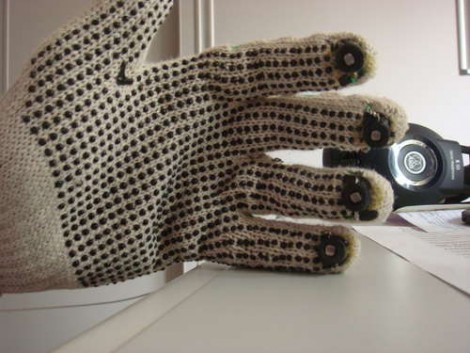
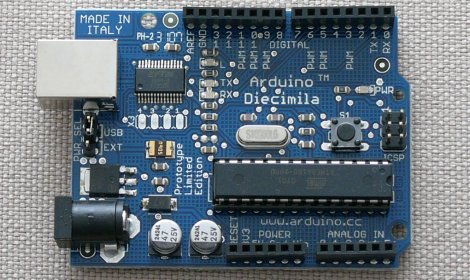
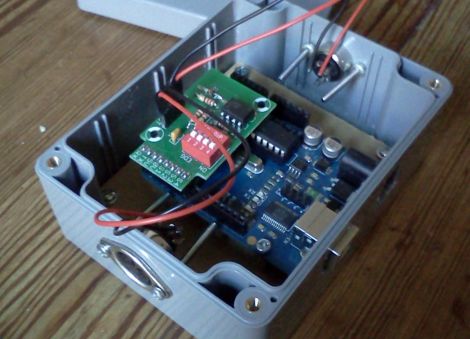
The latest offering in glove-based noisemakers forsakes commonly used flex sensors in favor or photoresistors. [Bruno Ratnieks] is responsible for this musical glove and his methods will be very easy to recreate. He used an Arduino to interface with it while providing a USB connection to your audio software. The sensors themselves couldn’t be easier to throw together, with each photoresistor creating a voltage divider when combined with a fixed-value resistor. That’s all the hardware you need, and with some creative coding you can making it do much more than the effects heard in the video after the break.

Some will say that [Bruno] simply didn’t used enough duct tape with his project design. Be we liked how he wove the wiring into the mesh of these knit gloves to keep it firmly in place.

Continue reading “Light Sensitive MIDI Glove”

Classical’s Greatest Hits On Hardware’s Greatest Flops

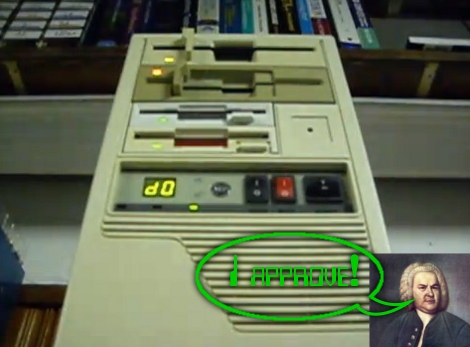
We get a lot of tips about old hardware playing recognizable tunes. But once in a while one of these projects goes above and beyond the others and this is a shining example of great hardware music. [FunToTheHead] put together a music video (embedded after the break) that shows his custom MIDI device playing Bach’s Toccata in d minor. He left some comments that clue us into the way he did it. Most obviously, he’s using the stepper motors from four floppy drives to create precisely pitched sounds. Internally, a PIC 18F14K50 acts as a MIDI-over-USB device, taking commands for all 128 MIDI notes as well as the pitch bends associated with them. The first four channels are played directly on each drive and the other twelve are triaged among the hardware by the microprocessor. But for the results heard in the video you’ll need to code your MIDI files by hand.

Bonus points to the video editor for the Phantom’s floppy-laden appearance in the video… it’s good to laugh!

Continue reading “Classical’s Greatest Hits On Hardware’s Greatest Flops”

LaunchPad MIDI Synth

launchpad_midi_synth

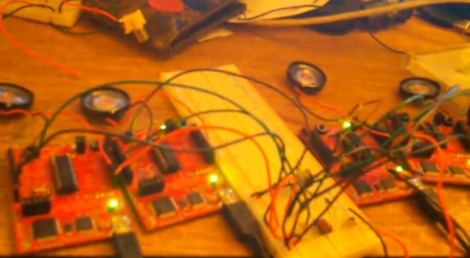
[NatureTM] sent in a writeup for the MIDI synthesizer he recently built using a TI LaunchPad. The construction is pretty simple overall, consisting of little more than the MSP430, a handful of resistors, and an optoiosolater. Of course, a MIDI controller is required, but he already had that on hand.

Once the MIDI data is read from the optoisolator, his code takes care of the rest, adjusting the square wave sound generator to get the proper note. He does mention that since the synthesizer is monophonic, special care is taken to ensure that simultaneous notes are processed properly. You can route all of the sound into a single speaker, but he used the optoisolator to send the sound data to multiple LaunchPads instead, resulting in a fun little MIDI quintet.

He provides code and plenty of video on his site, but keep reading for a sneak peek of his synth in action.

Continue reading “LaunchPad MIDI Synth”

Today’s Arduino Minute

Sometimes projects are vast, complicated, and complex. Other times projects are a bit more on the simple. Today we thought we would share a couple projects with something in common that may be familiar sounding to the more experienced crowd, but may inspire a few readers new to the world of microcontrollers.

Continue reading “Today’s Arduino Minute”

Theremin Midi Board Is Like Using Autotune

[Steve Hobley] built a Theremin interface board that tracks pitch and volume. Using this setup he’s able to pass data over a midi interface which effectively converts the instrument into a non-contact midi controller. As we joked in the headline, this does allow for the use of autotune, by snapping notes that are sharp or flat to the center of the nearest pitch. But you should watch the video after the break to see [Steve] show off the other features as well. A keyboard can be used to seed a starting pitch, with arpeggios of several different tonalities built on top of it based on the input from the Theremin.

Want the details? Unfortunately you’ll have to pay for the schematics. But the concept is still just as interesting to read about, even if you don’t know what went into the system. Continue reading “Theremin Midi Board Is Like Using Autotune”

MIDI Input For The Kaossilator

This isn’t strictly a MIDI input hack; [Furrtek] pulled off an alternate input hack for the Kaossilator that he’s currently using with a MIDI connection. In its unhacked form the Kaossilator is a small touchpad-based sound manipulation tool. [Furrtek] sniffed out how the touchpad data is read and used on the little device. He then purposed an ATtiny2313 as the core of a circuit that spoofs those signals. The microcontroller now listens for incoming MIDI data, looks up the proper signal translations in a table, then outputs them to the Kaossilator.

In the video after the break you can see that it works perfectly, with no lag or noticeable problems. As we alluded to at the top, there could be so much more done with this. Since the ATtiny2313 is merely translating MIDI into touchpad signals, the input could be anything. The first thing that comes to mind is a dance floor that changes the music based on how many people are out there tearing it up. Continue reading “MIDI Input For The Kaossilator”

Playing Piano With Optical Sensors

[Sebastian] is trying to improve the responsiveness of an electric keyboard. He was unsatisfied with the lack of adequate sensitivity to keystroke. The first step in his process was to measure how fast the quickest keystroke actually is. By setting up an LED and phototransistor and taking some measurements he found that sampling at 1 kHz would be more than adequate.

With initial testing complete he ordered some CNY70 transmissive/reflective light sensors that can be place below the keys. He measures the sensor with the ADC on an ATmega16 microcontroller. Running at 16 MHz he can sample each of the eight analog-to-digital converter channels at 1202 Hz. After doing a bunch of math he put together some lookup tables that are used to translate the ADC data into midi signals. We’ve embedded a video of one sensor controlling the midi program PianoTeq. [Sebastian] also sent us a schematic of one node in the sensor network (see it after the break).

When everything is said and done he plans to use eleven ATmega16 microcontrollers to address the 88 keys, with an additional microcontroller to act as the master using a two-wire interface for communications.

Update: [Sebastian] put up a webpage with a fairly verbose description. Reading it straight from the source really clears up a lot of questions.


Continue reading “Playing Piano With Optical Sensors”