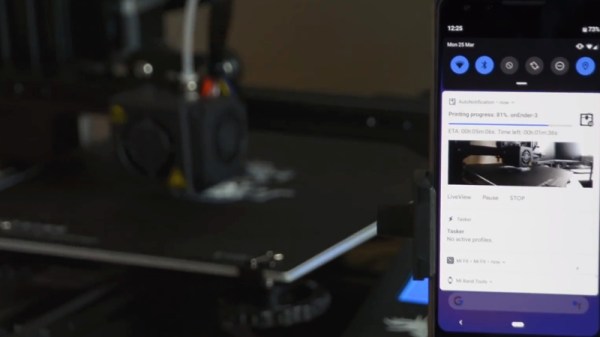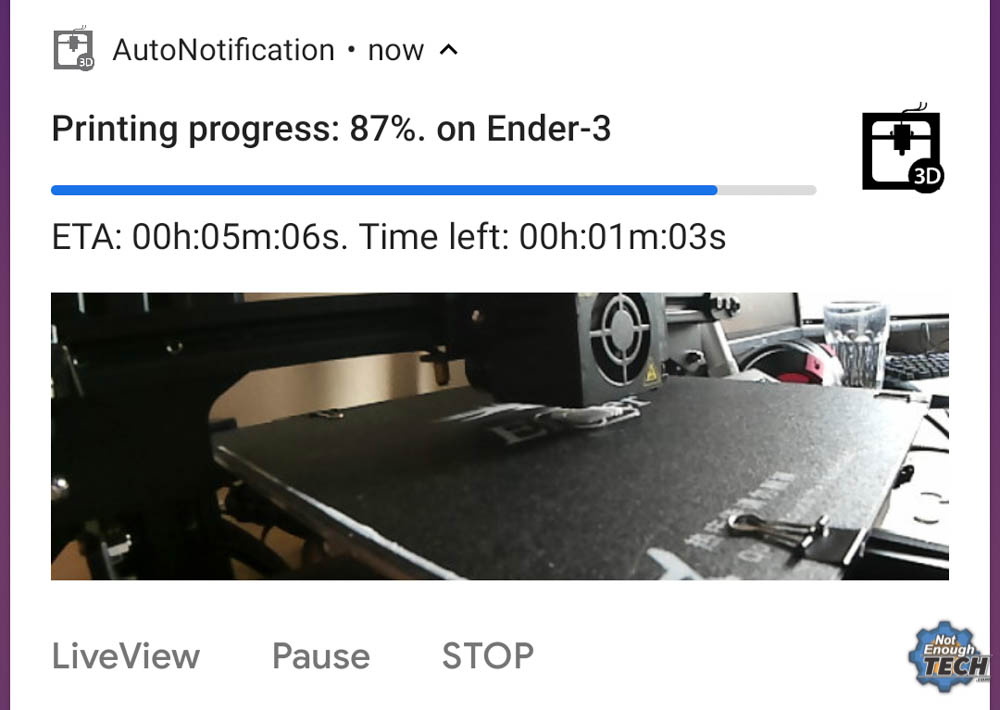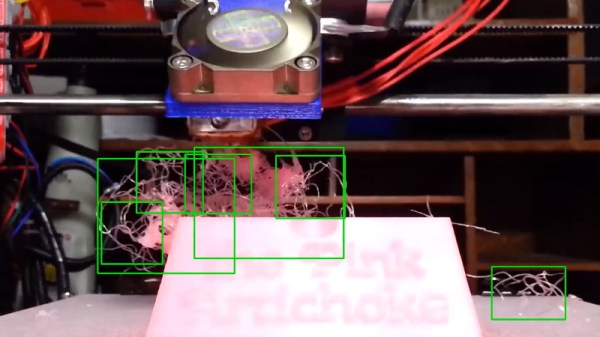
Among 3D printer owners, “spaghetti” is the common term for the tangled mess of stringy plastic that’s often the result of a failed print. Fear of their print bed turning into a hot plate of PLA spaghetti is enough to keep many users from leaving their machines operating overnight or while they’re out of the house. Accordingly, we’ve seen a number of methods that allow the human operator to watch their print remotely to make sure everything is progressing smoothly.
 But unless you plan on keeping your eyes on your phone the entire time you’re out of the house, there’s still a chance some PETG pasta might sneak its way out. Enter the Spaghetti Detective, an open source project that lets machine learning take over when you can’t sit watching the printer all day. Their system plugs into Octoprint to monitor your print in real-time and pause it if it starts looking particularly stringy. The concept is still under development, but judging by the gallery of results submitted by users, the system seems to have a knack for identifying non-edible noodles.
Once the software comes out of beta it looks like the team is going to try to monetize it by providing hosting and monitoring services for a monthly fee, but as it’s an open source project, you’re also able to run the software on your own machine. Though the documentation notes that the lowly Raspberry Pi doesn’t have quite what it takes to handle the image recognition routines, so you’ll need a proper computer if you want to self-host the service. Could be a good use for that old laptop you’ve got kicking around the lab.
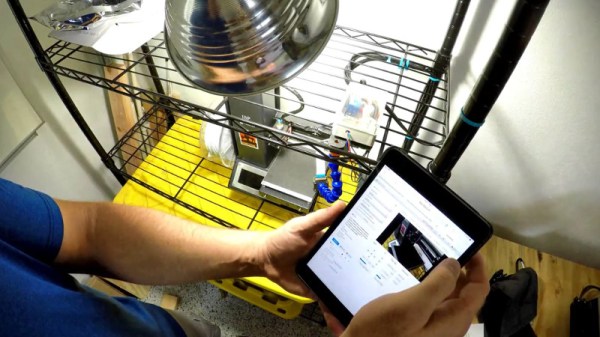
As demonstrated in the video after the break, the system’s “spaghetti confidence” is shown with a simple to understand gauge: green is a good-looking print, and red means the detective is getting a sniff of the stringy stuff. If your print dips into the red too much, Octoprint is commanded to pause the print. The user can then look at the last image from the printer and decide to either cancel the print entirely, or resume if the Spaghetti Detective got a little overzealous.
Frankly, it’s a brilliant idea and we’re very interested to see where it goes from here. Assuming you’ve got Octoprint controlling your 3D printer there are some very clever monitoring systems out there currently, but since spaghetti isn’t the only thing a rogue 3D printer can cook up, having an extra line of defense sounds like a good idea to us.
Continue reading “Finding Plastic Spaghetti With Machine Learning”