Among Us is a hit game of deception and intrigue. Those who have played it know the frustration of trying to complete some of the intentionally difficult tasks onboard the Skeld. [Zach Freedman] decided to recreate some of these in real life.
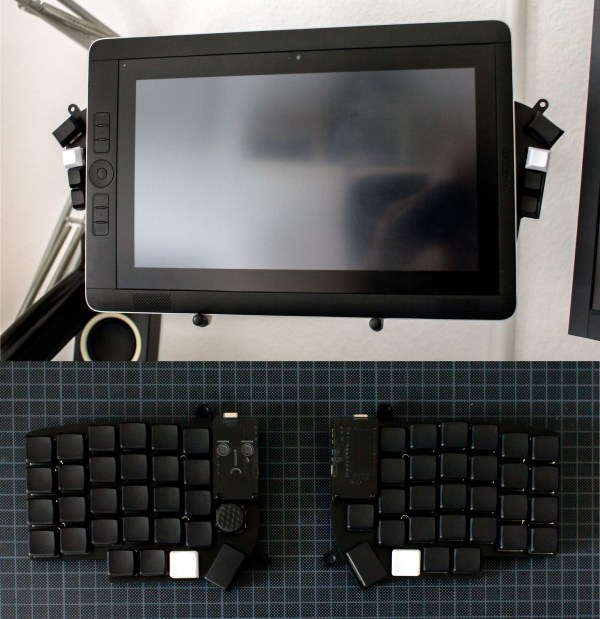
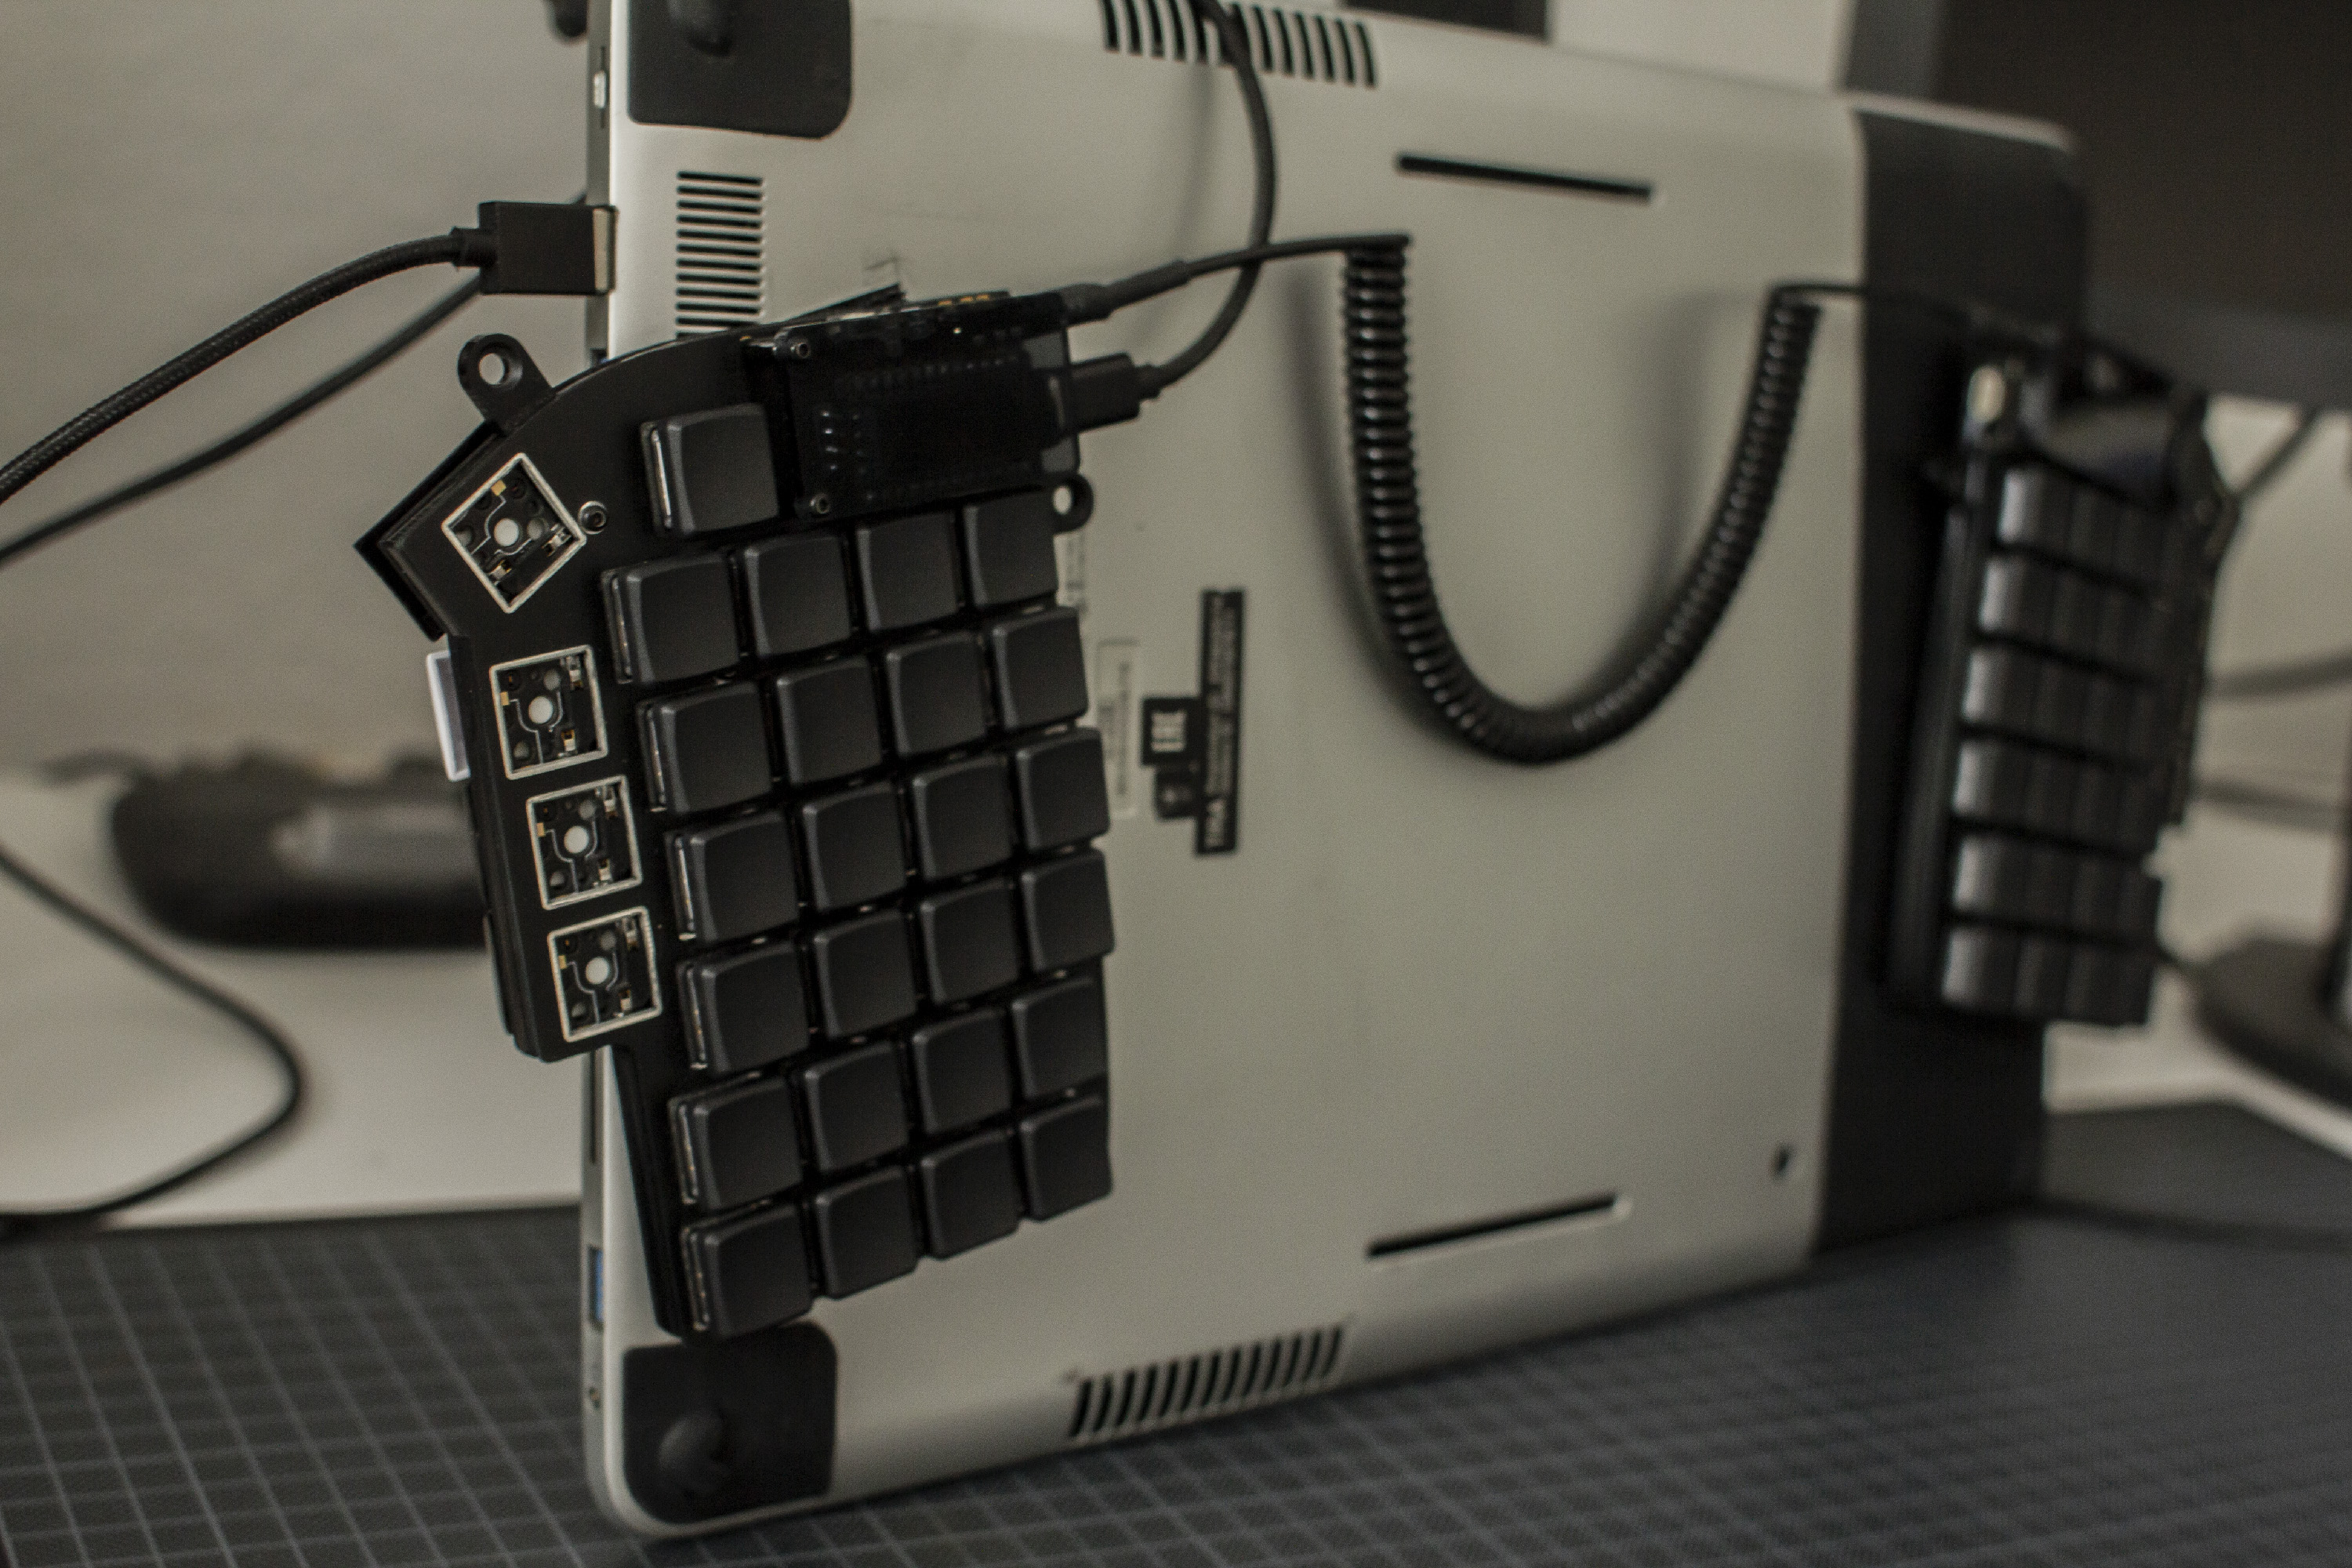
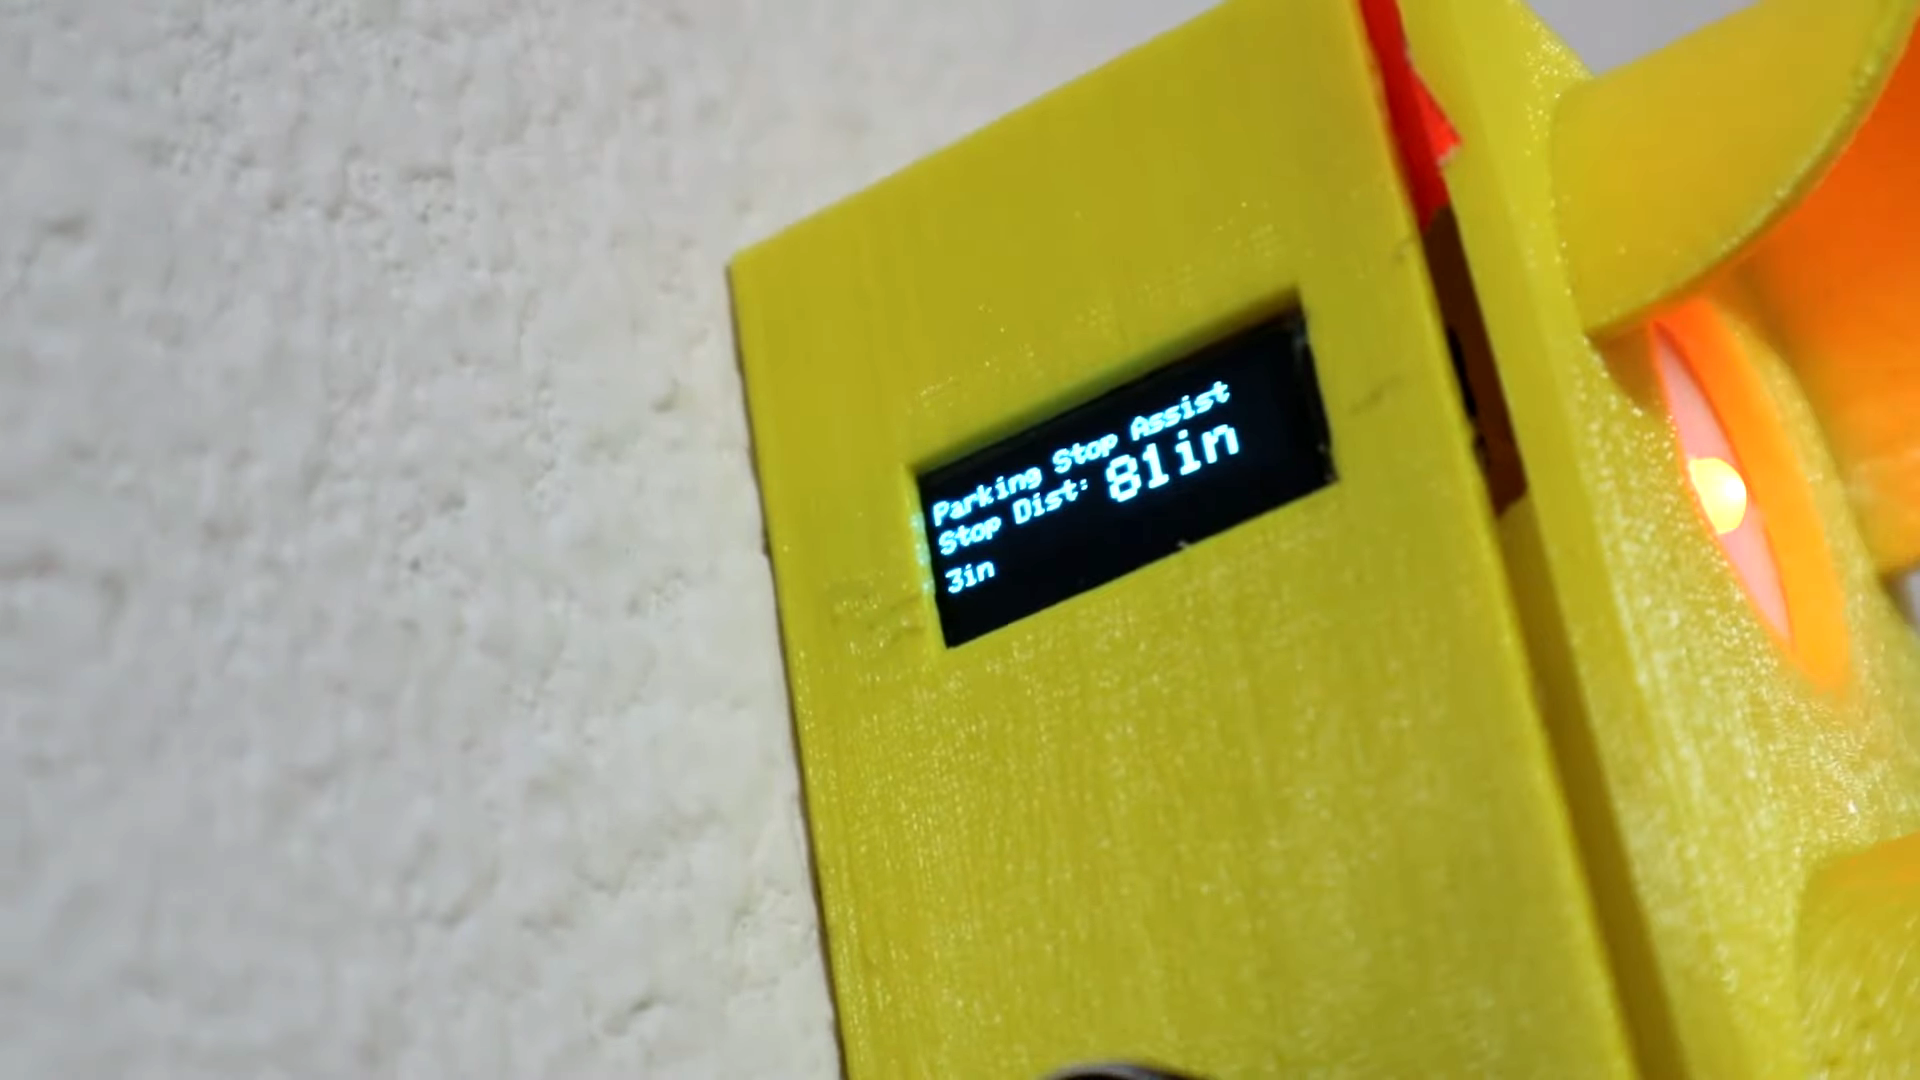
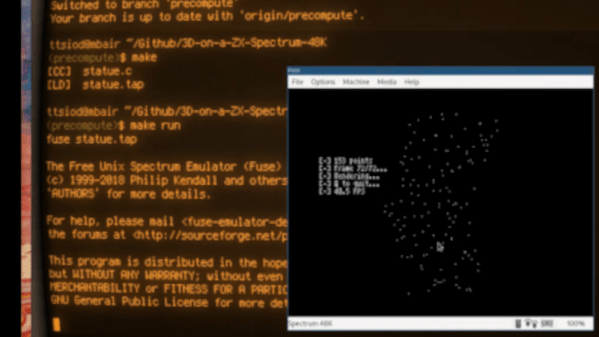
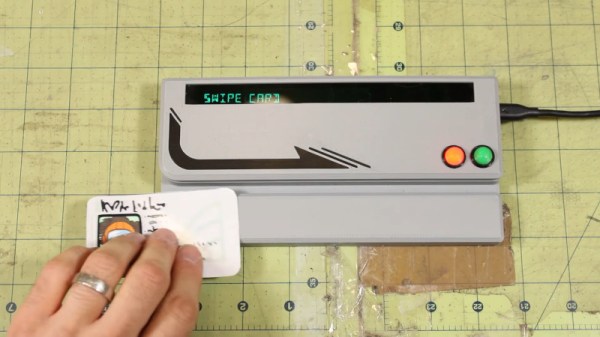
[Zach] built what are arguably the three most frustrating tasks from the game. There’s the excruciatingly slow upload/download station built out of an old Samsung tablet and an NFC tag, and the reactor start console created using a Raspberry Pi 3B, Teensy 3.2, and a custom mechanical keyboard. But perhaps most annoying of all is the infamous card reader. Built with another Teensy, it requires the user to swipe their ID card at just the right speed, except that speed is randomly generated for every swipe. Also, the machine fails 20% of good swipes just because. Perhaps what we love most is the way [Zach] recreated the classic VFD look by putting an OLED display behind bottle-green plastic and using a 14-segment font.
It’s a fun homage to a wildly successful indie game, and we could imagine these props would be a hit at a makerspace party. We’ve featured other Among Us themed builds before, too. Video after the break.
Continue reading “The Most Annoying Among Us Tasks Created In Real Life”


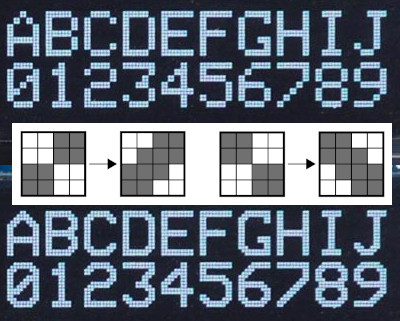 [David Johnson-Davies] entered big-brain mode and did something much cleverer than the obvious solution of using multiple font files. Turns out if you analyze the smoothing problem you’ll realize that it’s only the angled areas that are to blame, horizontal and vertical scaling are nice and smooth. [David’s] fix looks for checker patterns in what’s being drawn, adding a single pixel in the blank spots to smooth out the edge incredibly well!