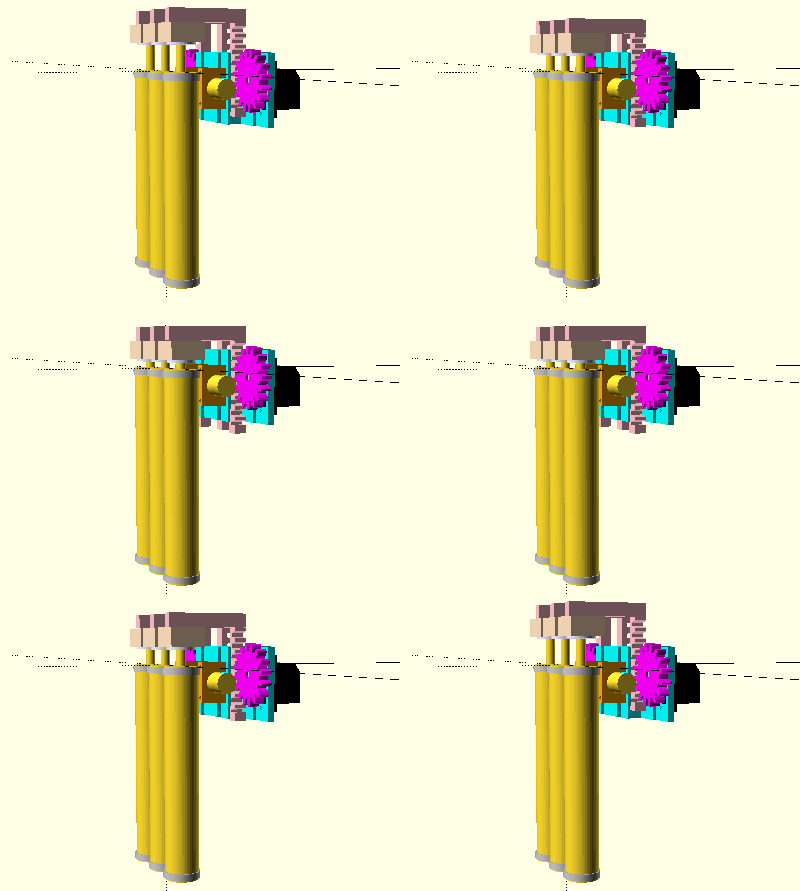
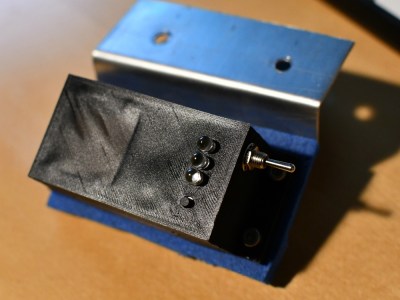
Most readers of this site are familiar by now with the OpenSCAD 3D modeling software, where you can write code to create 3D models. You may have even used OpenSCAD to output some STL files for your 3D printer. But for years now, [nophead] has been pushing OpenSCAD further than most, creating some complex utility and parts libraries to help with modeling, and a suite of Python scripts that generate printable STLs, laser-ready DXFs, bills of material, and human-readable assembly instructions complete with PNG imagery of exploded-view sub-assemblies.
Recently [nophead] tidied all of this OpenSCAD infrastructure up and released it on GitHub as NopSCADlib. You can find out more by browsing through the example projects and README file in the repository, and by reading the announcement blog post on the HydraRaptor blog. Some functionality highlights include:
- a large parts library full of motors, buttons, smooth rod, et cetera
- many utility functions to help with chamfers, fillets, precision holes, sub-assemblies, and BOM generation
- Python scripts to automate the output of STLs, DXFs, and BOMs
- automatic creation of documentation from Markdown embedded in your OpenSCAD files
- automatic rendering of exploded subassemblies
All that’s missing is a nice Makefile to tie it all together! Try it out for your next project if you – like us – get giddy at the thought of putting your 3D projects into version control before “compiling” them into the real world.
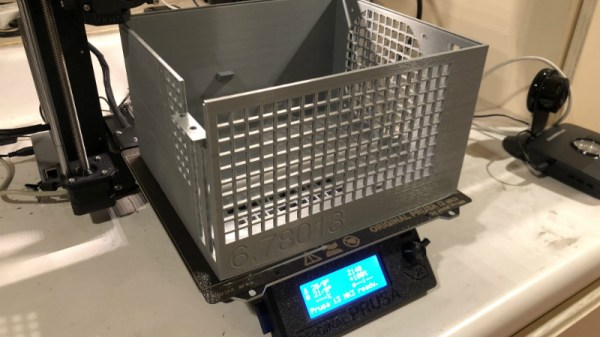
We’ve discussed some complex OpenSCAD before: Mastering OpenSCAD Workflow, and An OpenSCAD Mini-ITX Computer Case.

 There are of course other and more full-featured tools for unfolding 3D models:
