The core ethos of “hacking” is usually interpreted as modifying something for a use that it wasn’t originally built for. Plenty of builds are modifications or improvements on existing technology, but sometimes that just isn’t enough. Sometimes we have to go all the way down and build something completely from scratch, and [Balthasar]’s recent piano-like musical instrument fits squarely into this category.
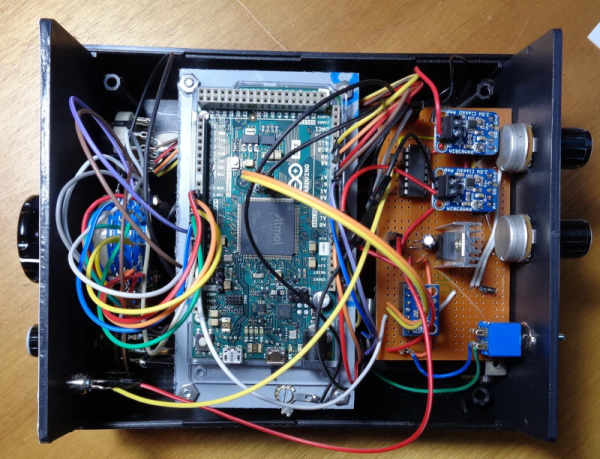
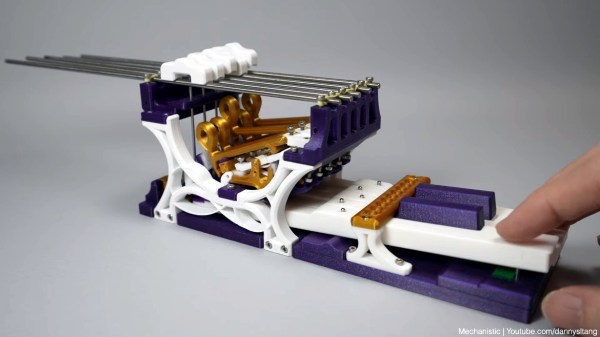
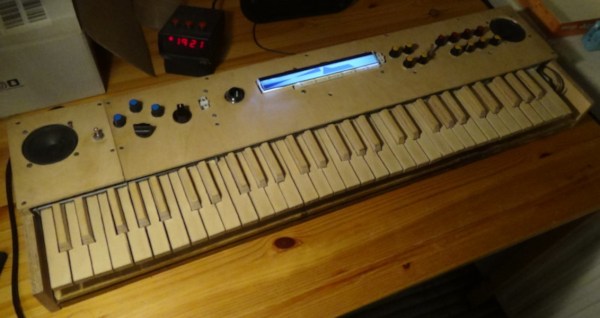
This electronic keyboard is completely designed and built from scratch, including the structure of the instrument and the keys themselves. [Balthasar] made each one by hand out of wood and then built an action mechanism for them to register presses. While they don’t detect velocity or pressure, the instrument is capable of defining the waveform and envelope for any note, is able to play multiple notes per key, and is able to change individual octaves. This is thanks to a custom 6×12 matrix connected to a STM32 microcontroller. Part of the reason [Balthasar] chose this microcontroller is that it can do some of the calculations needed to produce music in a single clock cycle, which is an impressive and under-reported feature for the platform.
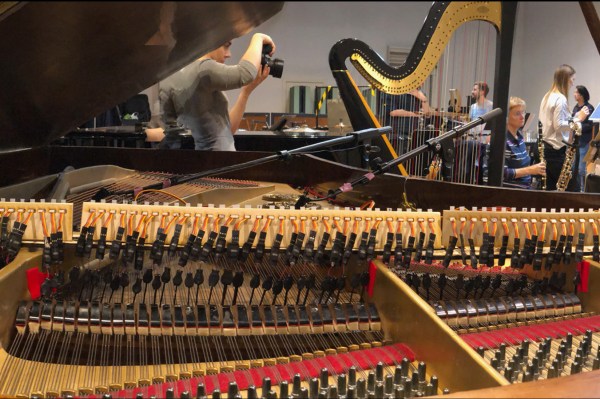
With everything built and wired together, the keyboard is shockingly versatile. With the custom matrix it is easy to switch individual octaves on the piano to any range programmable, making the 61-key piano capable of sounding like a full 88-key piano. Any sound can be programmed in as well, further increasing its versatility, which is all the more impressive for being built from the ground up. While this build focuses more on the electronics of a keyboard, we have seen other builds which replicate the physical action of a traditional acoustic piano as well.